
Written by Samantha Stortecky
Happy Autumn, everyone! The kids are back in school, the air is getting crisp, and the leaves are starting to change.
With all the beautiful changes in scenery on the horizon, I thought it would be the perfect time to chat about one of my favorite ways to use my film cameras… for landscape photography!
Alright, now let’s jump into the tutorial!
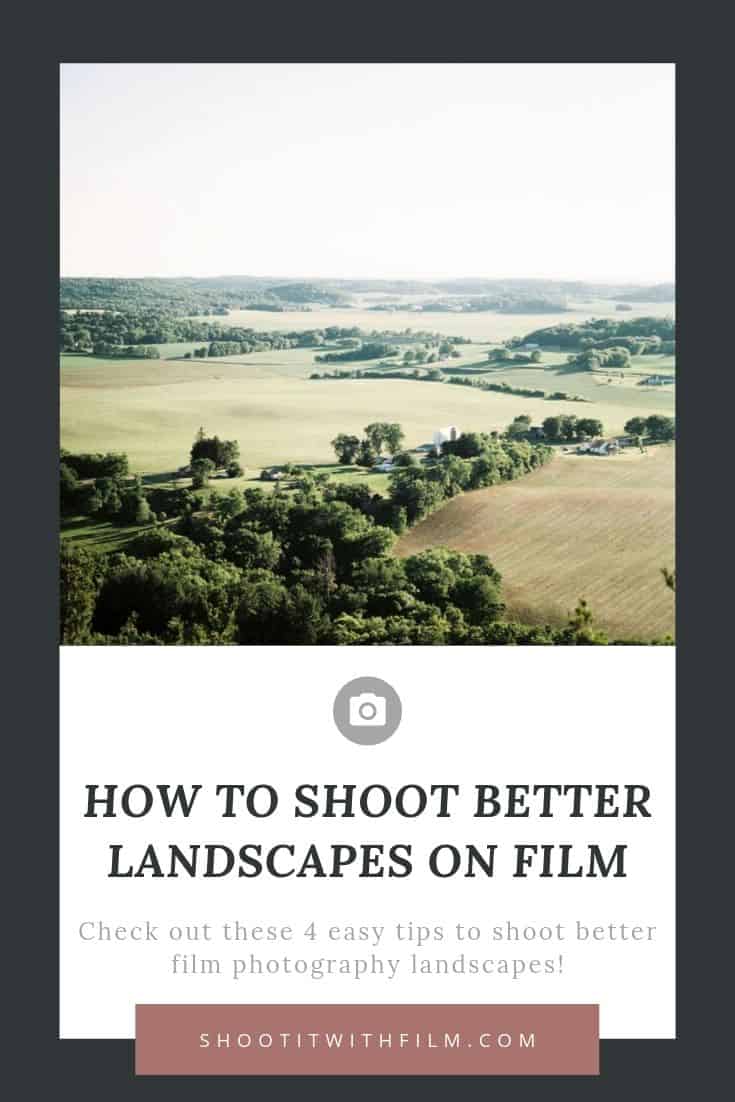
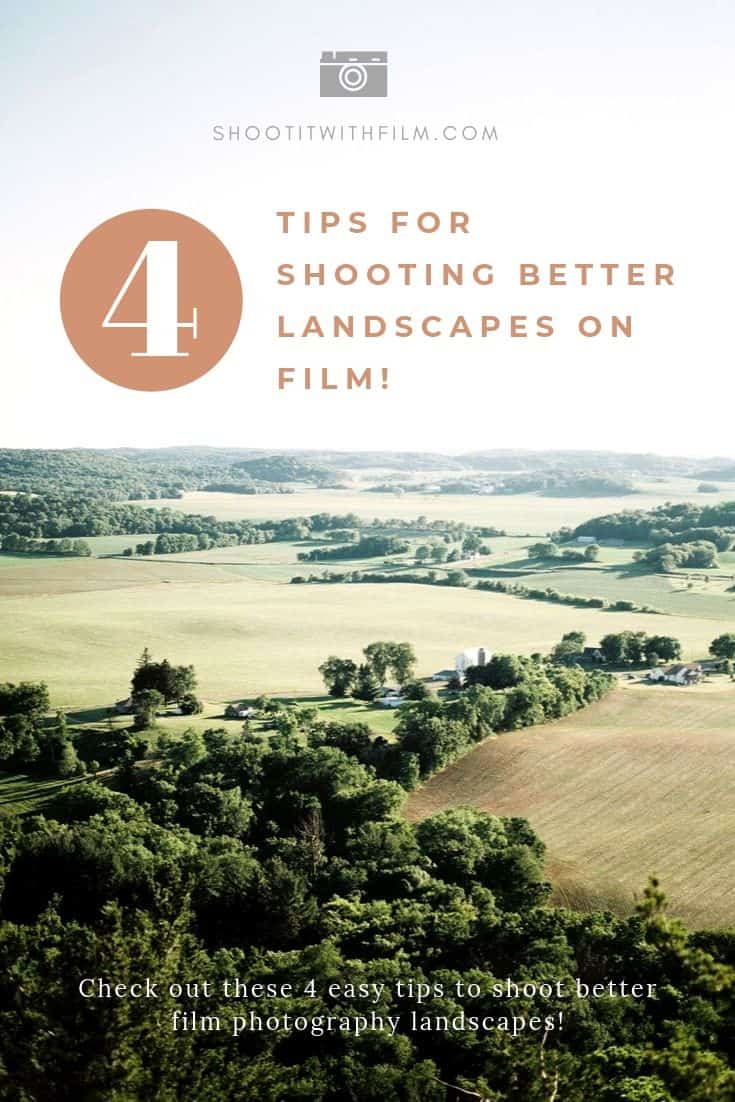
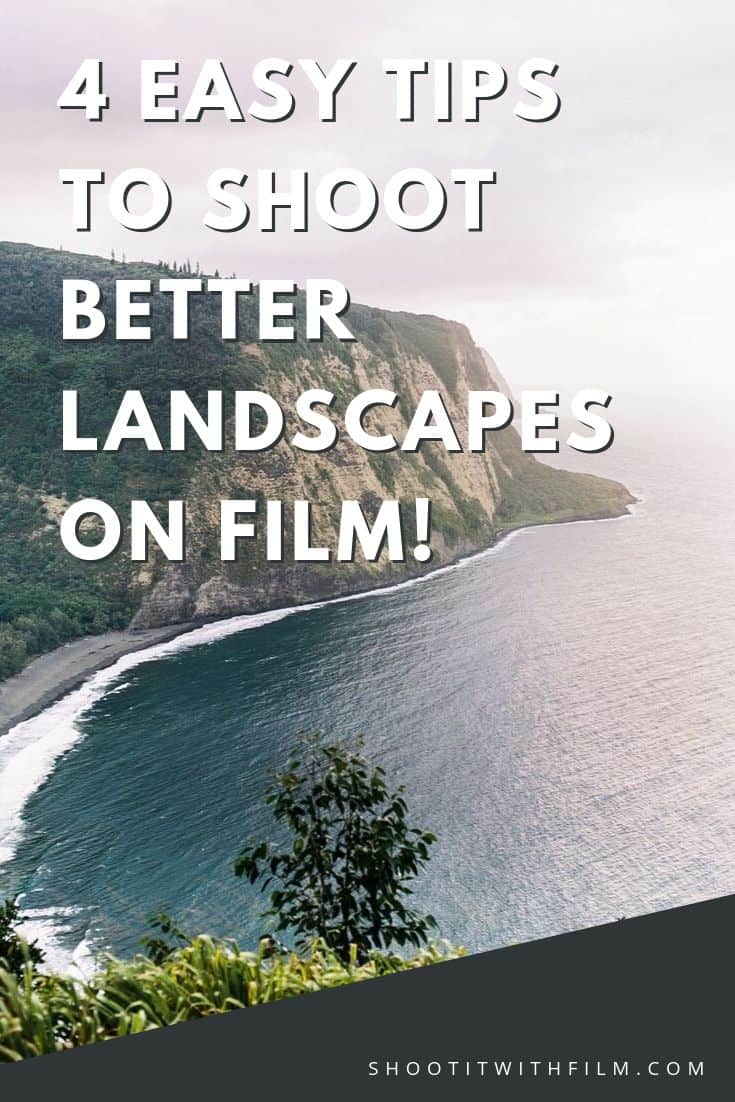

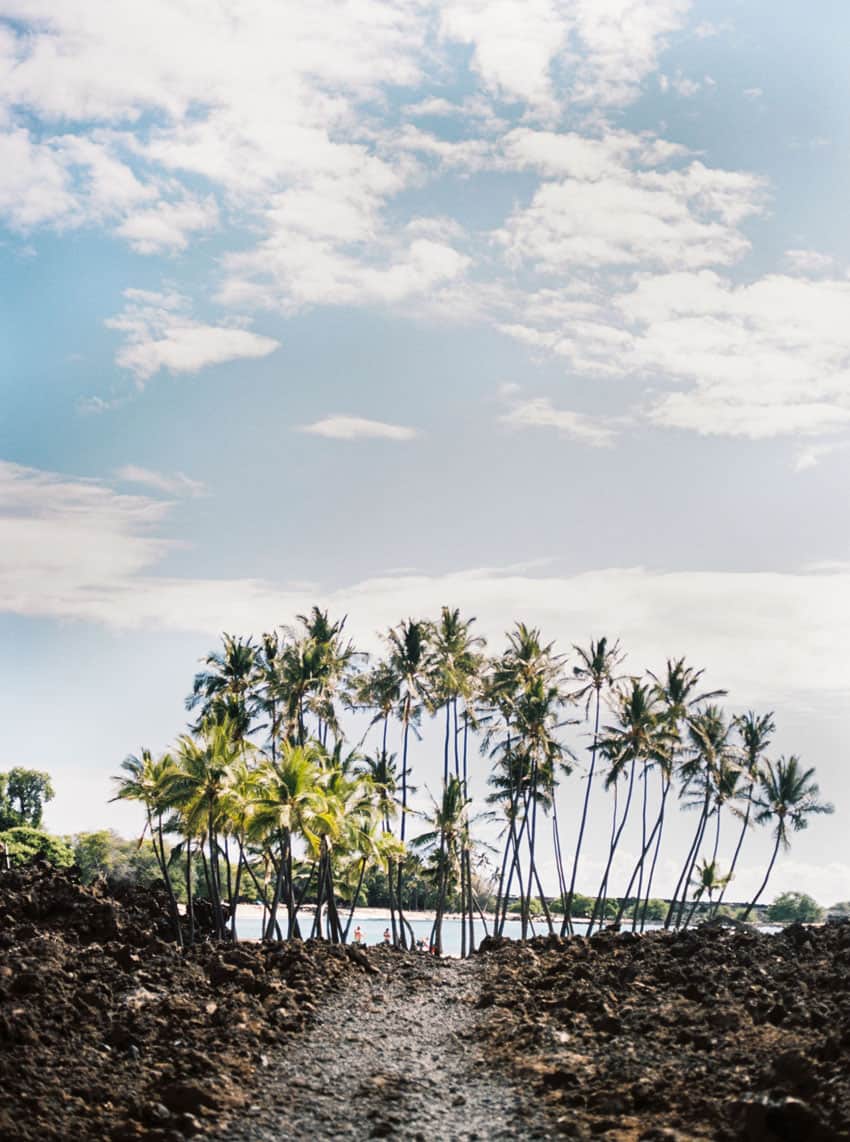
Last summer, my family and I took a road trip to Vermont and ended up hitting Niagara Falls on our way through New York. Then, this year, my husband and I took a week long trip to the big island of Hawaii.
While on these trips, I was able to utilize my favorite medium format camera, the Pentax 645N (find at KEH Camera or on eBay), and my favorite 35mm camera, the Pentax A3000 (find at KEH Camera or on eBay), to capture the beautiful scenery that we saw.


Related: Pentax A3000 Camera Review
Here’s a few quick tips on how I make my landscape images look awesome!
Focusing for Landscapes
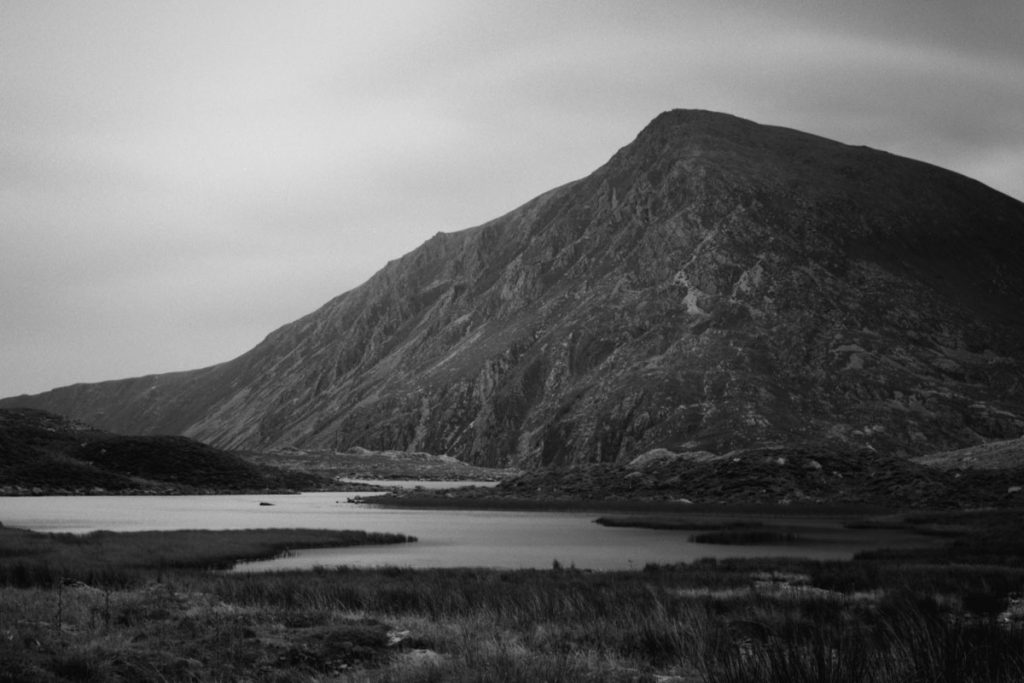
The way I shoot landscape photography is crazy easy. I keep all my settings the same as I do for regular shooting, at a low aperture (around f/2.8 to f/2) and at a low iso (200 iso).
The only thing I do differently is focusing my lens. I always shoot with manual focus, and when looking through my viewfinder, I look for the farthest object and focus for that.
This 99% of the time means that my lens is turned all the way to the right.


Film Choice for Landscapes
I prefer shooting landscape images on Kodak Portra 400 (find on Amazon). This is totally a personal preference, but I just love the way Portra captures all the beautiful colors!
It’s also an extremely versatile film with great latitude, so it will handle most lighting and landscape situations really well.
Here are some great black and white films for landscapes.

Retaining Details
If you lose some of the sky details in your film scans, I use the Adjustment Brush in Lightroom. I just lower the Exposure down by -1.00 and brush over the sky where some of the details got lost.

Depth of Field
Because your camera’s focus is targeted on the farthest object it can see, just be aware that anything that might be in the forefront of your lens won’t be in perfect focus.
If you’re trying to capture a landscape with both up close and far away scenery, you may want to try a larger depth of field by using a higher aperture.

Thank you so much for reading, now go out there and photograph all those awesome landscapes!
Thank you so much, Samantha! Samantha is a regular contributor here at Shoot It With Film, and you can check out her other articles here, including How to Scan Polaroid Photos and Fujifilm Instax Wide 300 Instant Camera Review. You can also check out more of Samantha’s work on her website, business Instagram, or personal Instagram.
Leave your questions about shooting landscapes on film below in the comments!
Want to learn more about shooting film? Check out all of our film photography tutorials here!


Leave a Comment
Shoot It With Film on Instagram


Blog Comments
mitu
April 24, 2020 at 1:03 am
These are some great photos and great tips. My pictures always look like a typical point-and-click- tourist photo. I think my problem is that I need to take a minute or two to think about how I want to set up the picture, instead of blindly snapping away.
Marcus
July 22, 2020 at 6:53 am
“at a low aperture (around f/2.8 to f/2)” ?!?!?!?!?!?!
Does not make any sense unless you want shallow foreground as an artistic choice which I cannot see in the sample photos. I’d start with a medium aperture setting to get better contrast, less vignetting and better resolution. Smaller apertures maximize DOF (which in this case is a good thing), but beware of diffraction. Are we talking portraits, that’s a different story. Just my two cents.
Marzia
May 6, 2021 at 3:07 am
Simple, practical advice with great examples. Thanks for sharing this valuable information.