
Written by Neil Milton
As autumn is very quickly turning to winter, it is tempting to set the camera on a shelf and curl up on the couch. Not for us, dear readers, no. We are street photographers, and we have to get out there.
Here are a further five fundamentals to set you on the path towards finding and creating dynamic, eye-catching photographs that will keep you rushing back outside for more.
(You can check out part one with my first five tips to improve your street photography here.)
Don’t mistake these tips for gate keeping. Whatever, and however, you photograph, there will be someone out there who will enjoy it.
That being said, there is an overabundance of bland, repetitive street photography online and our goal is to stand out from the crowd.

1. Leave the Low Hanging Fruit on the Tree
Pigeons, street performers and buskers, market-sellers, street-lights; certain subjects are often considered cliché.
As these subjects are ubiquitous and tend to stay in one place, street photographers often take our first tentative steps here. It doesn’t hurt that the performers, at least, are more than happy to be photographed.
It has, however, all been done before.
The trick to creating enduring and engaging street photography is to go further and search for more unusual and remarkable subjects and settings. Avoid the obvious and discover hidden gems amongst the chaos. They will appear less often, but the joy and satisfaction in capturing them makes it all worthwhile.
Exercise
Visit the website StreetRepeat to familiarize yourself with the more frequently echoed themes and subjects in street photography. Don’t feel you must avoid them all, but you will better put your choices into context.


2. Shed a Shade of Shyness
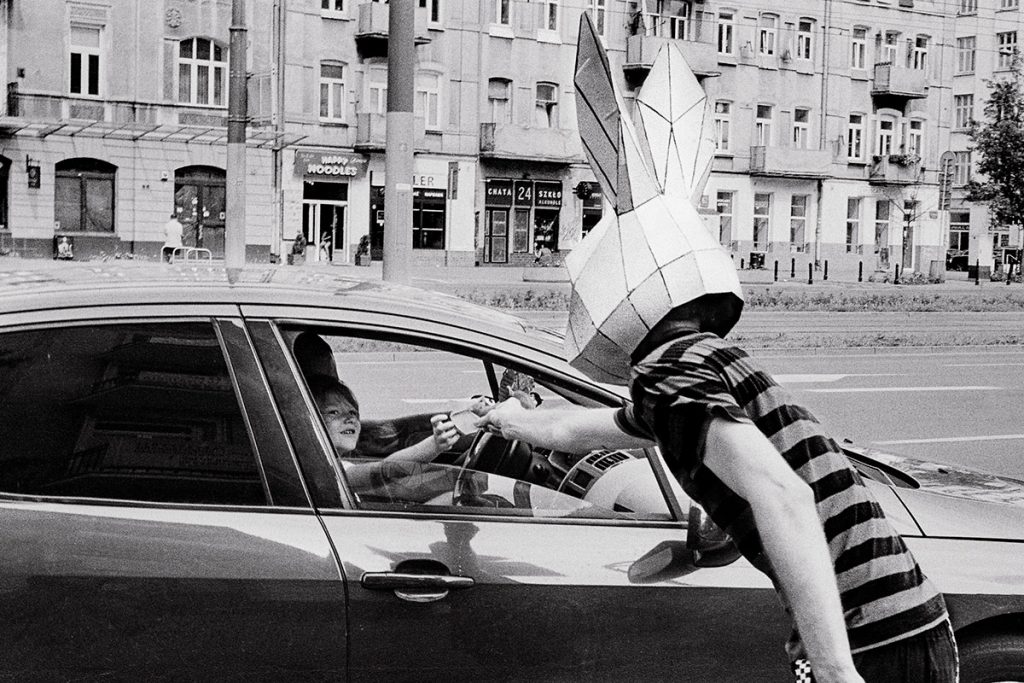
Nowadays, many people in public are more aware of cameras and suspicious of being photographed. This can lead a beginner to shyness or a reticence to jump right in. In the worst case, this fear can result in missing some great moments.
It is natural to worry that a subject may be angry, upset, or worse, violent, whether you’re shooting on a quiet street or doing street photography in a large crowd. In my experience, however, this is rarely ever the case. Some may think you strange, most though are either amused, humbled, or perplexed. Rarely ever angry.
If confronted, as long as you are sincere in your intentions, people will understand. There is, after all, nothing inappropriate or shameful in wanting to capture life as it’s being lived.
Exercise
Counter-intuitively, the more confrontations you may have, the more you will see there is little to worry about and the fear is irrational.
Bruce Gilden once gave me an exercise to go out for a day and photograph only people who give their permission. Do this and you will quickly immunize yourself to rejection, and at the same time, become more confident in resolving confrontations that do happen.


3. Find a Starting Place
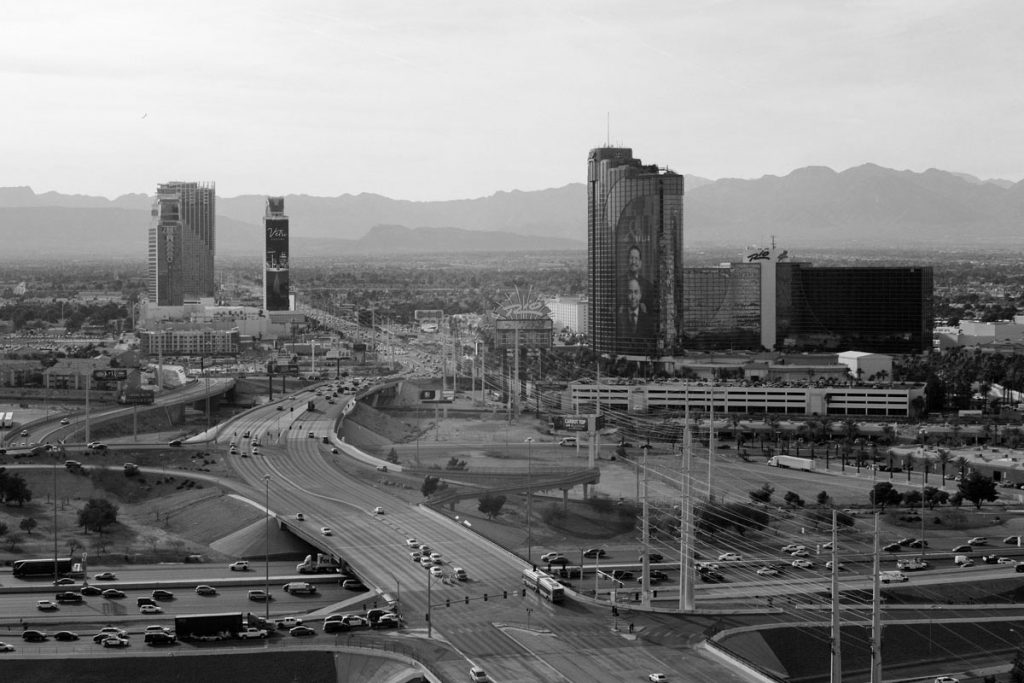
Street photography is at its best when depicting life as it unfolds. The photographer must be where the people are. Certainly, when first starting out, crowded areas of the town or city are the most fruitful.
One tip learned from one of my favorite photographers, Richard Kalvar, was to choose a preferred place to begin. Somewhere that, when you run out of ideas, you can return to with confidence that something will happen.
In Kalvar’s case, it is the Place de l’opera, a central tourist hub in Paris that leads off in many busy directions. For me, I find Warsaw’s “Old Town” and castle square to be a good starting place, particularly in the summer.
Exercise
Try to identify a place in your town or city that you can return to. A place you have confidence will bear some interesting results.
When you next struggle for inspiration, go to your starting place and get to work.


4. Wear Good Shoes
In 2017, to celebrate Magnum’s 70th anniversary, the agency published a collection of advice from their roster of photographers. Paraphrasing a tip from Abbas contained within, it was titled “Wear Good Shoes.”
As a street photographer, your choice of footwear is of paramount importance. I have always been partial to a pair of hi-top Converse Chucks. Not a comfortable shoe to be padding around in for 5 to 8 hours a day, I can tell you. It wasn’t long before I’d moved to something more appropriate.
For a street photographer, your goal is to be inconspicuous. Ideally, unseen. So developing this theme, it is important not only to wear good shoes, but to dress the part, head to toe.
While shooting, I often eschew my favored reds, and blues, opting instead for dark greys, or blacks. Any clothes that won’t stick out like a sore thumb on the street. All the better to go unnoticed as I look for those moments to capture.
Exercise
Not so much an exercise, this one, as something to consider. Next time you go out to photograph on the street, choose your outfit with thought to being as discreet as you can be.

5. Get in the Zone (Focus)
As we search for moments of expression or gesture, it can be difficult to anticipate, frame, focus, and snap before that moment has passed.
Pre-focusing your lens to a depth of field that will catch the moment in acceptable focus, even if not perfectly chosen, is how many of your favorite street photographs were taken. This is called Zone Focusing.
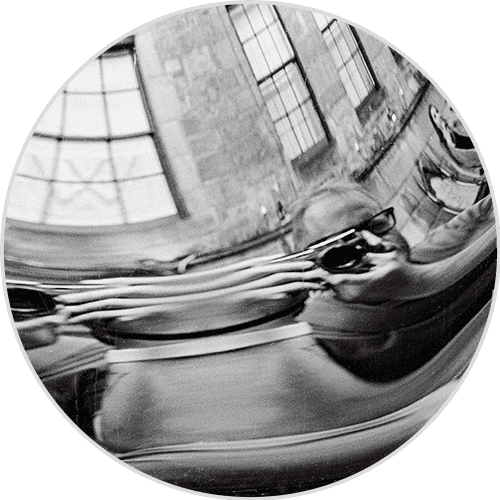
Choose a small aperture (say, f16) to increase the available depth of field, then using the Depth of Field scale on the barrel of the lens (Leica Summicron 50mm f2 pictured), set a distance between the 2 indicators of your chosen aperture.

The left value indicates the nearest, and the value on the right will be the furthest distance in acceptable focus.
Objects closer to either edge of the range of distance will be less focused, and objects nearer the central point of focus will be more, however, anything that falls within this range should be in acceptable focus.
As I begin my day, I will pre-focus my lens. If I have time on my side, of course, I will correctly focus for a particular subject. If not, I’ll trust in my zone focusing and snap the shot.
Exercise – Set-Up
Your distances will vary depending on your chosen focal length, and how close or far your subjects will be. For this exercise we will use a 50mm lens. Set your aperture to f16, and a focal distance of approximately 2.5m. On my lens the nearest approximate distance of acceptable focus is 1.5m, and the furthest is 5m.
Exercise
Shoot several rolls of film without changing the focus at all. It may take some practice interpreting the distance, however, practice makes perfect, and soon, zone focusing will be another vital tool that will feel second-nature to use.

Thank you so much, Neil! Neil is a regular contributor here at Shoot It With Film, and you can check out his other articles here, such as 5 Tips to Improve Your Street Photography Part I.
You can find more of Neil’s work on his website, and sign up for his street photography newsletter here.
Leave your questions about creating better street photography images below in the comments!


Leave a Comment
Shoot It With Film on Instagram


Blog Comments
Steve
October 14, 2022 at 10:50 am
I always use 400 ASA film and the sunny 16 rule, which makes you learn how to interpret light. I also have a hyperfocal chart I got sometime in the past. As an example it suggests with a 28mm lens at f11 you should focus at 12 feet which gives a DOF that extends from 6 feet to infinity. All shots on a roll are never perfect but many are.
Barry smith
February 28, 2025 at 12:56 pm
instead of zone focusing, why not focus for the hyper – focal point. That way everything will be in focus. So you’re set at 1/125 @ f/16, place the infinity mark on the distance scale at f/16 on the d-o-f scale, and now you’ll be in focus from let’s say 7 feet to infinity.
Neil
October 16, 2022 at 1:40 am
Thanks Steve. I’m going to do a deeper dive into zone focusing in the future, and I’ll include hyperfocal distances when I do that 🙂