
Written by Mihály Alagi
My name is Mihály Alagi from Hungary. I shoot almost exclusively on film, and I like to experiment.
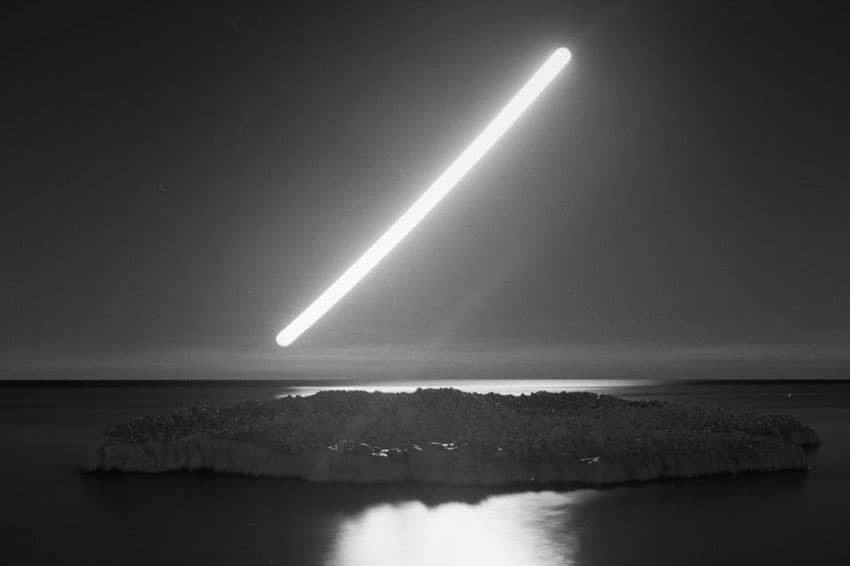
I will often experiment by shooting an extremely large number of exposures (40+) onto one frame. This kind of experimentation led me to double exposure split images, as well.


What is a Splitzer?
An image splitter or Splitzer is a filter placed over your lens that covers a portion of the lens.
This allows you to expose a portion of your frame in one shot, rotate the Splitzer, and, using the double exposure feature, expose the rest of the frame in the next shot.
You can buy factory made Splitzers (find on Amazon), but I prefer my own DIY solution.

Making a DIY Splitzer
At first, I tried cutting black backing paper from a 120 roll film and stretching it over one of the half of the lens, securing it to the filter thread, but it wore down quickly.
Next, I glued the backing paper (you could also use black mat board) onto a UV filter (find on Amazon), being careful to cover exactly one half of the area.
This worked much better.


Tips for Using a Splitzer
The first step is to measure the light.
I set my aperture to somewhere between F11 and F13. This is the setting where the two picture halves join together nicely.
This way the center of the image is not too bright and there is no dark stripe in the center of the frame. The overlay can be fine tuned by changing the aperture.

The second step is to set the splitter to divide the picture vertically or horizontally.
Focus must be set in advance without the splitter attached. Once you have it on, you won’t be able to refocus.
When shooting a symmetric photo, it is important to focus on one part of the picture, as the camera will have to be turned upside down for other exposure.

Third step is to rotate the mask and the camera, as well.
I shoot hand held without using a tripod or a device to rotate the camera. Every other aspect of taking the photo is up to the photographer.

You can do this technique with any camera capable of multiple exposures.
I use the Canon EOS 630 (600 in Europe), Lubitel 166B, Canon T90, and Smena 8M. My favorite films are Ilford HP5/FP4, Agra APX400, and Foma Fomapan 400.

This technique is not only for landscapes or cityscapes. I like to dream and create surreal and conceptual worlds, thus presenting people and situations as well.


The images were shot around Budapest, Ajka, Kislőd, Veszprém in Hungary, Omagh in Northern Ireland, and Lloret de Mar in Spain. Thank you to Janos Debreczi and Krisztián Bedynski for help with the translation.
Thank you so much, Mihály! You can find more of Mihály’s work on Instagram, Facebook, and Flickr.
Leave your questions about double exposures and using a Splitzer below in the comments, and you can check out all of our film photography tutorials here!


Leave a Comment
Shoot It With Film on Instagram


Blog Comments
yang
April 19, 2020 at 6:37 am
I’d like to know how to use splitzer in the multiple exposure of Nikon f3hp. Is it ISO conversion, or need the shutter to convert and then add the exposure compensation.
yang
April 19, 2020 at 7:01 am
Hello, I want to know about the operation on image segmentation technique, whether can you tell me something about its operation steps and specific decomposition method.
Lachezar
August 11, 2023 at 9:36 pm
Love the creativity!
norbi
September 21, 2023 at 5:38 am
Thanks for the info, and inspiring shots. I tried before and often had that badly exposed middle line.
This was the first article I saw which talked about stopping down the lens! Really appreciate that information.