
Written by Alec Pain (Alastair Place)
Do you still work in an office, or do you – like me – primarily work from home? I definitely feel the benefit of being sat at home and not having to spend four hours commuting into and back out of London.
There’s a couple of things I do miss though. Being able to head out and take pictures at lunch or after work (especially with London’s constant source of different places to discover) and then there’s all those donuts, cakes, and sweets which are far too tempting to resist…
My company no longer has a physical office – and one of the benefits of meeting your colleagues in person is the ability to brainstorm more effectively; to create together and especially to learn from them and how they perform certain tasks. To suddenly find out that there’s a shortcut or a better way to do things in a program like Photoshop for instance.
Don’t get me wrong, you’re hopefully reading this article for some insight about the Speed Graphic – or to look at the results – but there’s a place for everything and paying someone who has a depth of knowledge in what you want to achieve or the same camera that you are thinking of purchasing (or have actually purchased!) can really help you. And no-one is too young or old to learn new things.
The Value of In-Person Photography Workshops
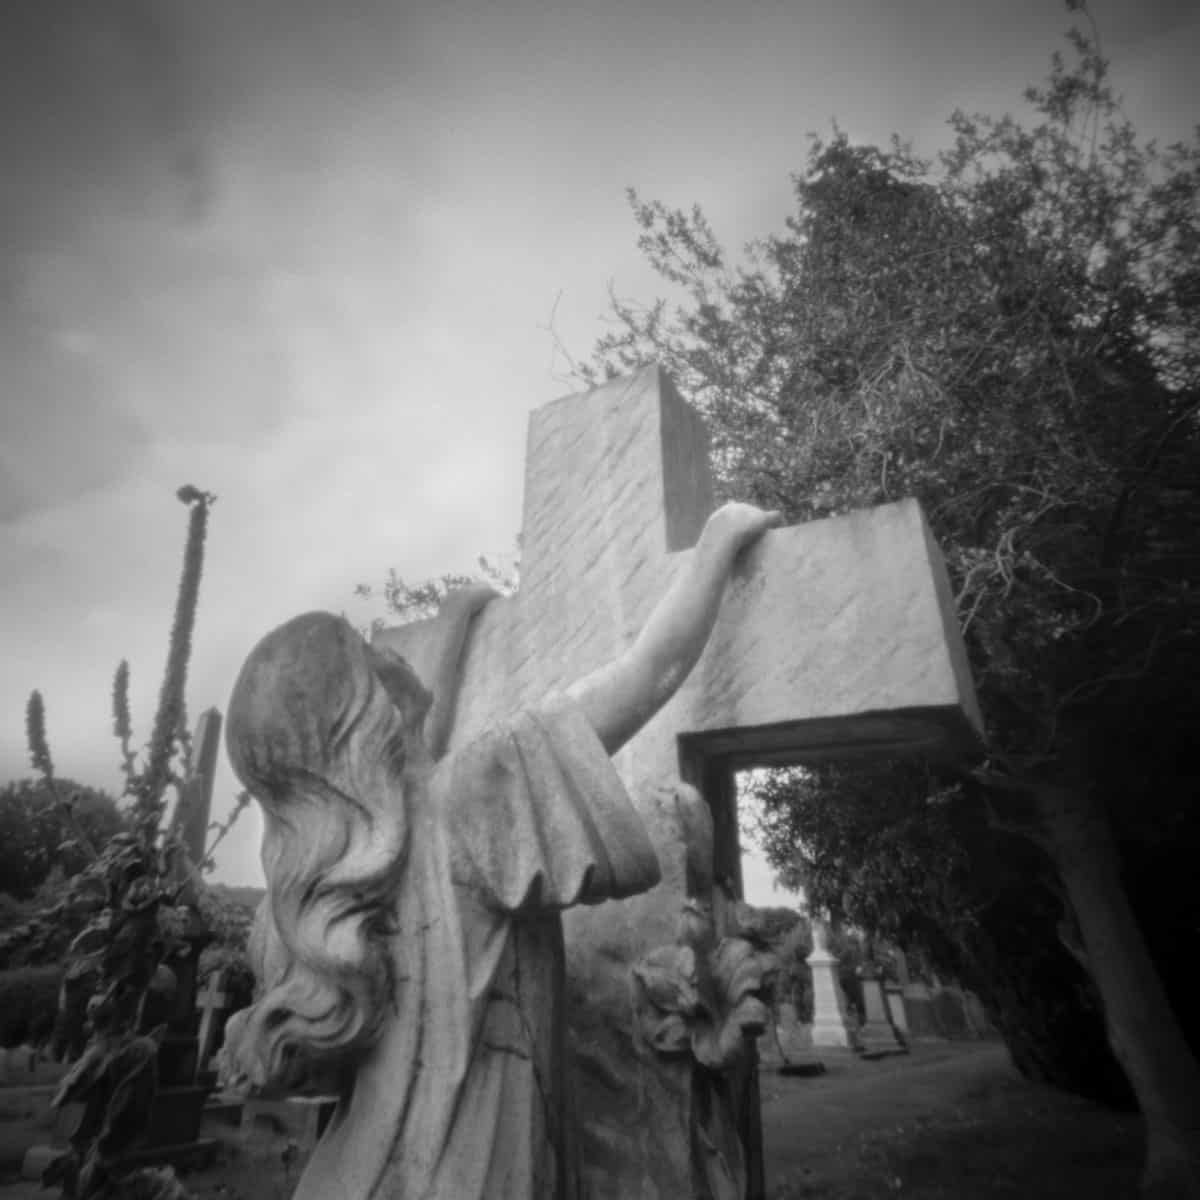
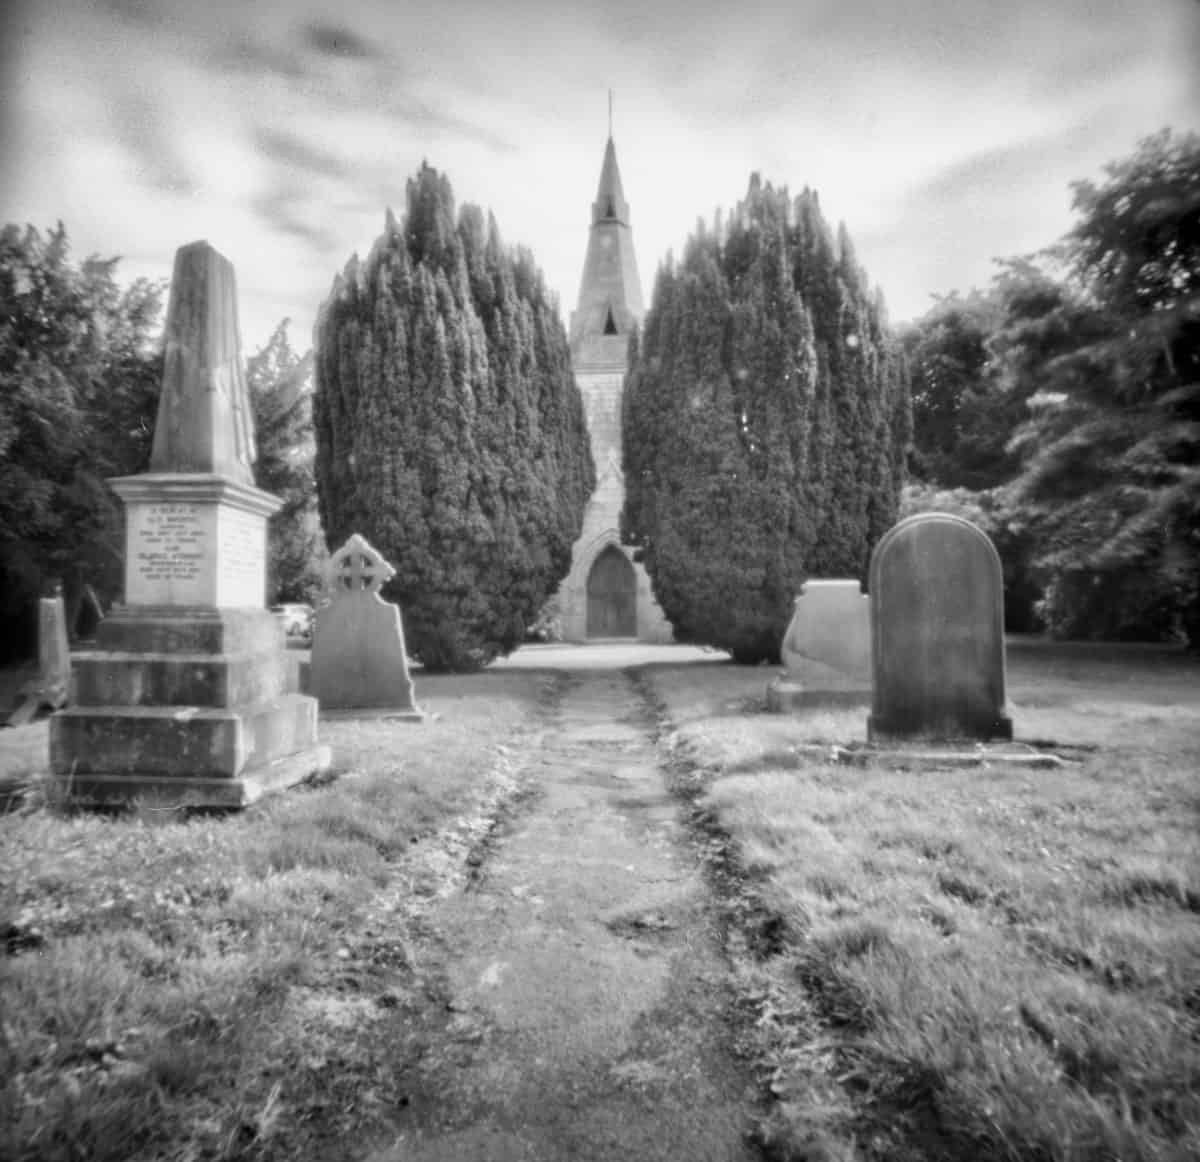
I’ve done a few courses over the years, and my first film photography course back in 2019 (after 18 years away from it!), really opened my eyes and gave me the push to be a better photographer and artist.
I met Martin Henson – you can see his incredible You Tube videos here – up in Yorkshire for a day on his “Film to Print” course. He taught me more in one day than I had learned online (and probably in my life about photography).
How to use the pinhole camera I had bought on a whim (the Noon Pinhole camera), how to compose with his Zero 2000 pinhole camera, how to measure light with a light meter or my film camera (the Minolta CLE (find on eBay)). He also helped me develop and scan my first negatives ever and then taught me how to contrast grade my digital scans.
And I ended up with several incredible images, a gorgeous print and the fantastic experience of learning from a master of his art:
I’ve gotten a little off topic because I do sincerely believe in doing one-to-one workshops. You get the experts’ undivided attention, and you can ask questions and not be embarrassed when you don’t know something!

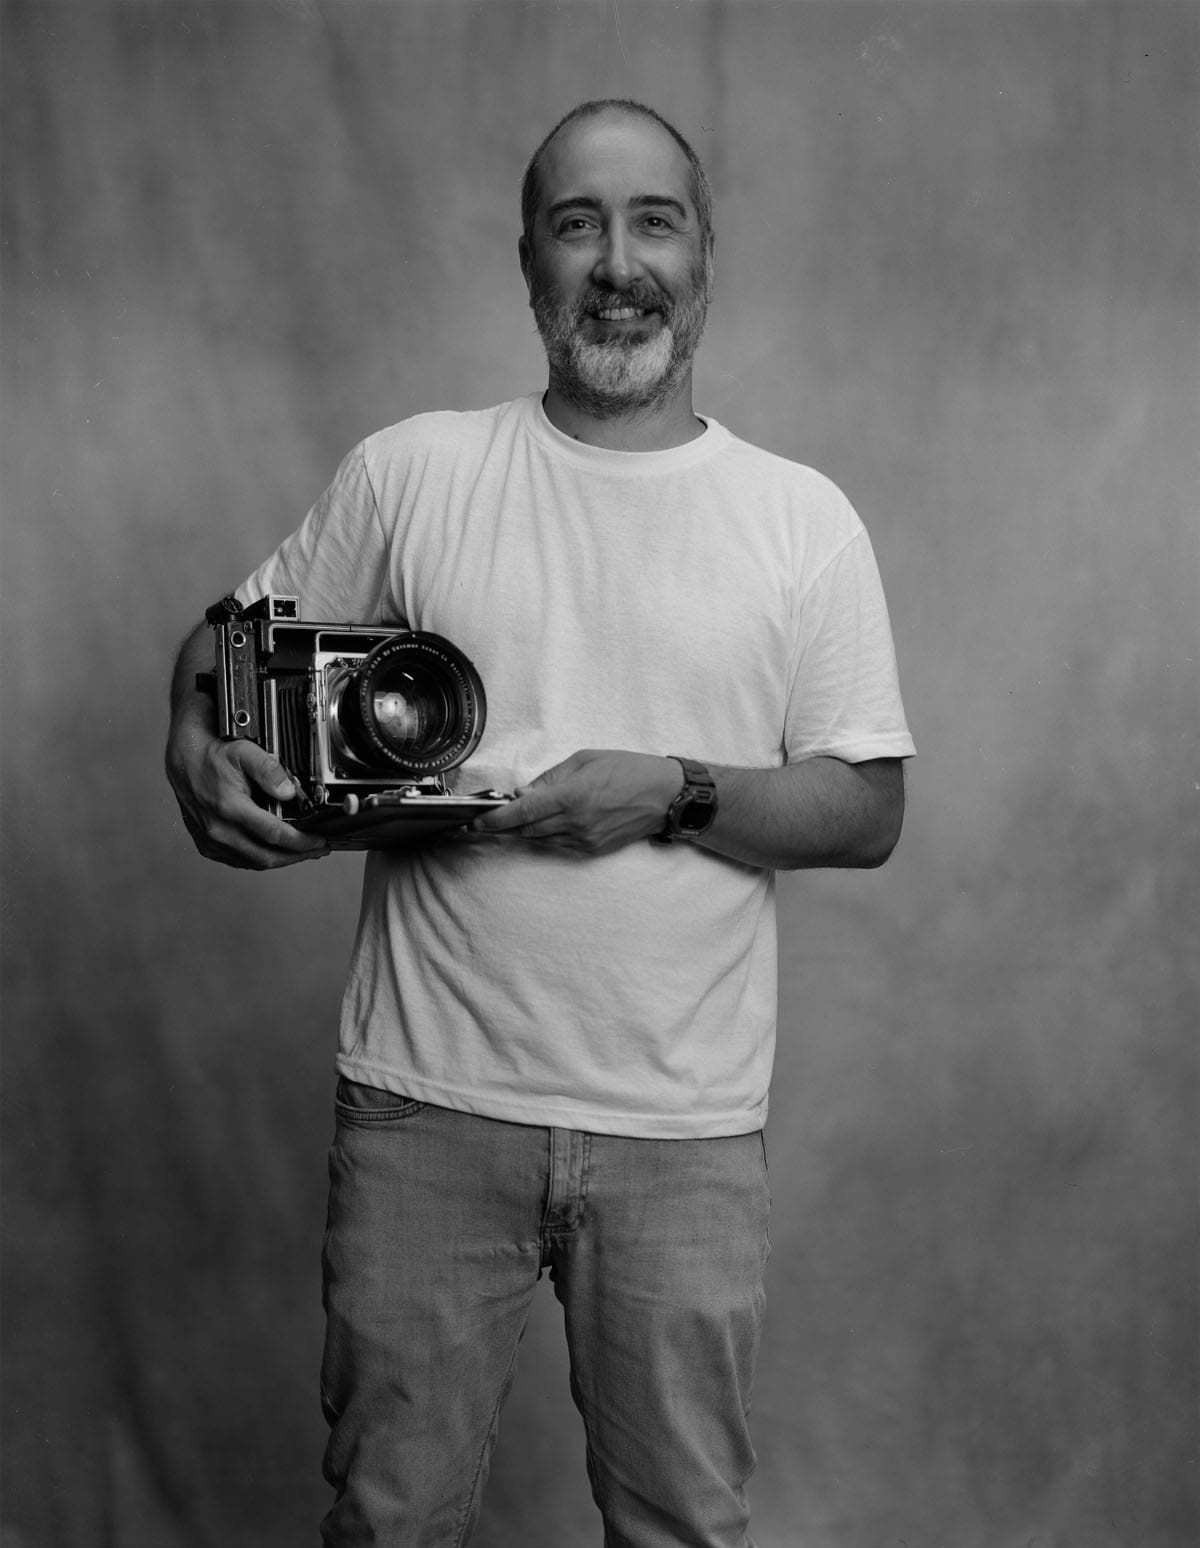
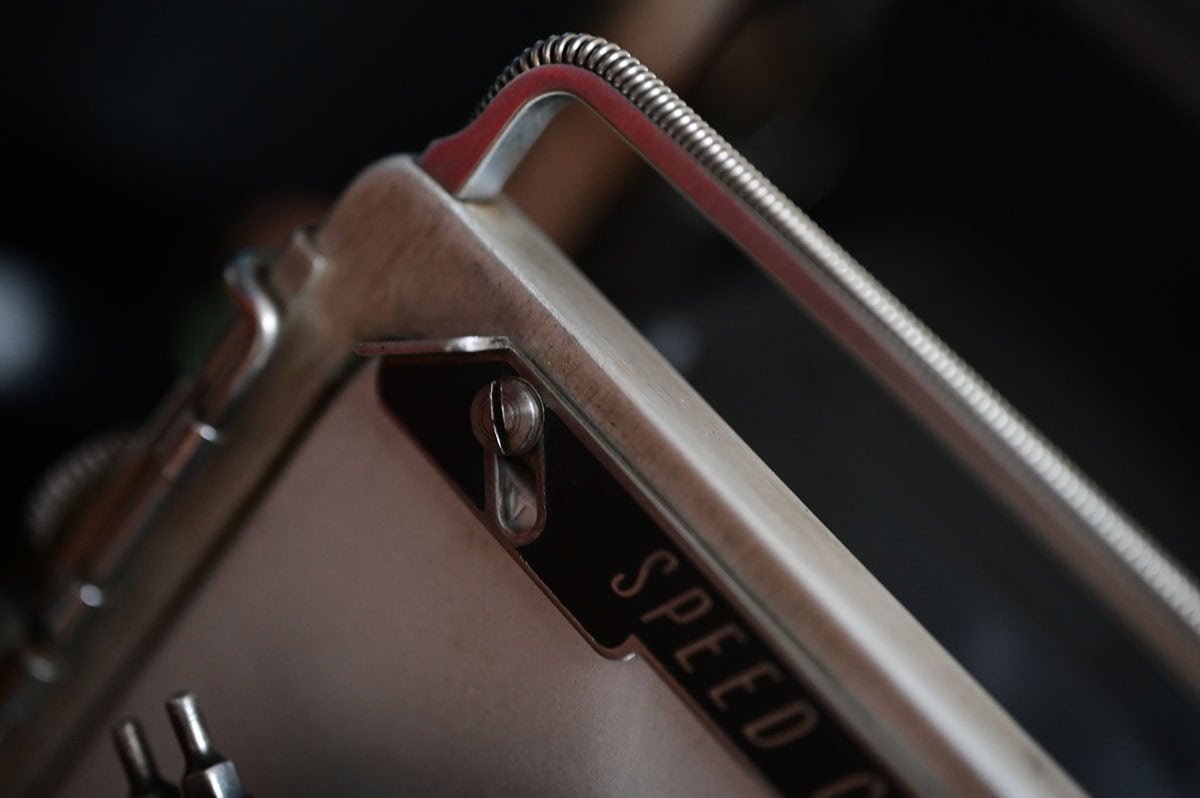
Getting the Graflex Speed Graphic
I was looking into buying the Graflex Speed Graphic (find at KEH Camera or on eBay) with an Aero Ektar lens (find on eBay) and had seen a couple on sale at CatLABS in Boston. I had intended to try it out first before buying, but then one sold and I panicked… and bought one before I went on the course!
Like most of us who have bought the Speed Graphic, I’d seen the incredible shots that David Burnett has produced with his Speed Graphic. There’s also an article here on Shoot It With Film on the Speed Graphic by David Rose.
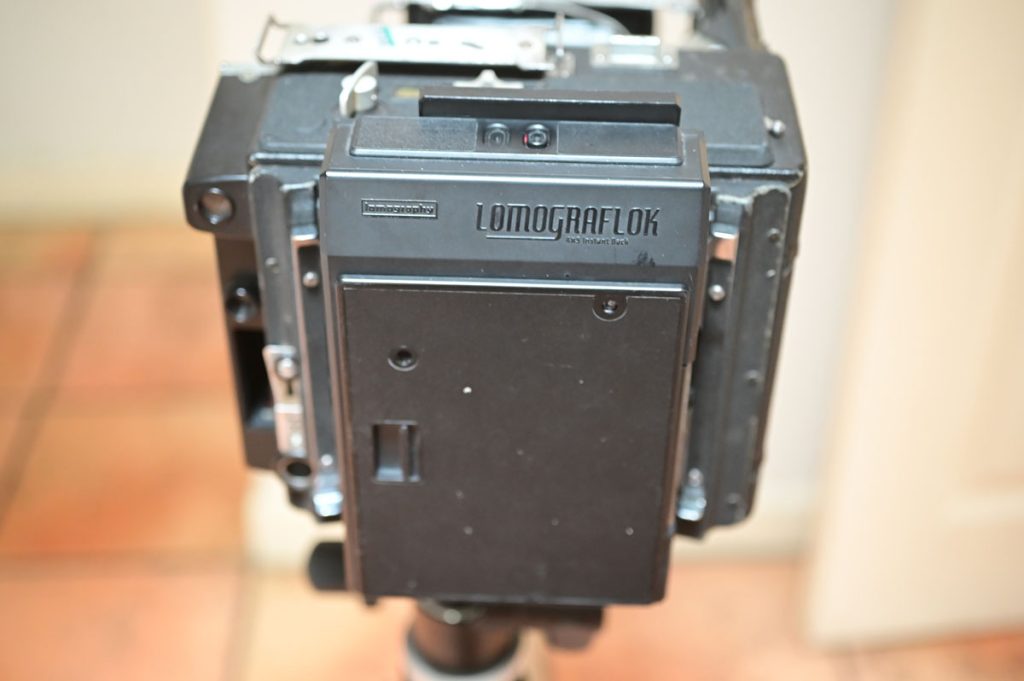
Some Speed Graphics have a Graflok back and some don’t which makes a difference if you want to use the Lomograflok back and also take Instax Wide shots with them.
There’s an article here if you want to know more about choosing one. There’s also a Graflex Crown Graphic which doesn’t have the back shutter (called a Focal Plane Shutter).
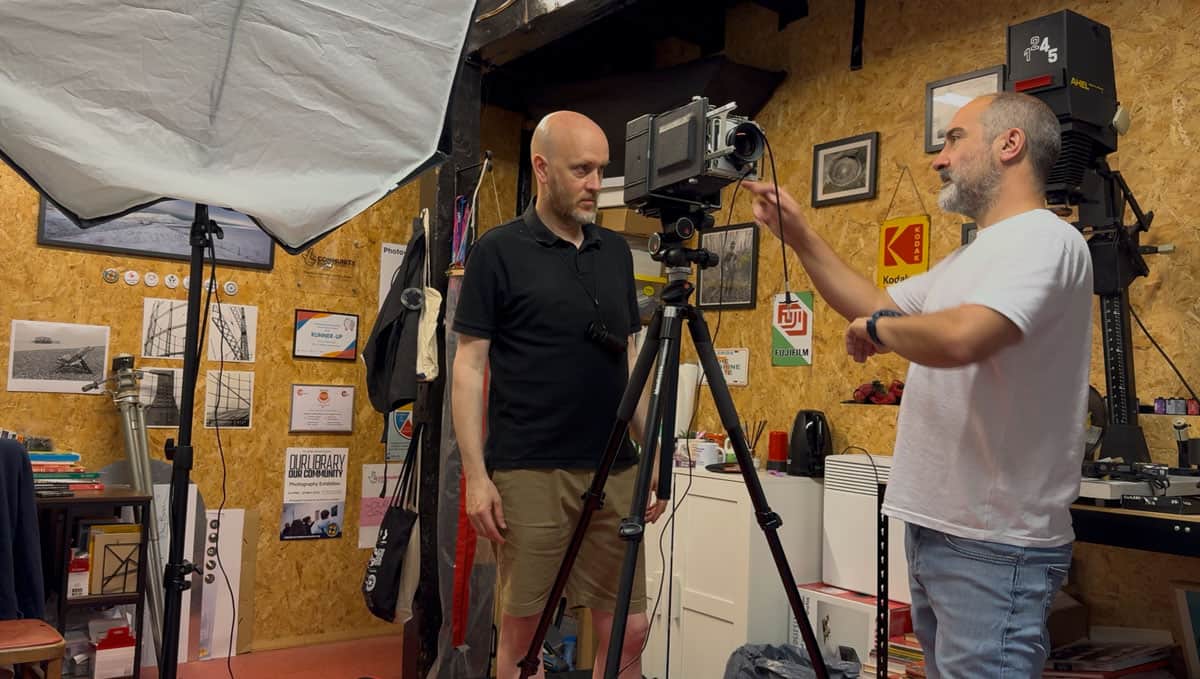
Taking a Workshop with Chris Chinnock
I found that Chris Chinnock also owned a Speed Graphic. He takes beautiful portraits and event photography and also happens to run film photography and darkroom workshops. He also writes articles for Silver Grain Classics (here’s one on the Holga). Like Martin he lives in Yorkshire… and like Martin he is passionate about passing on his knowledge to others.
I contacted him and asked if he could we could do a bespoke workshop based on getting to know the Speed Graphic camera – how it worked with film, with strobes, and also with a Lomograflok back so that I could use Instax Wide film with it. I had never used a lensed large format camera and, despite six years of experience taking film properly, was apprehensive and not confident in what the camera did.
Chris was incredibly generous with his time – we started at 9am and finished around 4:30pm with a minimal stop for lunch. We also had time to create two 8×10” prints in his darkroom (which he posted to me later) before I went home. I found a very cheap hotel to stay in the night before and drove the three hours from home the night before so that we could start nice and early!
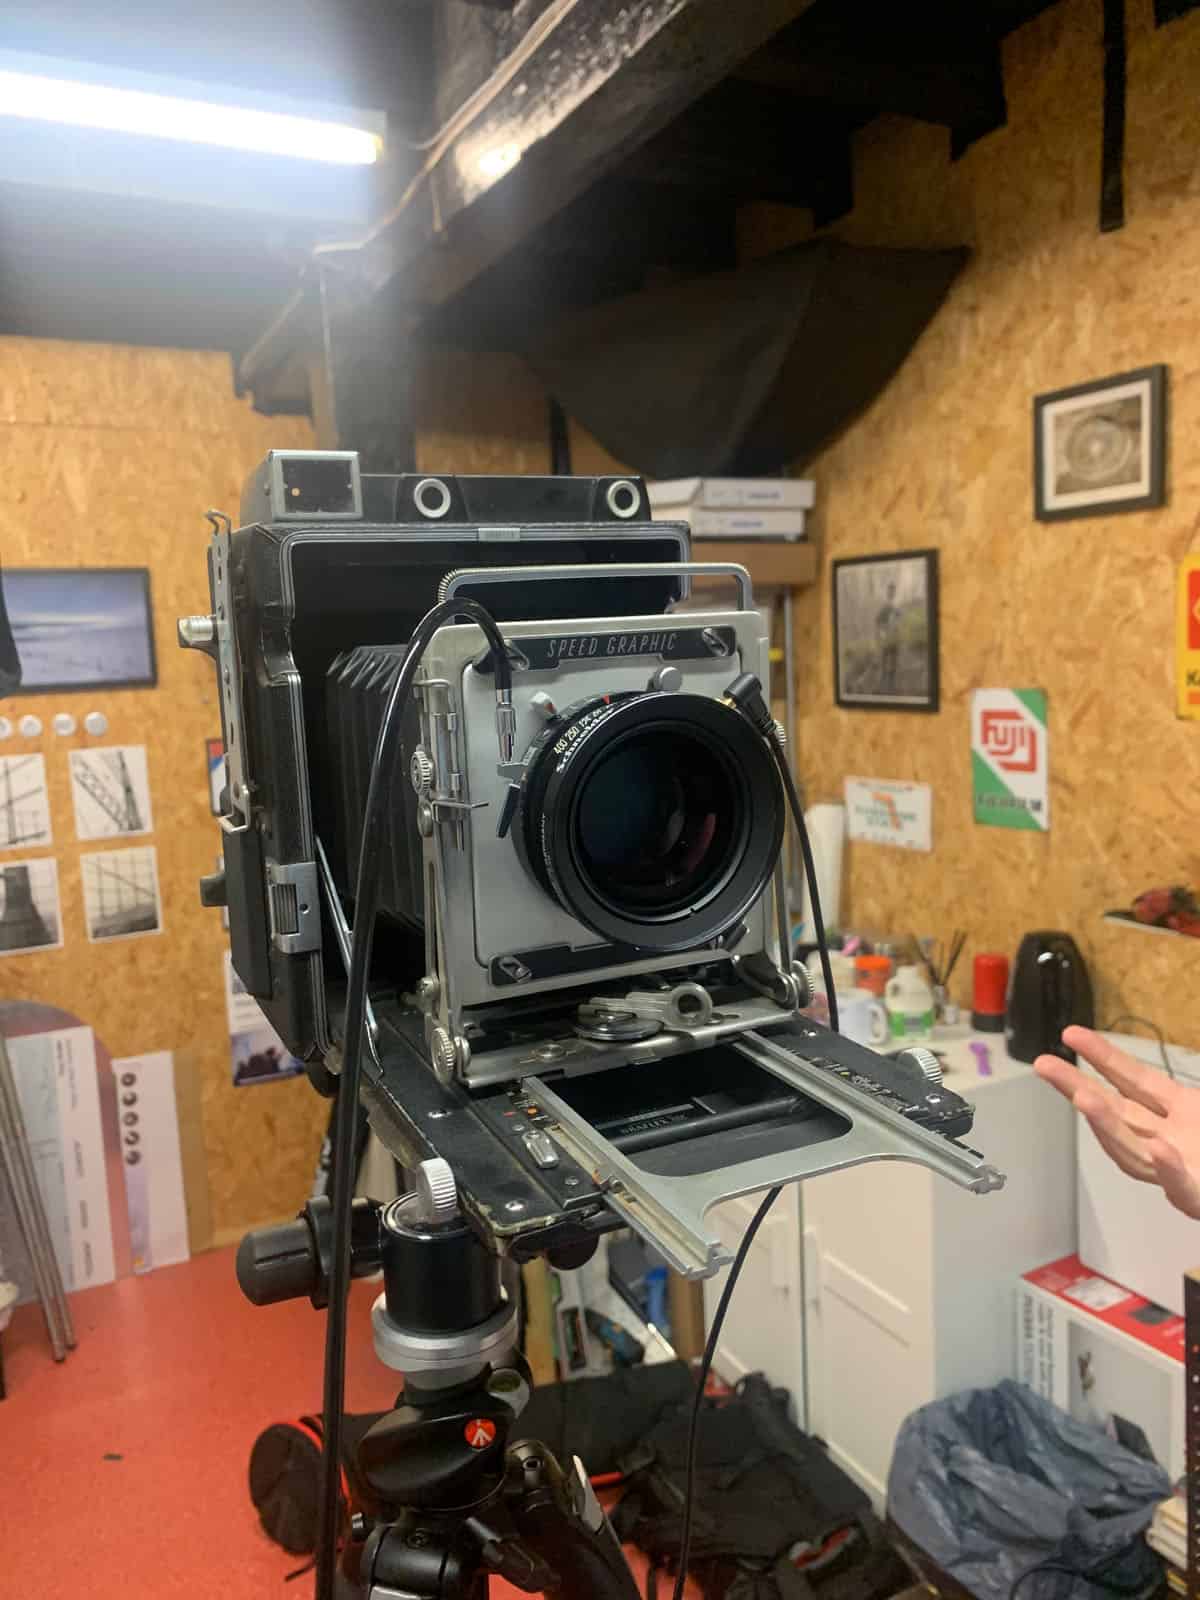
Using the Graflex Speed Graphic
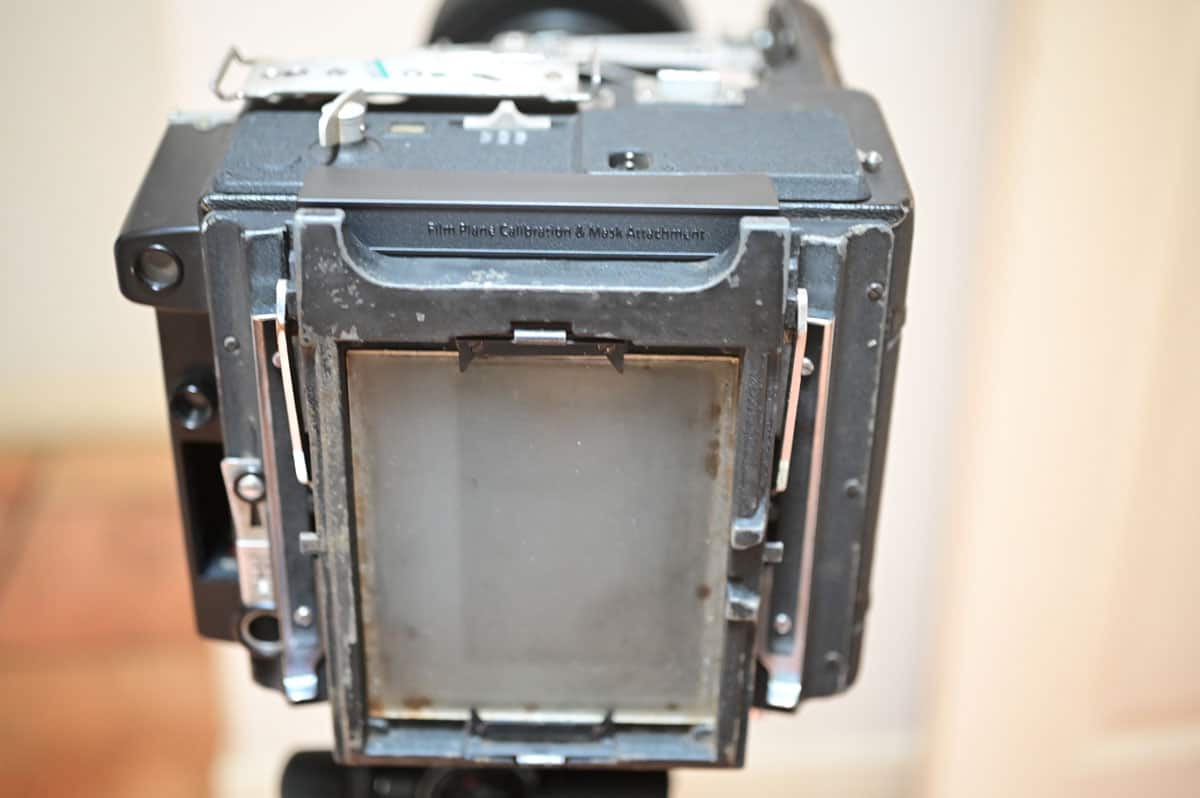
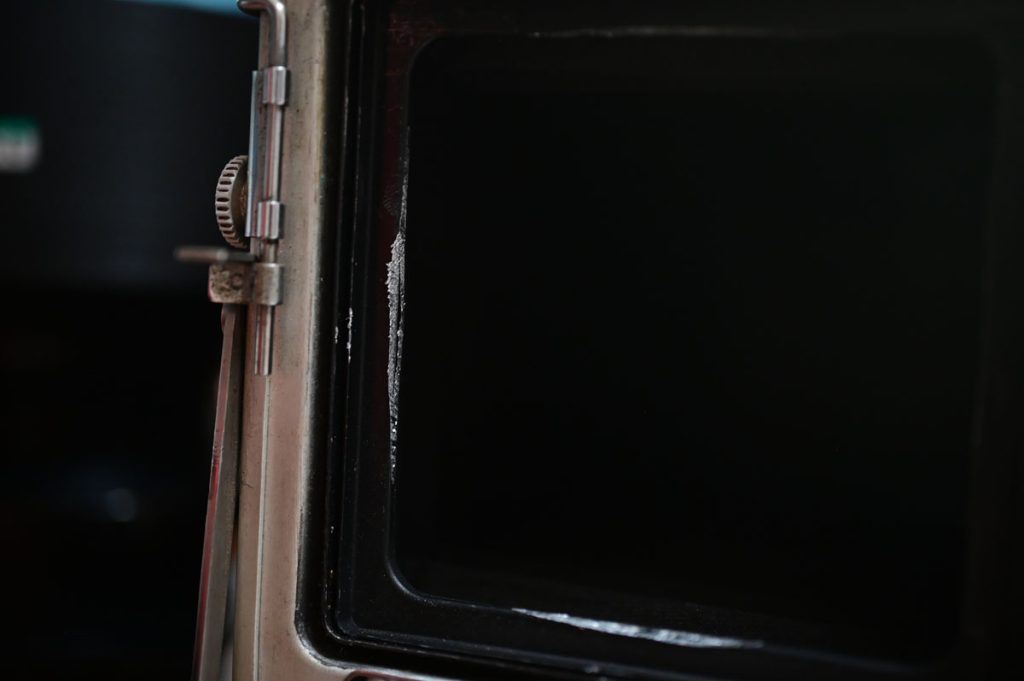
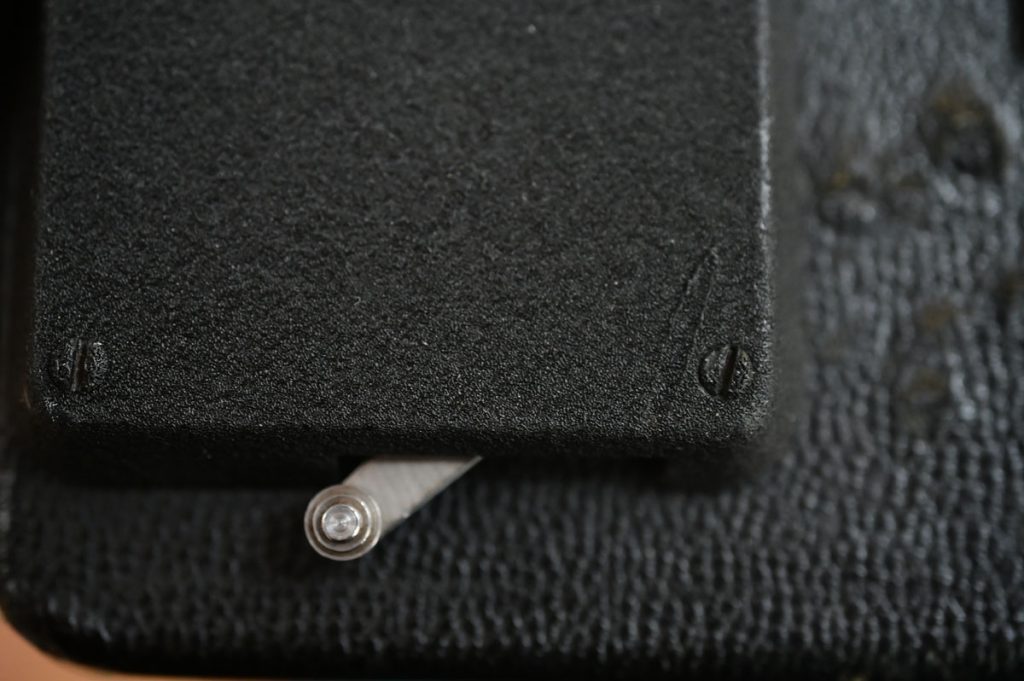
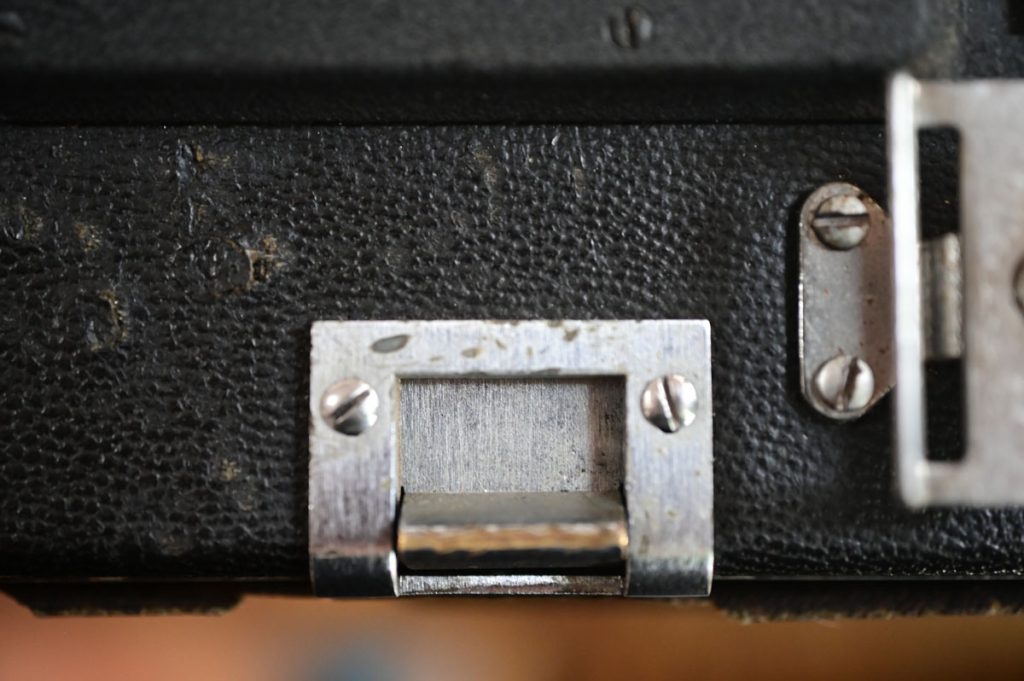
To open the camera, you need to find the “hidden” button which is either on the top of the camera or at the side, depending on which Speed Graphic you own.
This releases the rails and by turning the “key” at the bottom of the where the lens goes you can then pull out the bellows. You then lock it in place.
Attaching the lenses is fairly straightforward – there are two clips – one at the top and one at the bottom, so that you can put the lens onto the bellows.
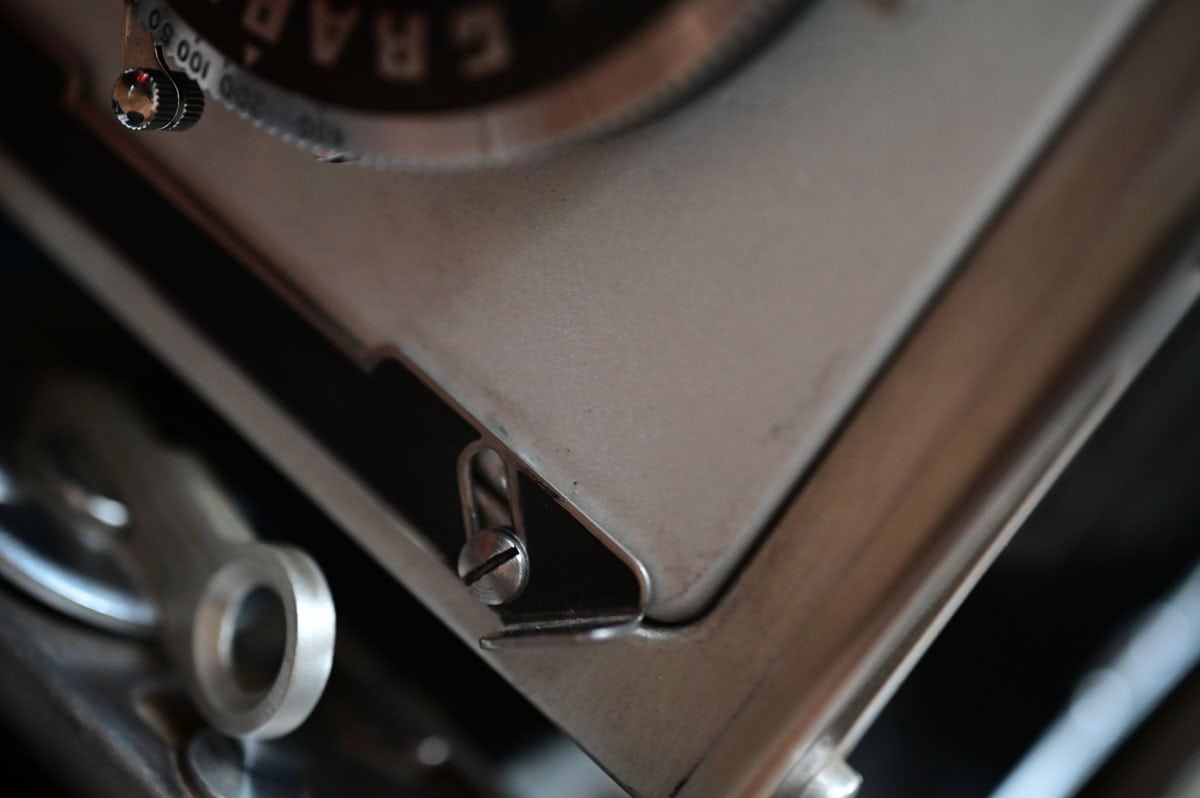
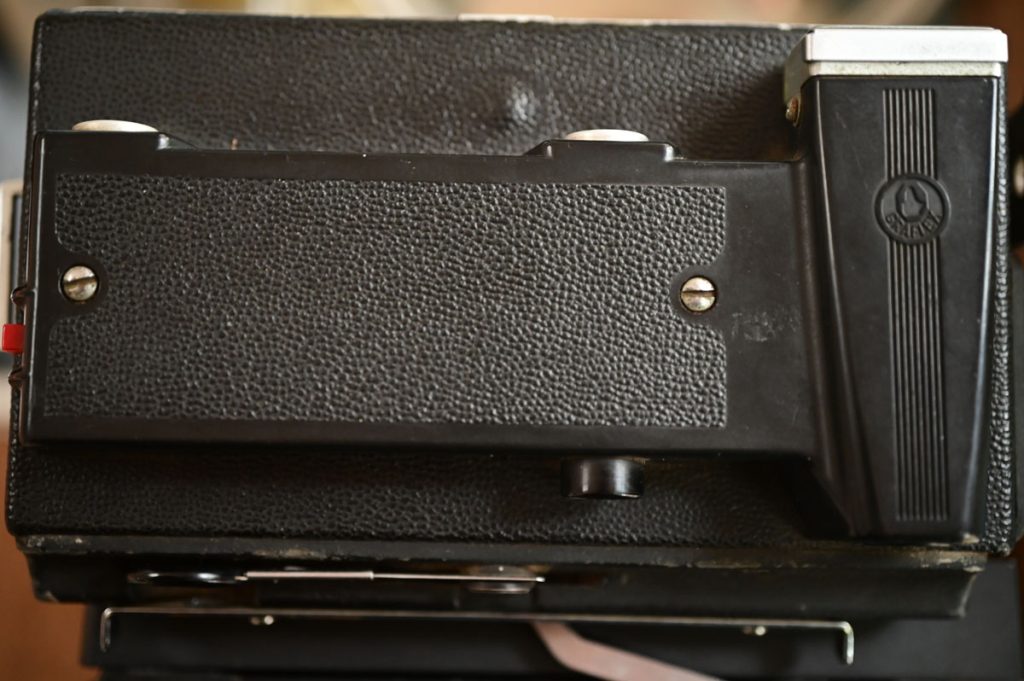
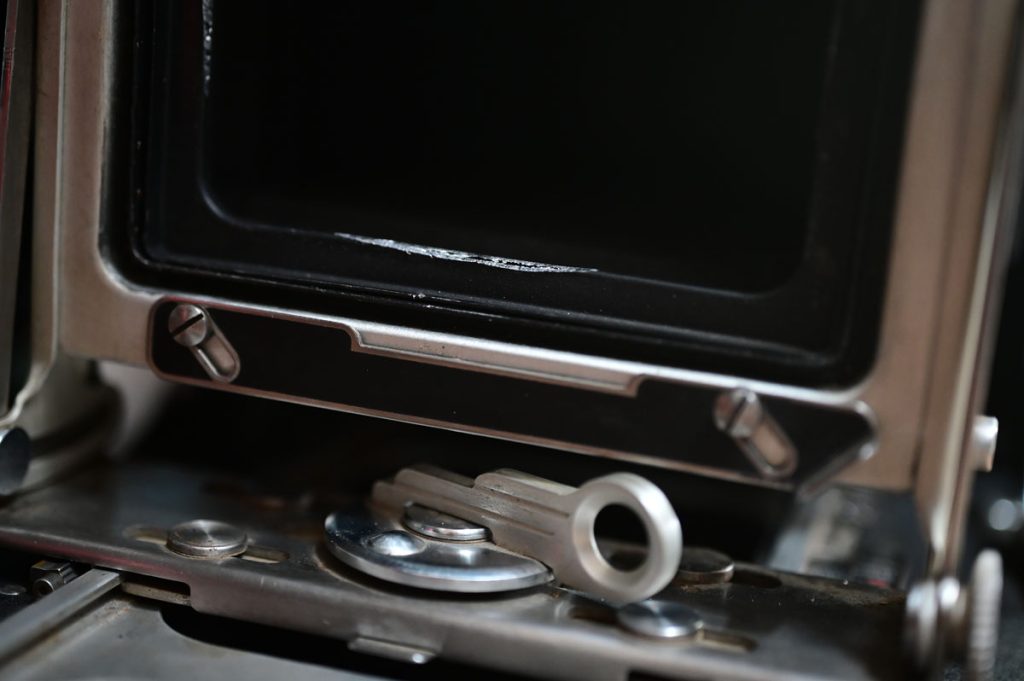
In Chris’ Studio, we started by getting used to the camera’s various settings. The Speed Graphic has a “back” and “front” setting as you can see in the photo below.
The front setting is used when you have a lens with a shutter on it. I have a Graphex f4.7 135mm lens (find on eBay) and so Chris showed me how this worked along with the settings for it. Essentially, you switch it to Front, then pull out the bellows, and attach the lens you are using.
There are also two places on the camera for you to attach your tripod – for portrait or landscape.
We were going to shoot in studio and, therefore, needed to attach it to a strobe. Unfortunately, the Graphex lens doesn’t come with a modern flash attachment, so we used Chris’ Schneider lens for this. I’ve found a cable to fit the Graphex from Paramount Cords and it is on its way to me as I write this article.
Chris’ lens is a Schneider Kreuznach Symmar S 210mm F5.6 (find on eBay). And after setting up and getting used to how the shutter worked (such as how to cock the shutter) we rigged the lens up to a strobe.
We also tested the light using both and Chris’ and mine light meter. I tend to use a digital camera to check my exposure with strobes when shooting film (see my article on shooting film with strobes and a Holga) and hadn’t worked out how my light meter worked with strobes previously. It was incredibly useful for him to explain it.
Using the Lomograflok Back
We took our first shots with the Lomograflok back. It made sense to get used to how the camera worked and get used to using the Front shutter. You can’t use a strobe with the Aero Ektar lens as it doesn’t have a shutter release.
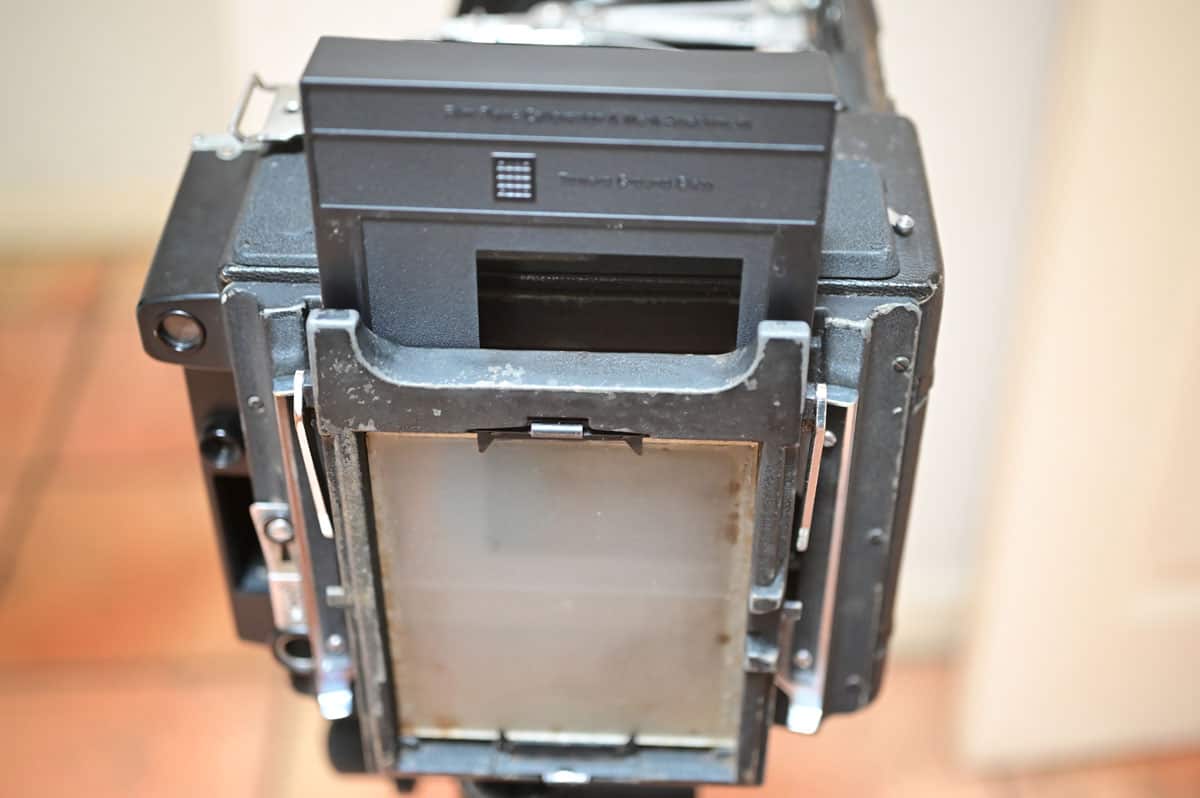
We practiced focusing using the Lomograflok’s spacer. The spacer is placed where a film would go – inside the focusing screen, which you need it to compensate for when shooting. It helps to show you where the image (i.e. image area of the Polaroid is). You then focus using the Focusing Knob wheel on the track. Walking through the process repeatedly really helped to get my head around how to use it.
Once we had focus, we then removed the Lomograflok spacer and the glass focusing screen and clicked the Lomograflok into place, making sure to have cocked the shutter. Removing the dark slide, we then took the picture.
Remembering to put the dark side back before ejecting the Polaroid is also easily forgotten!
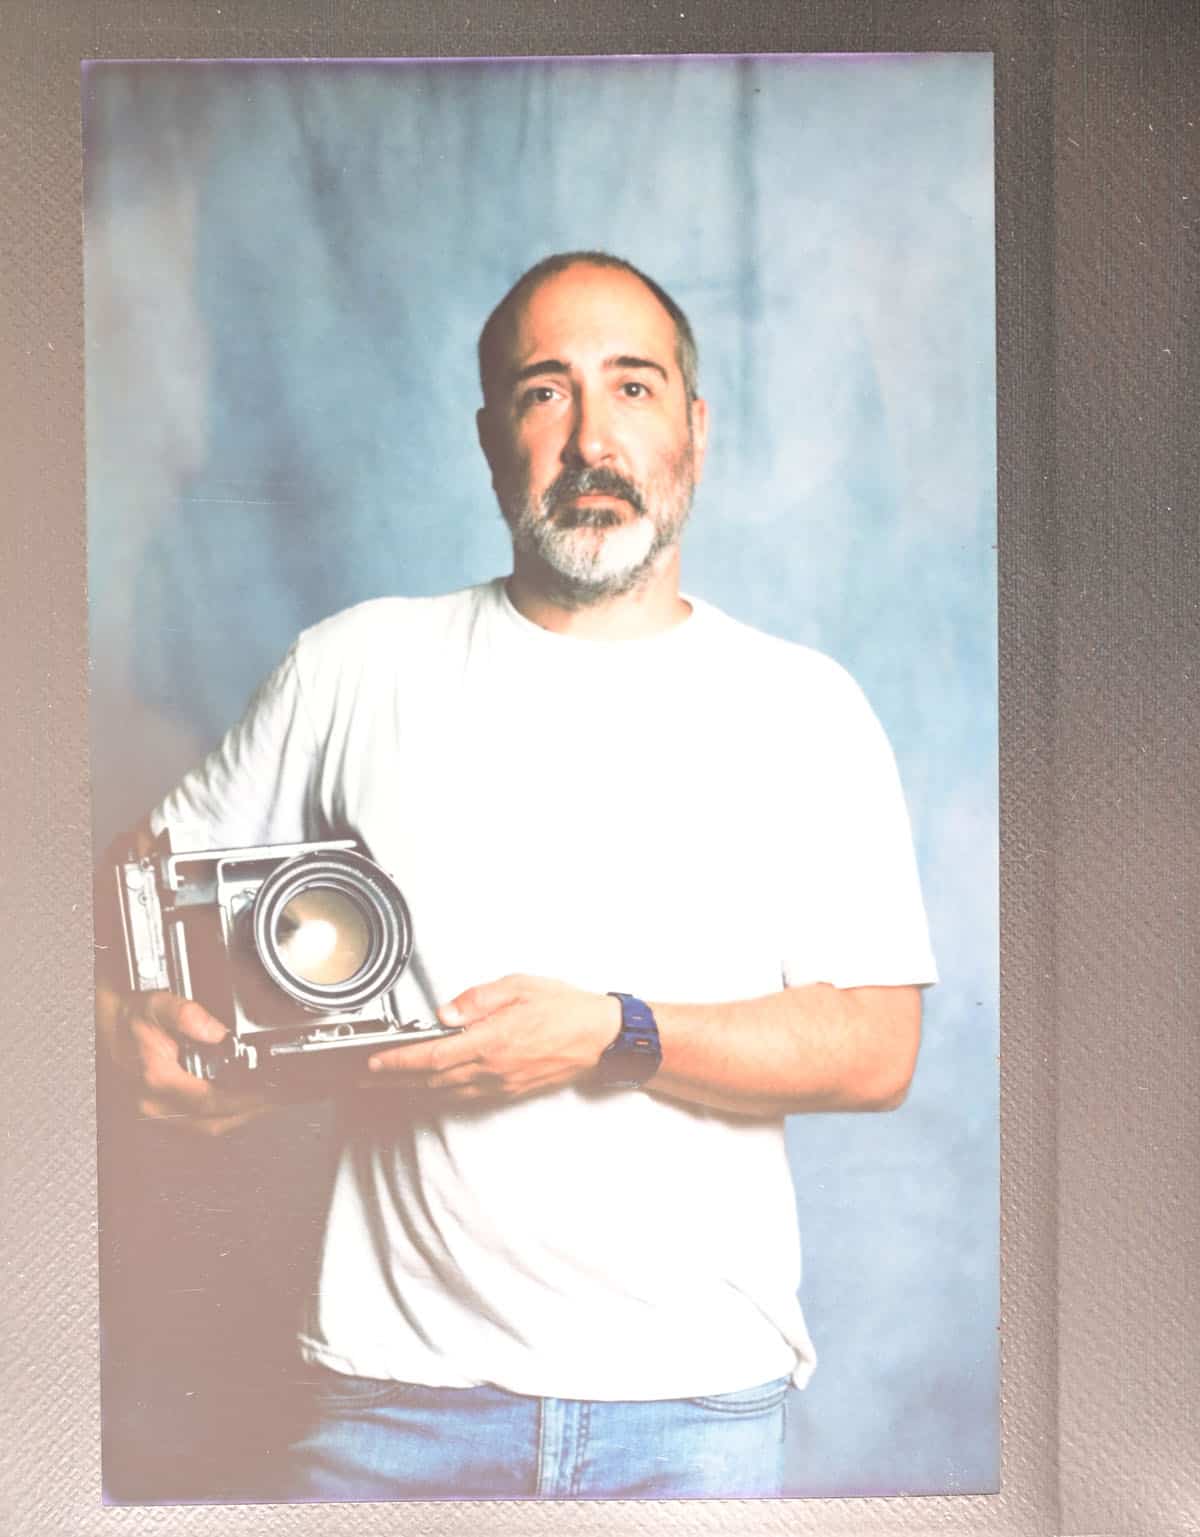
The shots we took were based on metering the Instax black and white film at 400 iso (the film is technically 800 iso). There’s a little bit of mastery to be had here which I am still getting used to, but here’s my shots of Chris using the Schneider lens.
This can also depend on the length of the camera’s bellows. They all came out very well. The subject using this method has to remain where they are.
We used up the black and white, so then shot on Instax color (and also rated at 400 iso):
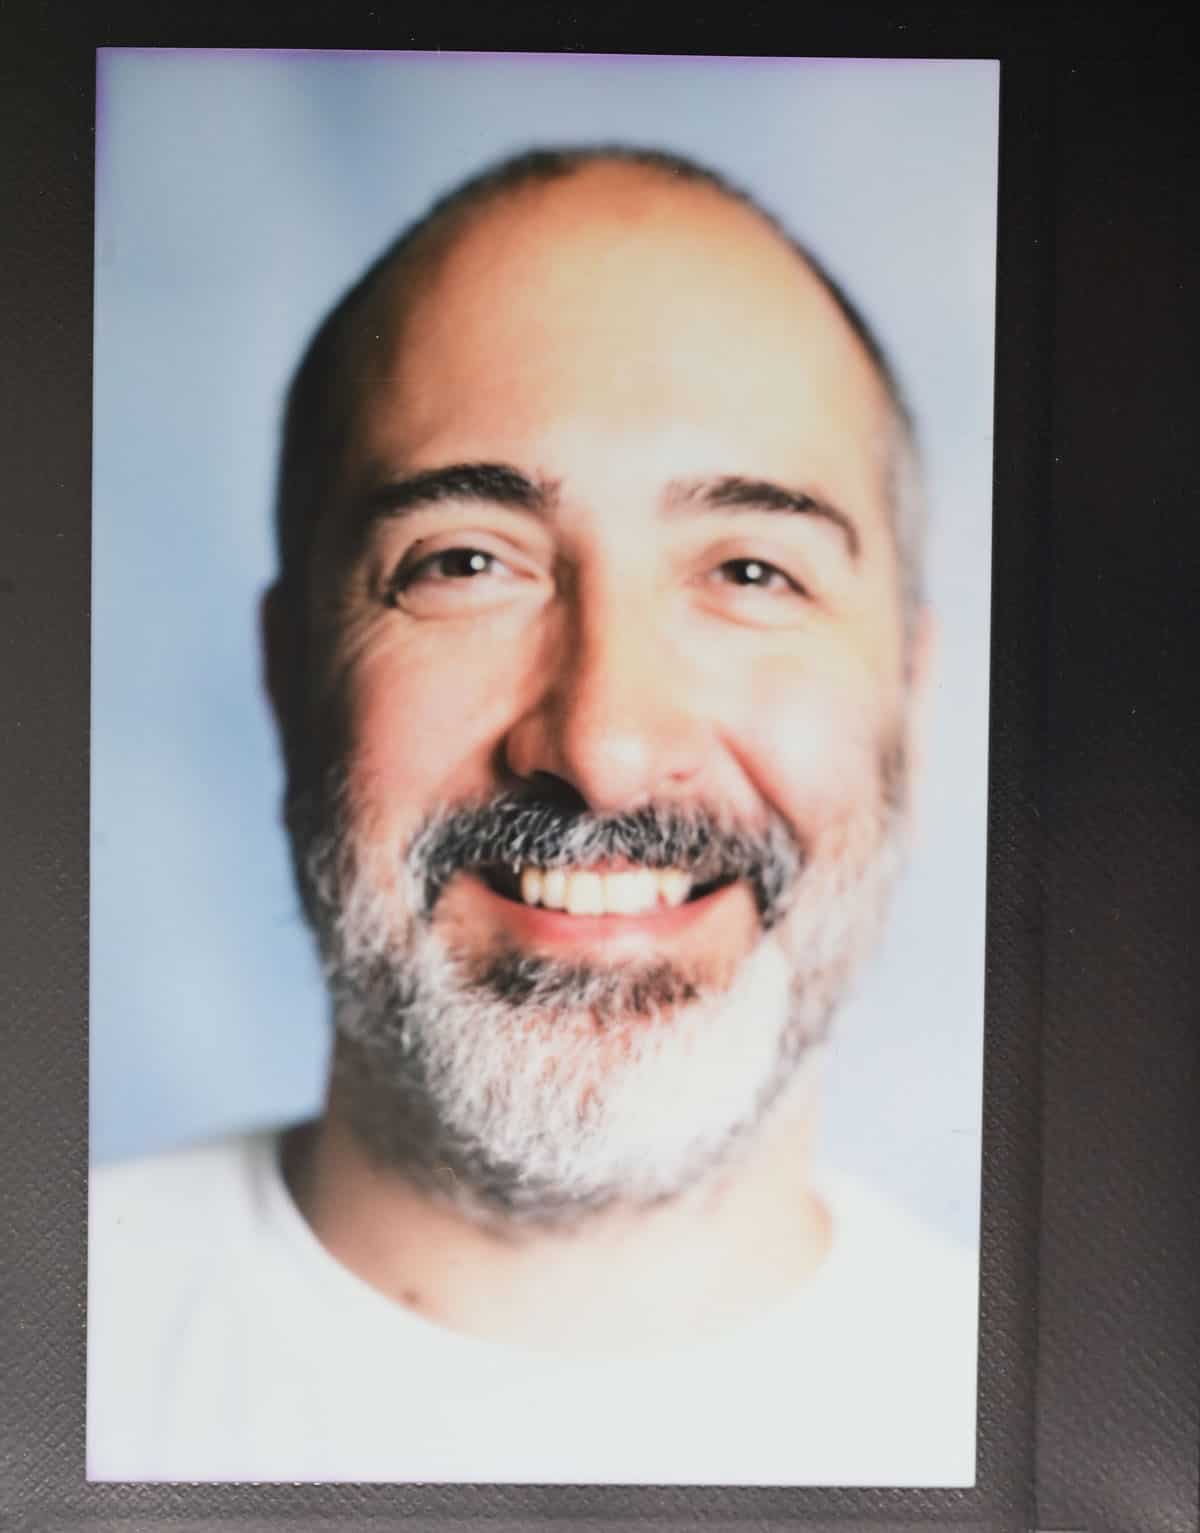
So far so good! We then tried a couple of wider shots. The first came out over-exposed, but we were then able to compensate on the second shot.
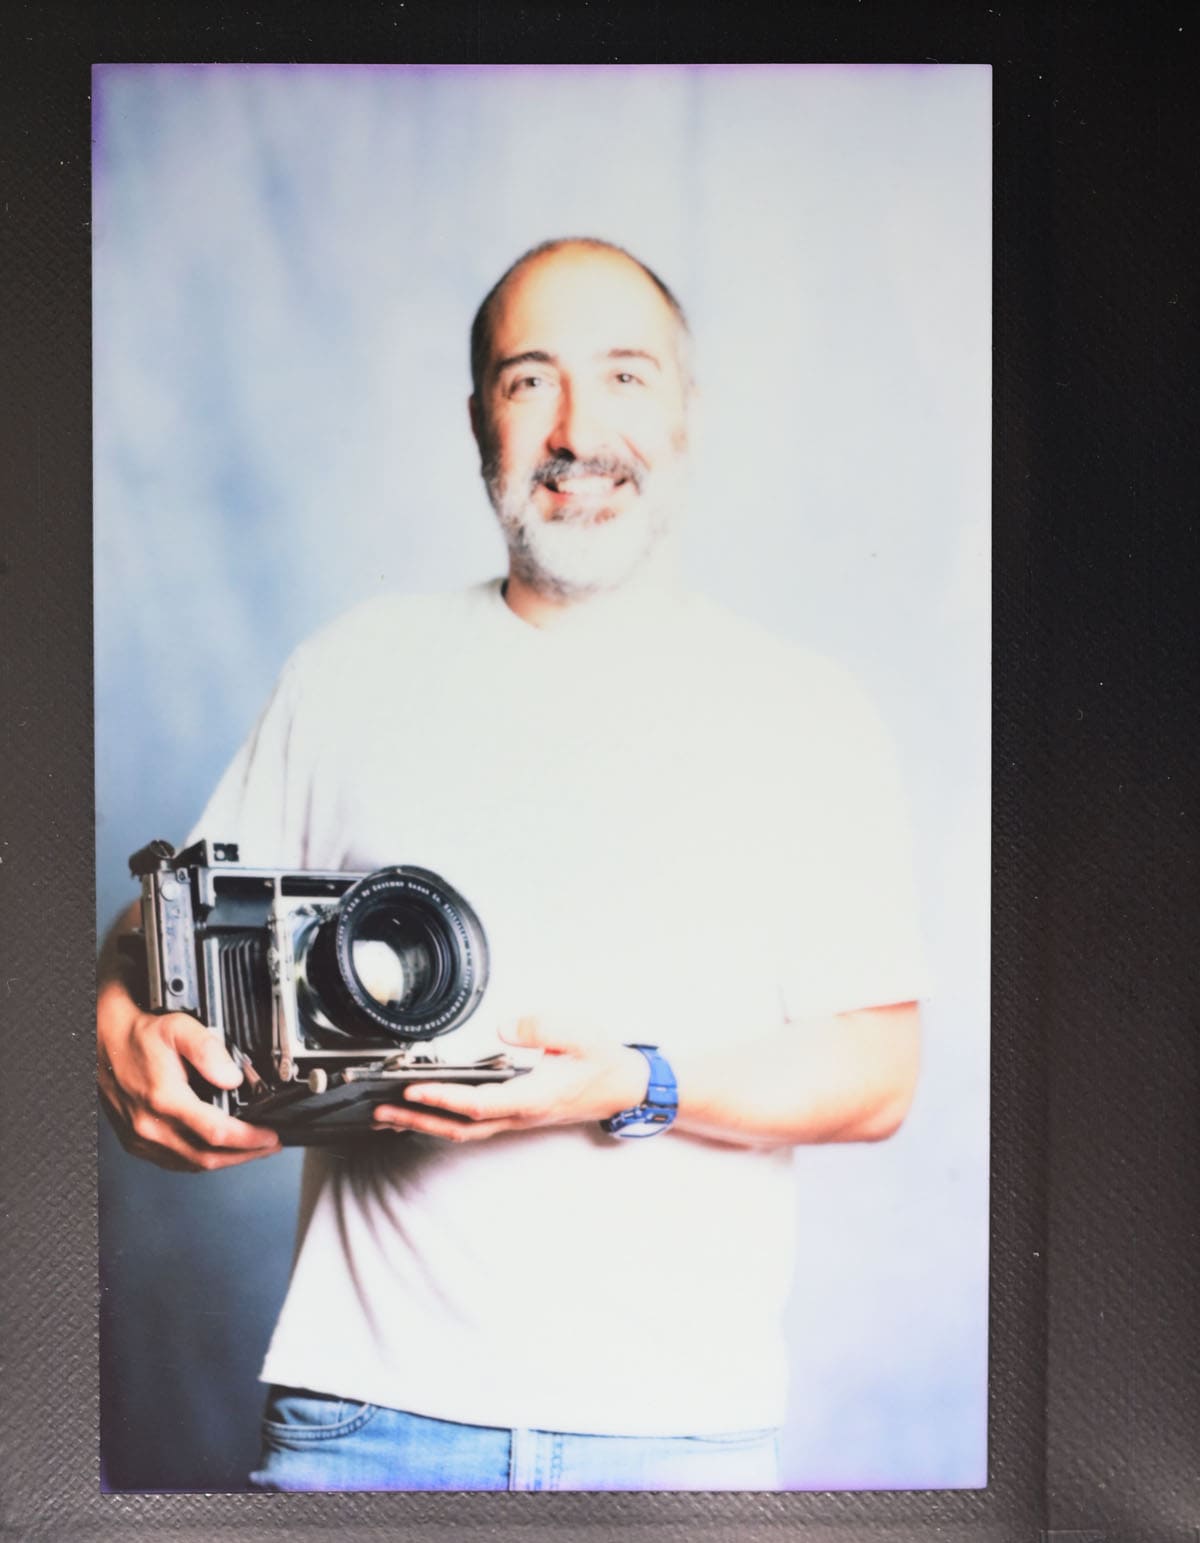
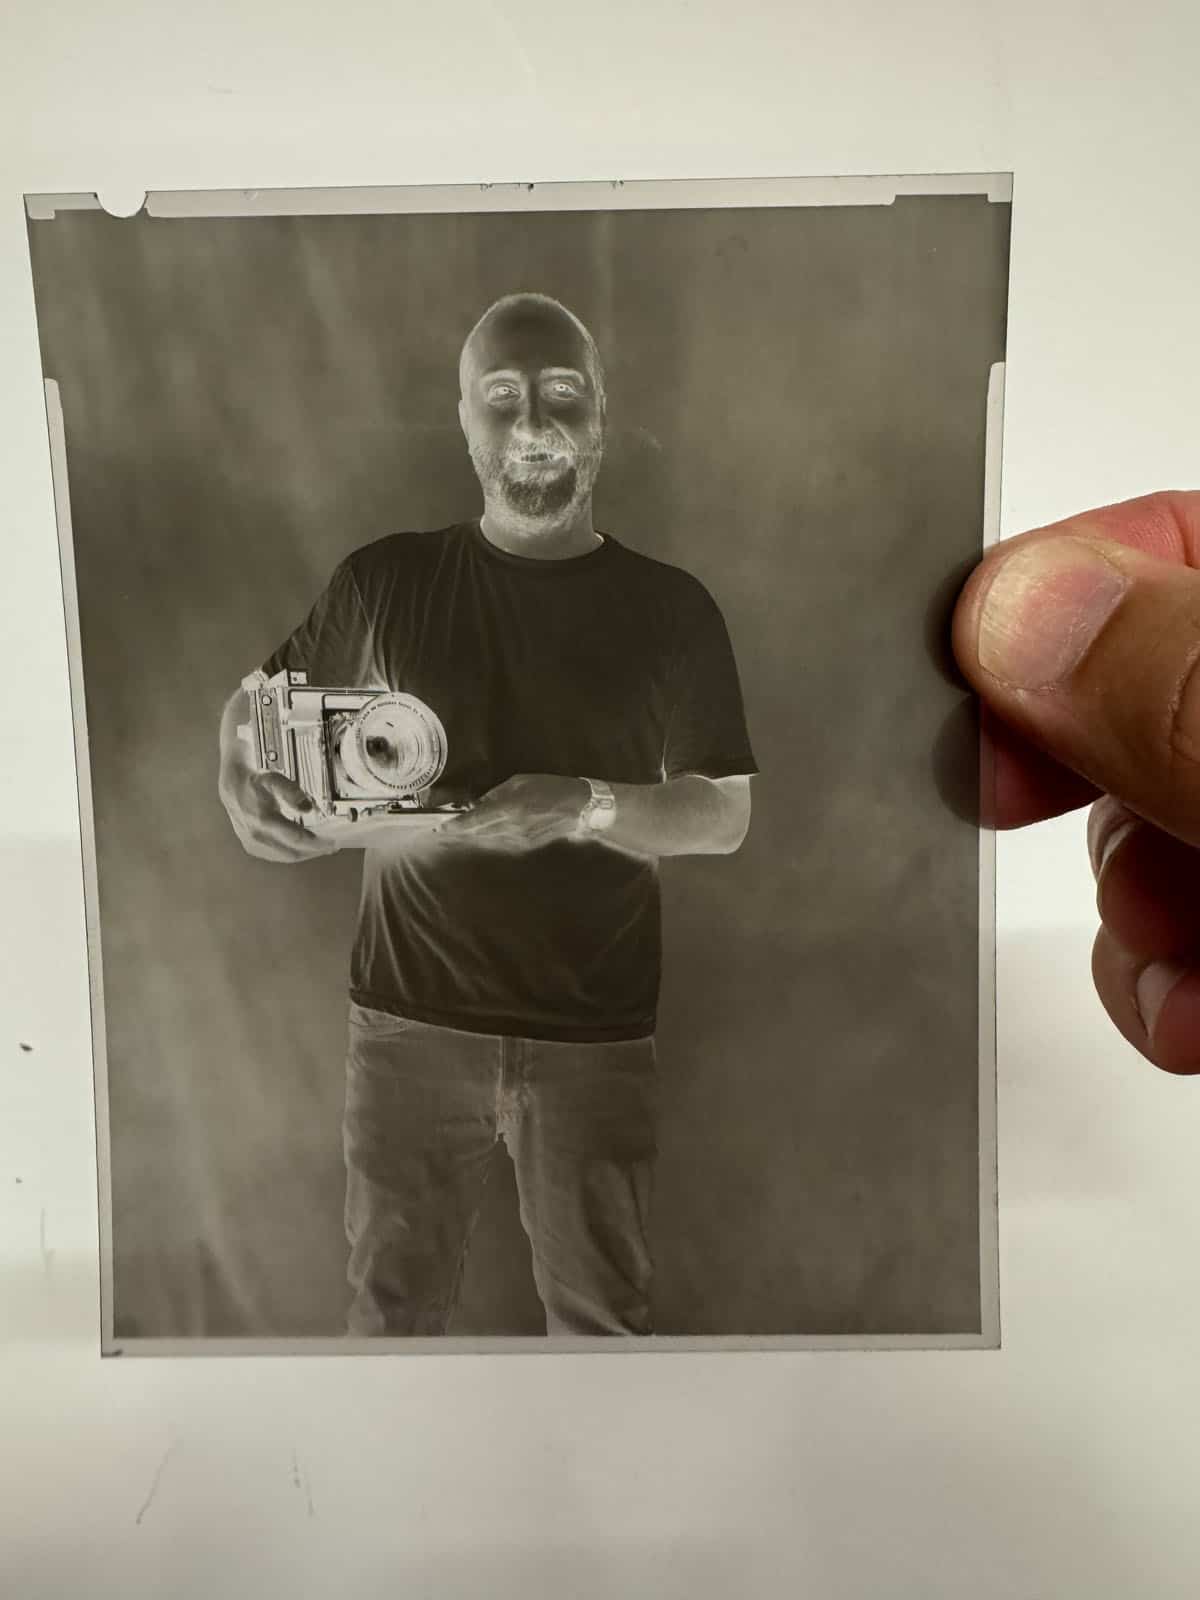
With time kicking on, we decided then to load some film – I’d received some Catlabs 80 4×5 film along with the camera. This we rated at 32 iso as we were going to develop the film with 510pyro (the data sheet is here, page 12).
We took one shot of Chris holding the camera, having practiced both loading the film in a darkbag (very useful if you haven’t ever loaded large format film) and also using the back (this time without the spacer) for film.
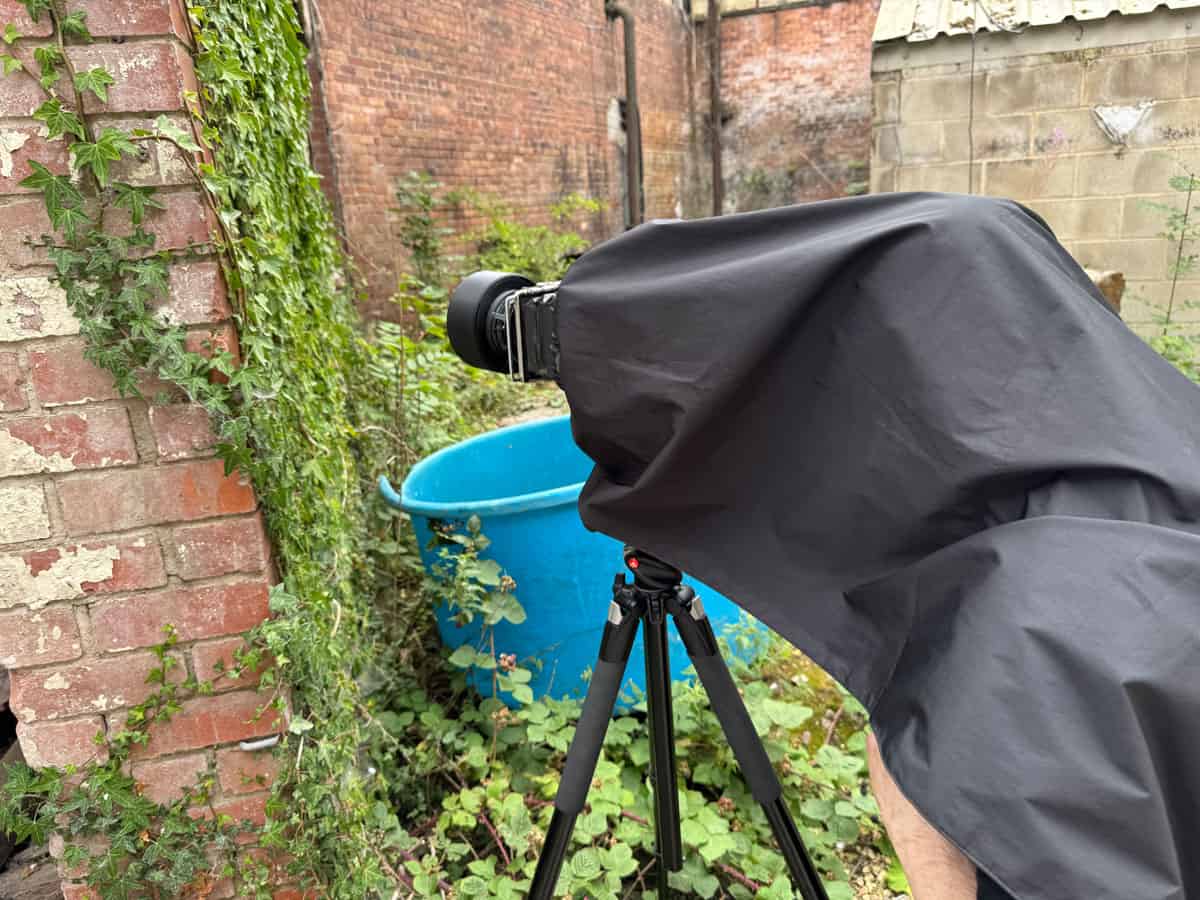
Taking Pictures Outside with the Aero Ektar Lens
We then headed outside to practice with the Focal Plane shutter and the Aero Ektar lens. The Aero Ektar lens is very heavy and requires a small modification to the square plate it sits in for it to fit the Speed Graphic.
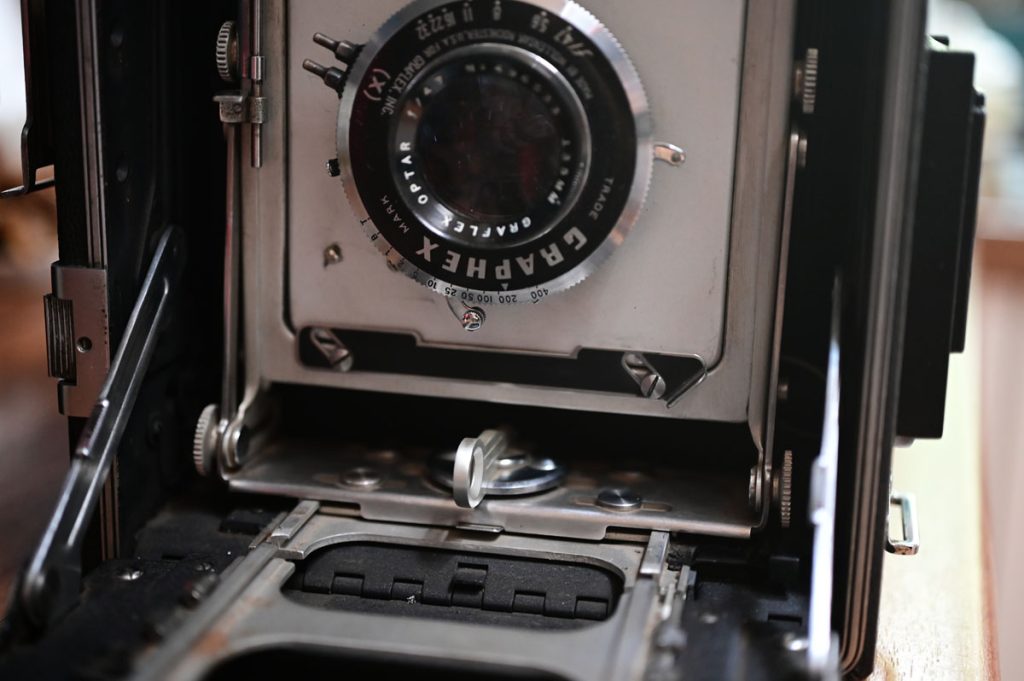
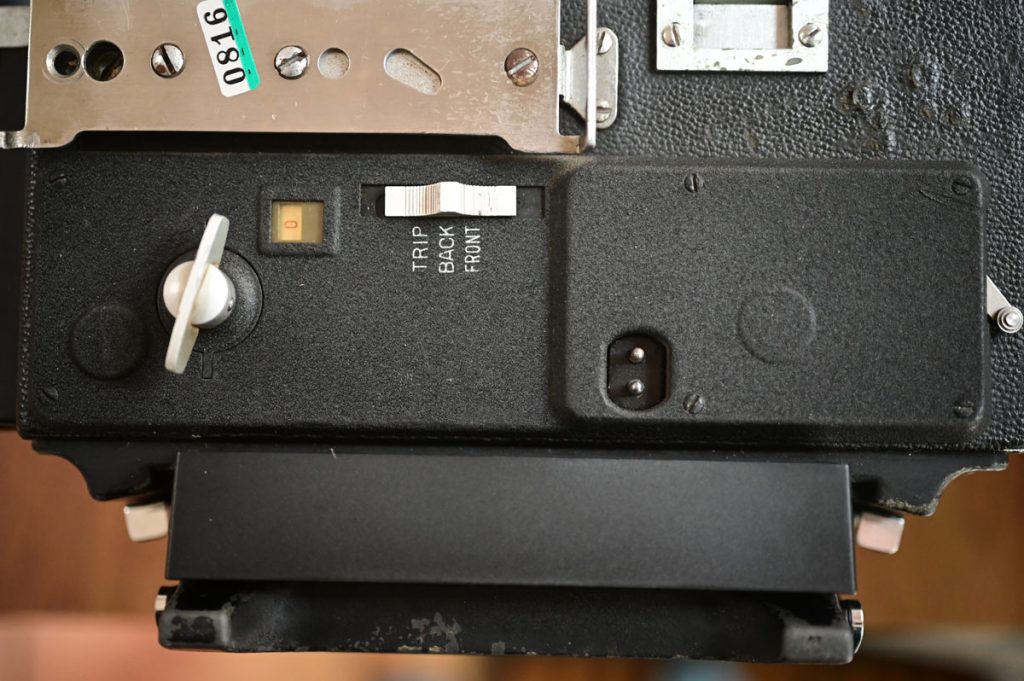
Setting the shutter is fairly easy, but it was something that seemed quite confusing for someone who hadn’t used a large format camera before. The settings for the shutter are to be found in the winder on the side of the camera.

After setting the lens to Back (see pic above), you can then have a range of shutter speeds: 0, T, 50, 250 and 1000. There’s a switch/lever below this to halve the speeds to 0, T, 30, 125, 500. The T stands for TIME and means you can hold open the shutter for as long as you like before then pressing the release button a second time.
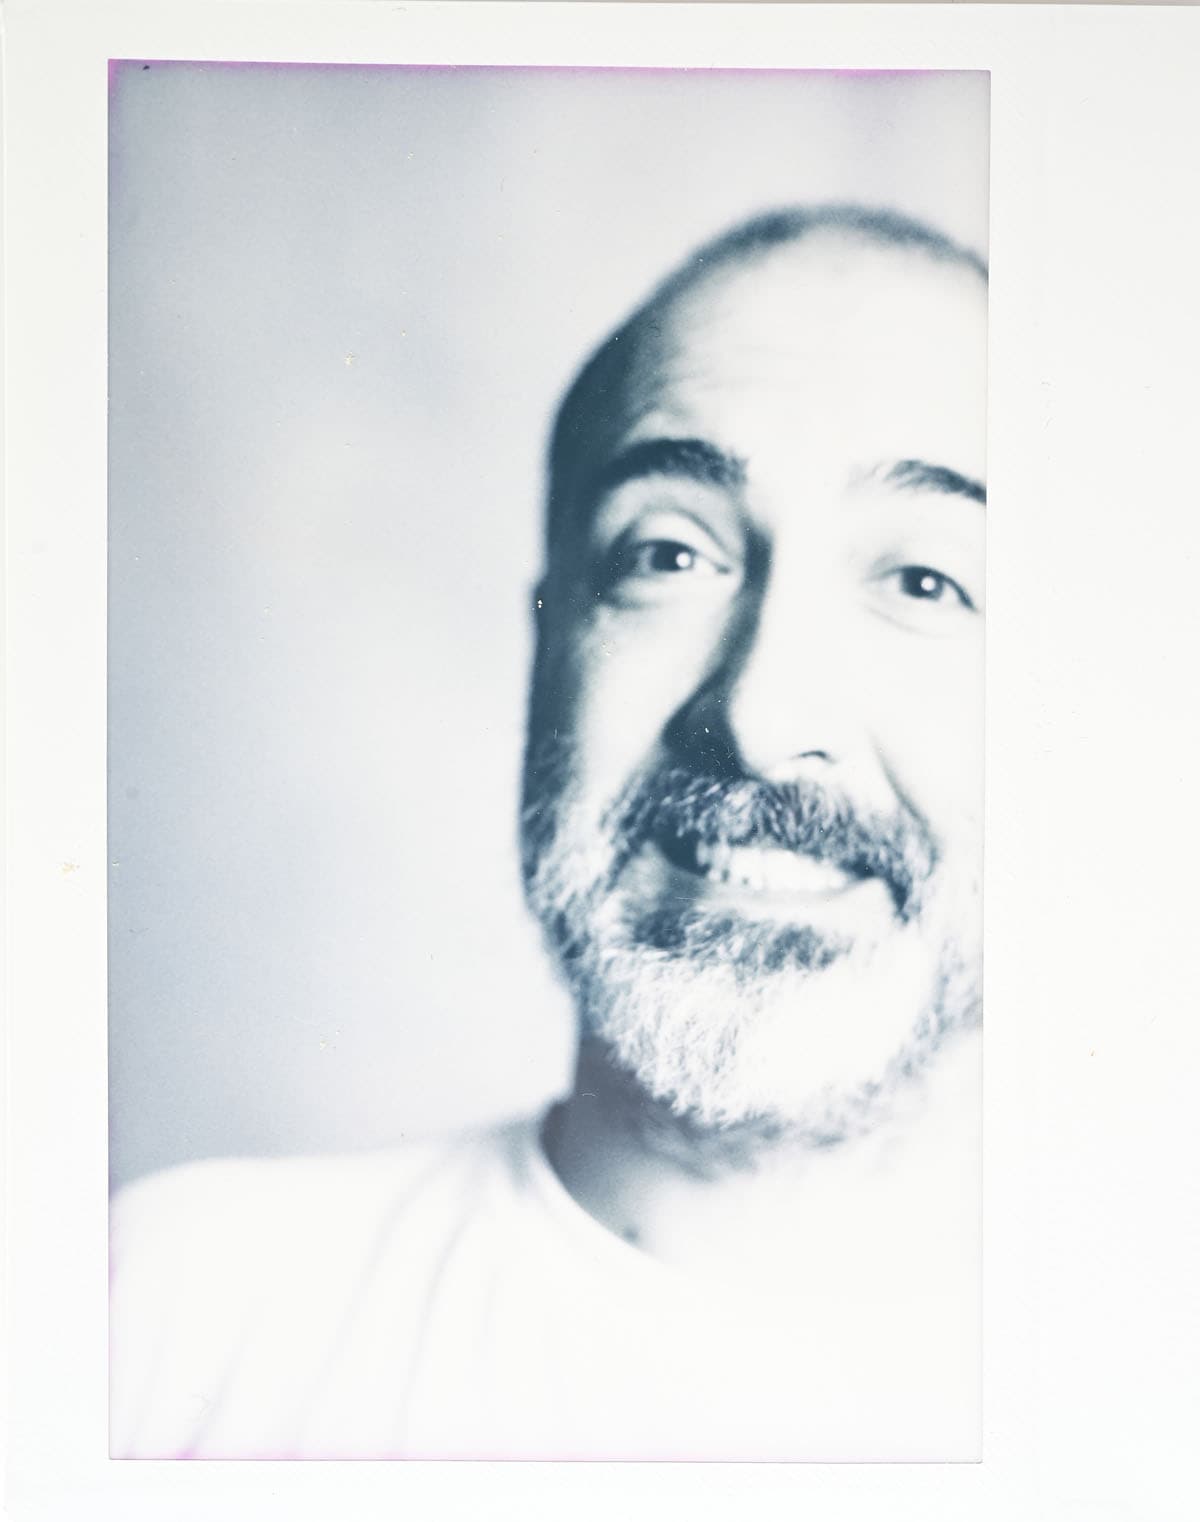
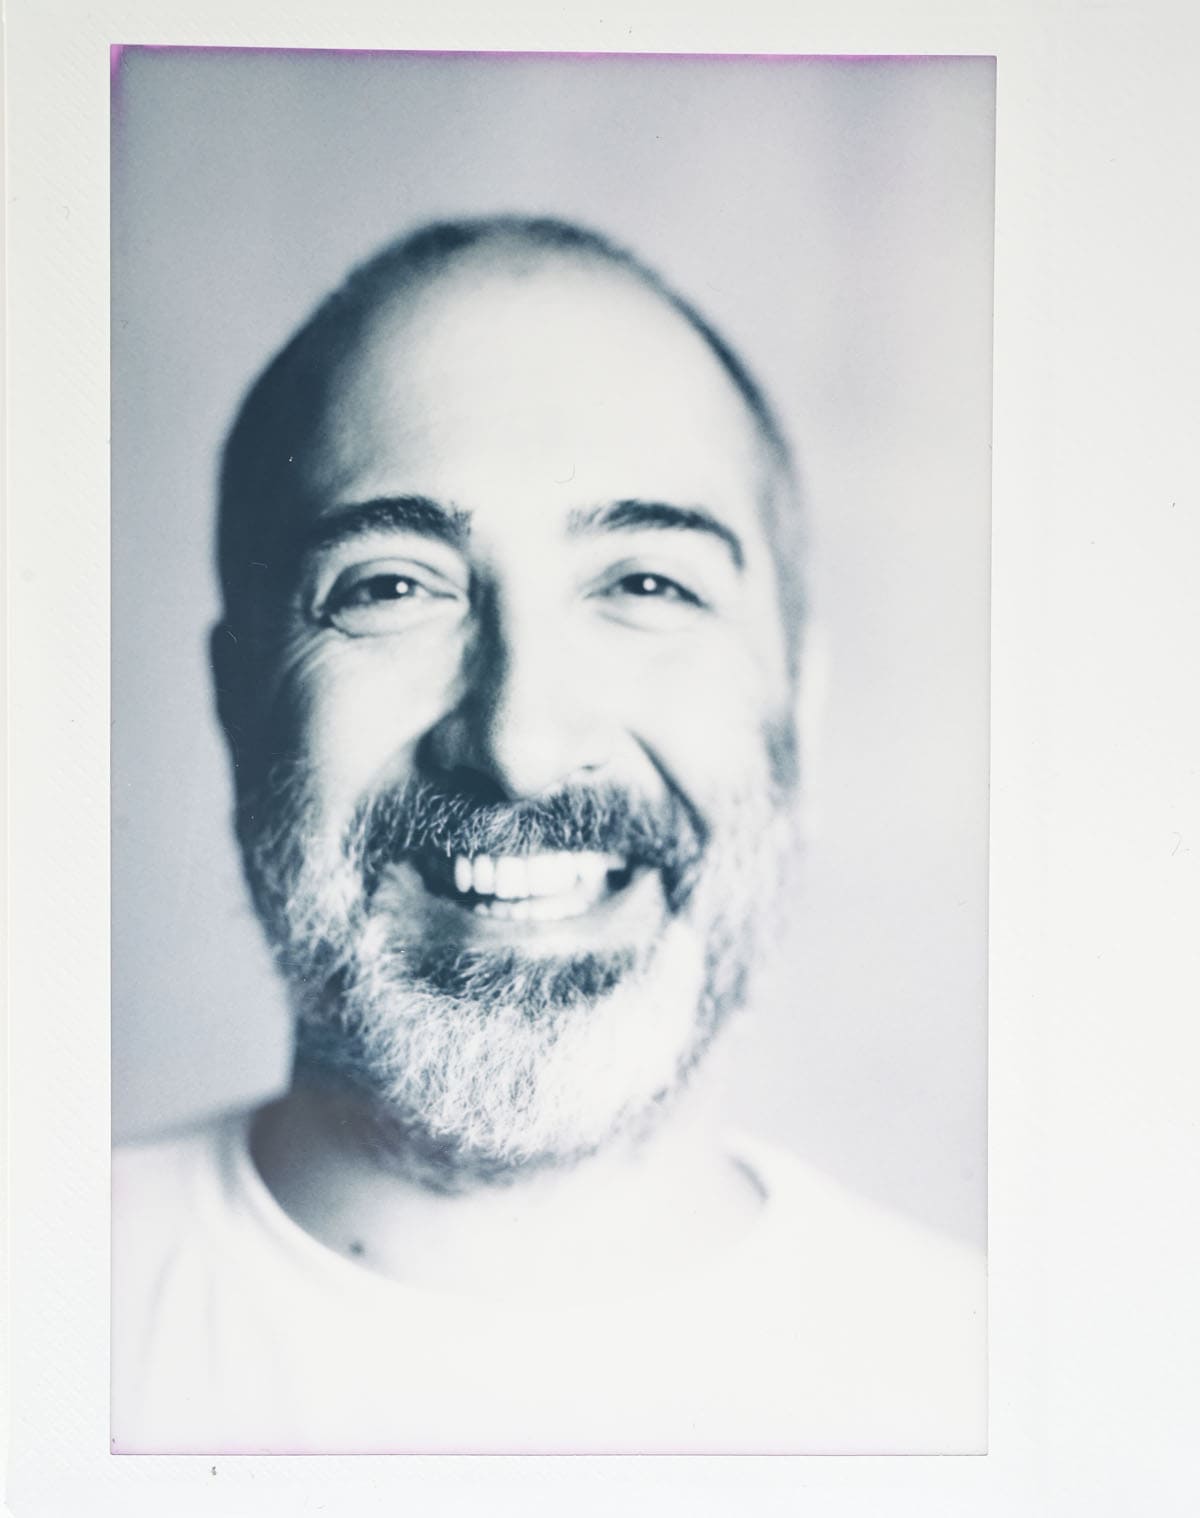
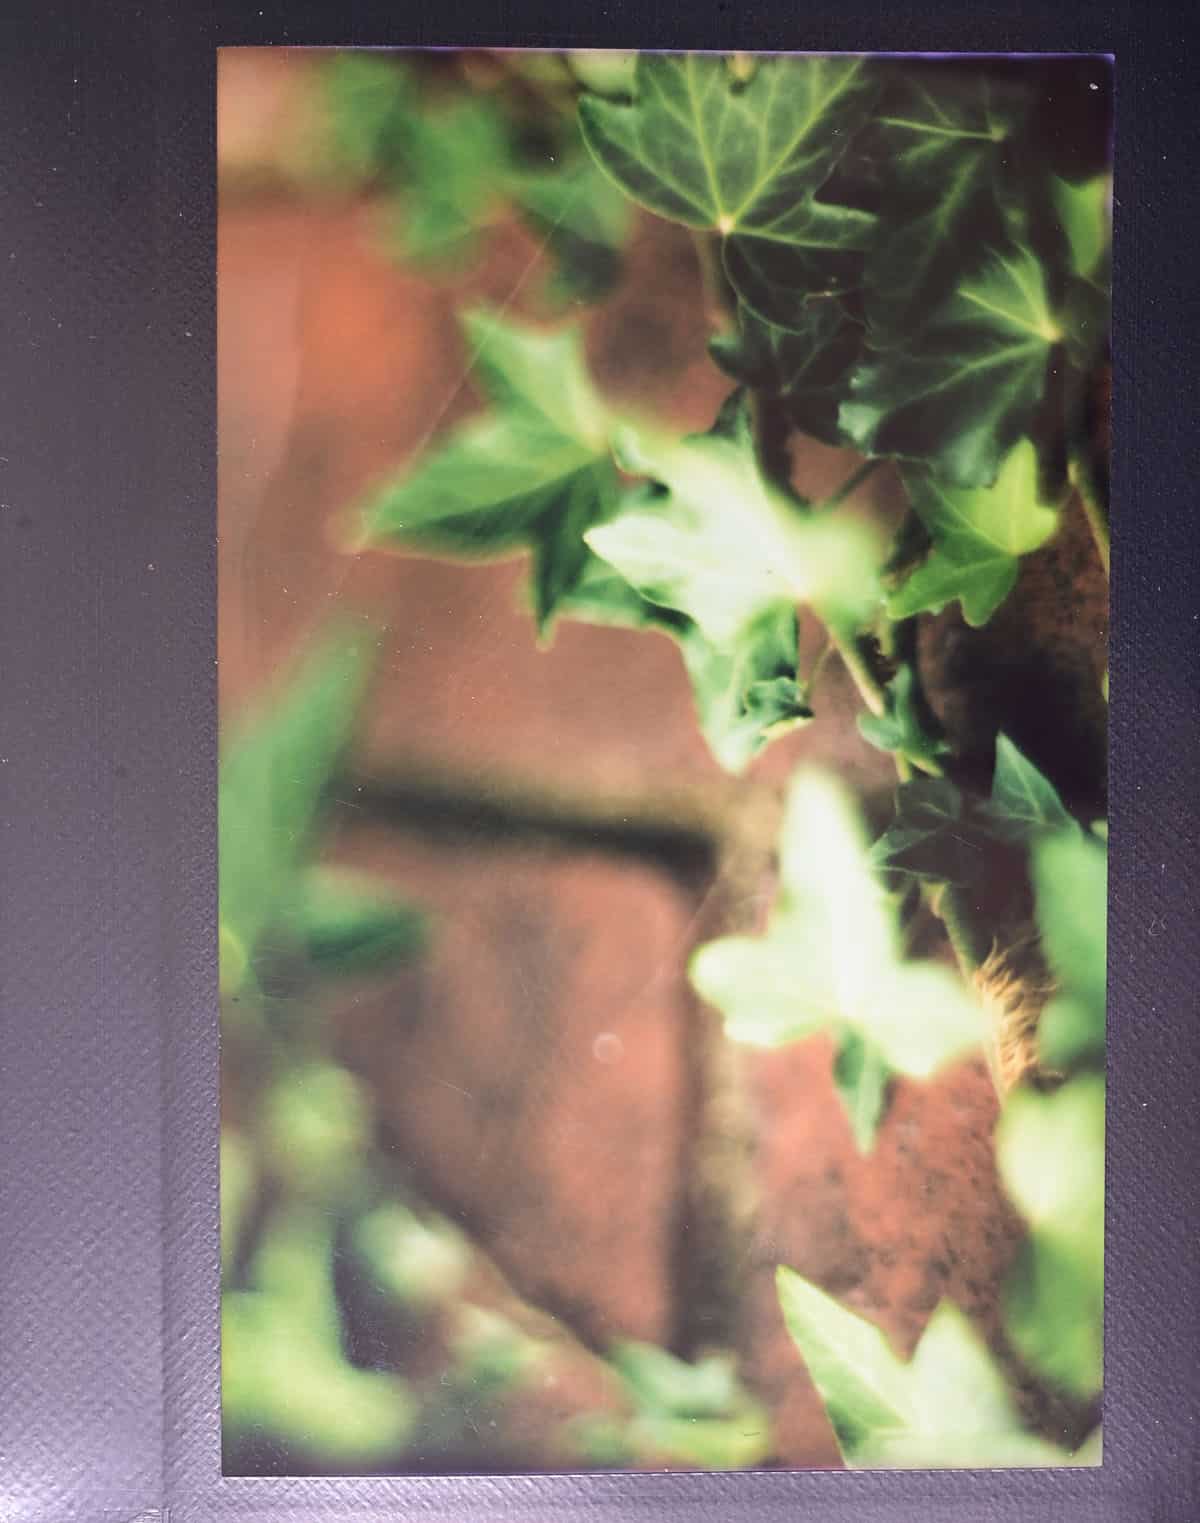
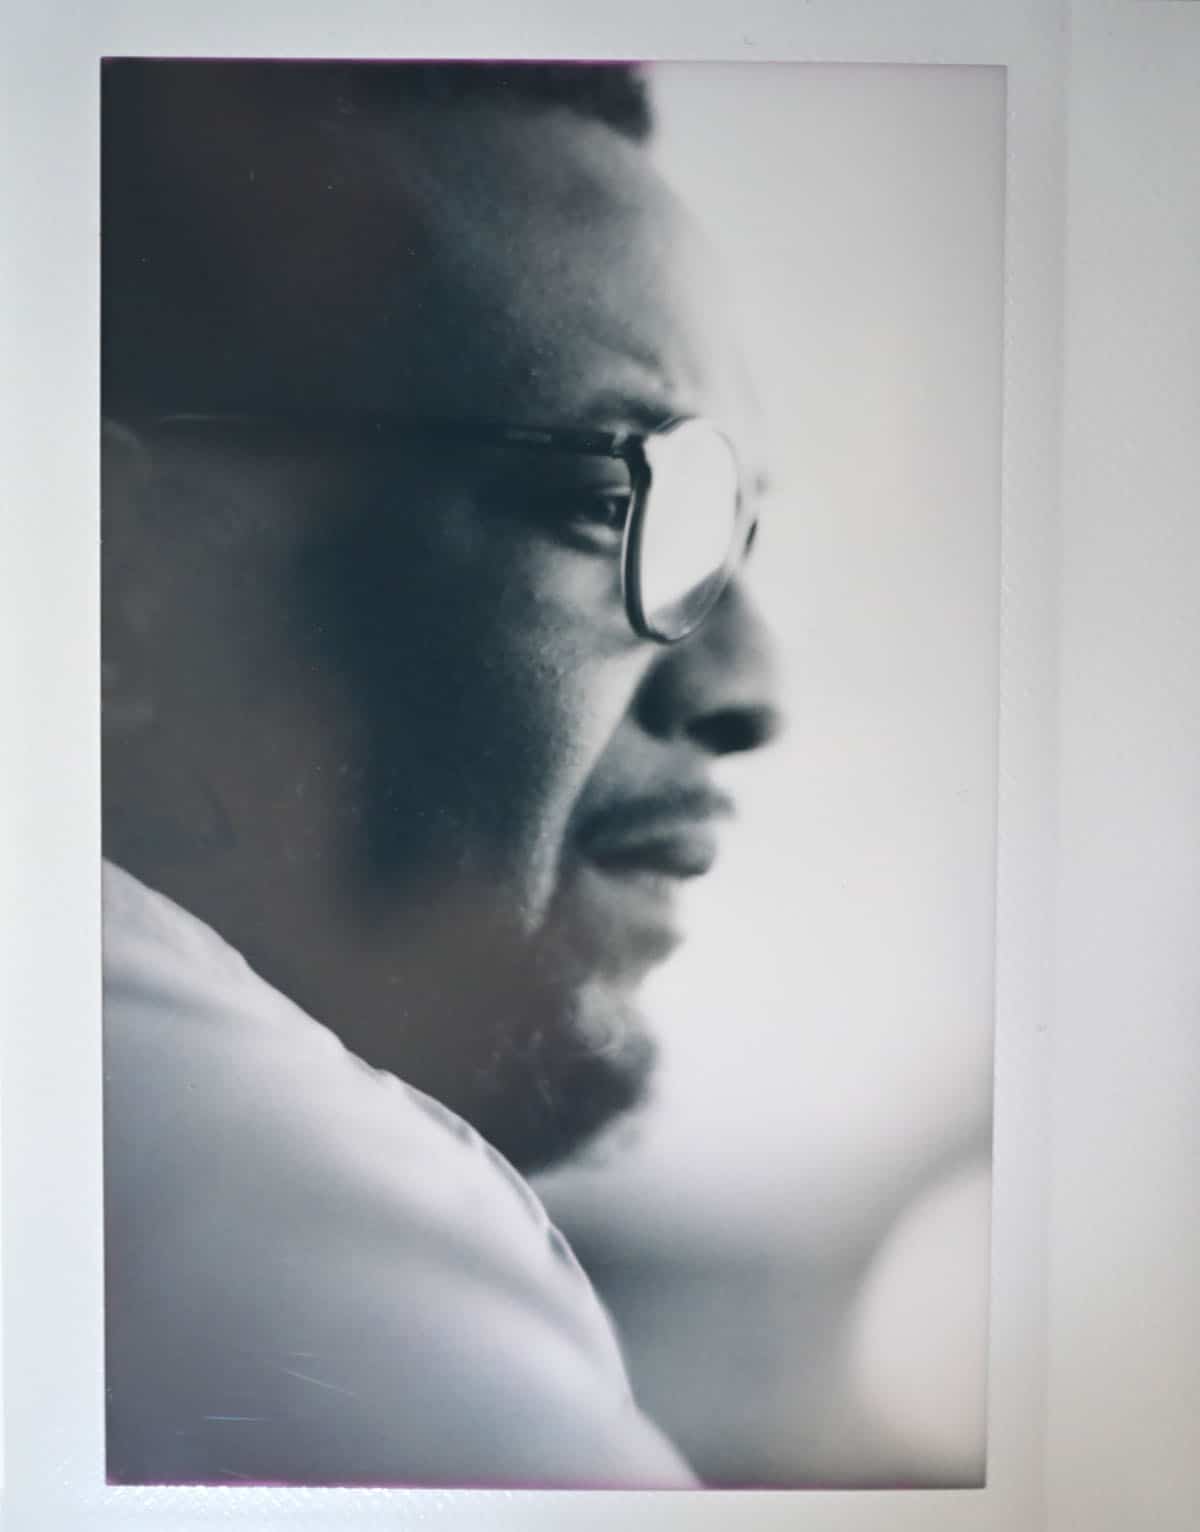
We again started with the Lomograflok back taking a couple of Polaroids of Chris once more. We had quite a lot of fast moving clouds hampering exposure settings but managed to get some good shots of Chris before doing some close up work of leaves on the side of the brick wall.
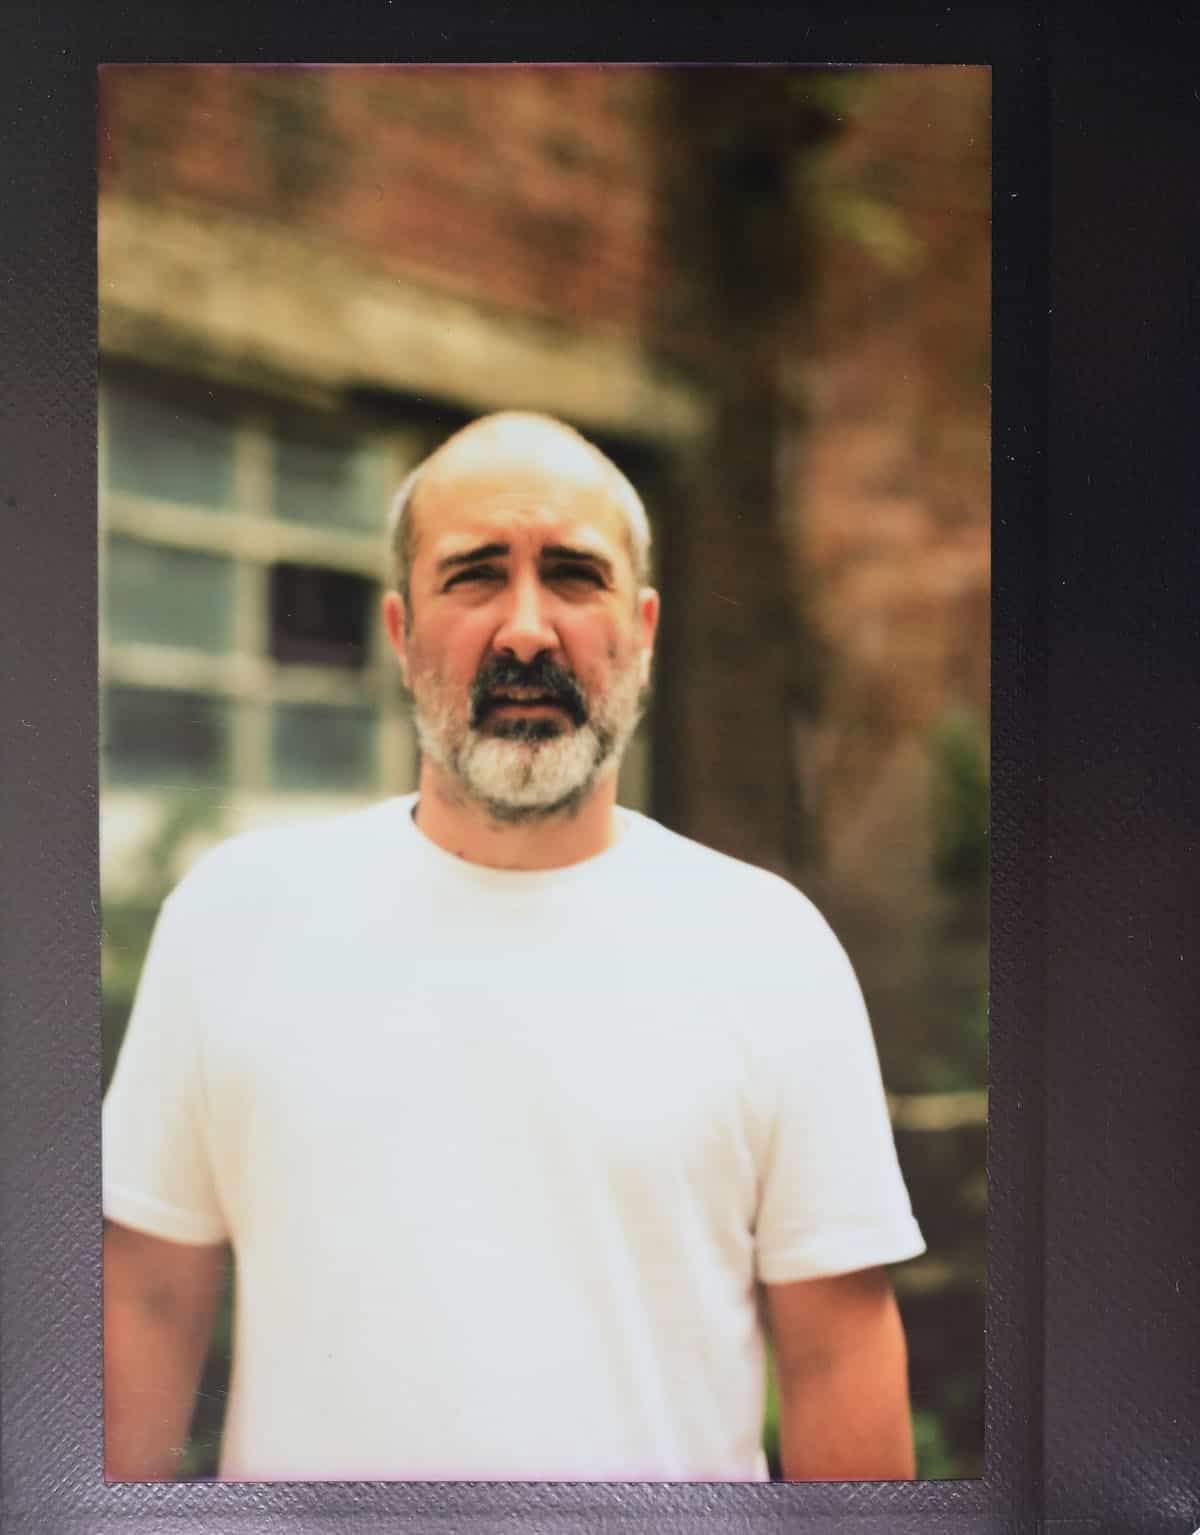

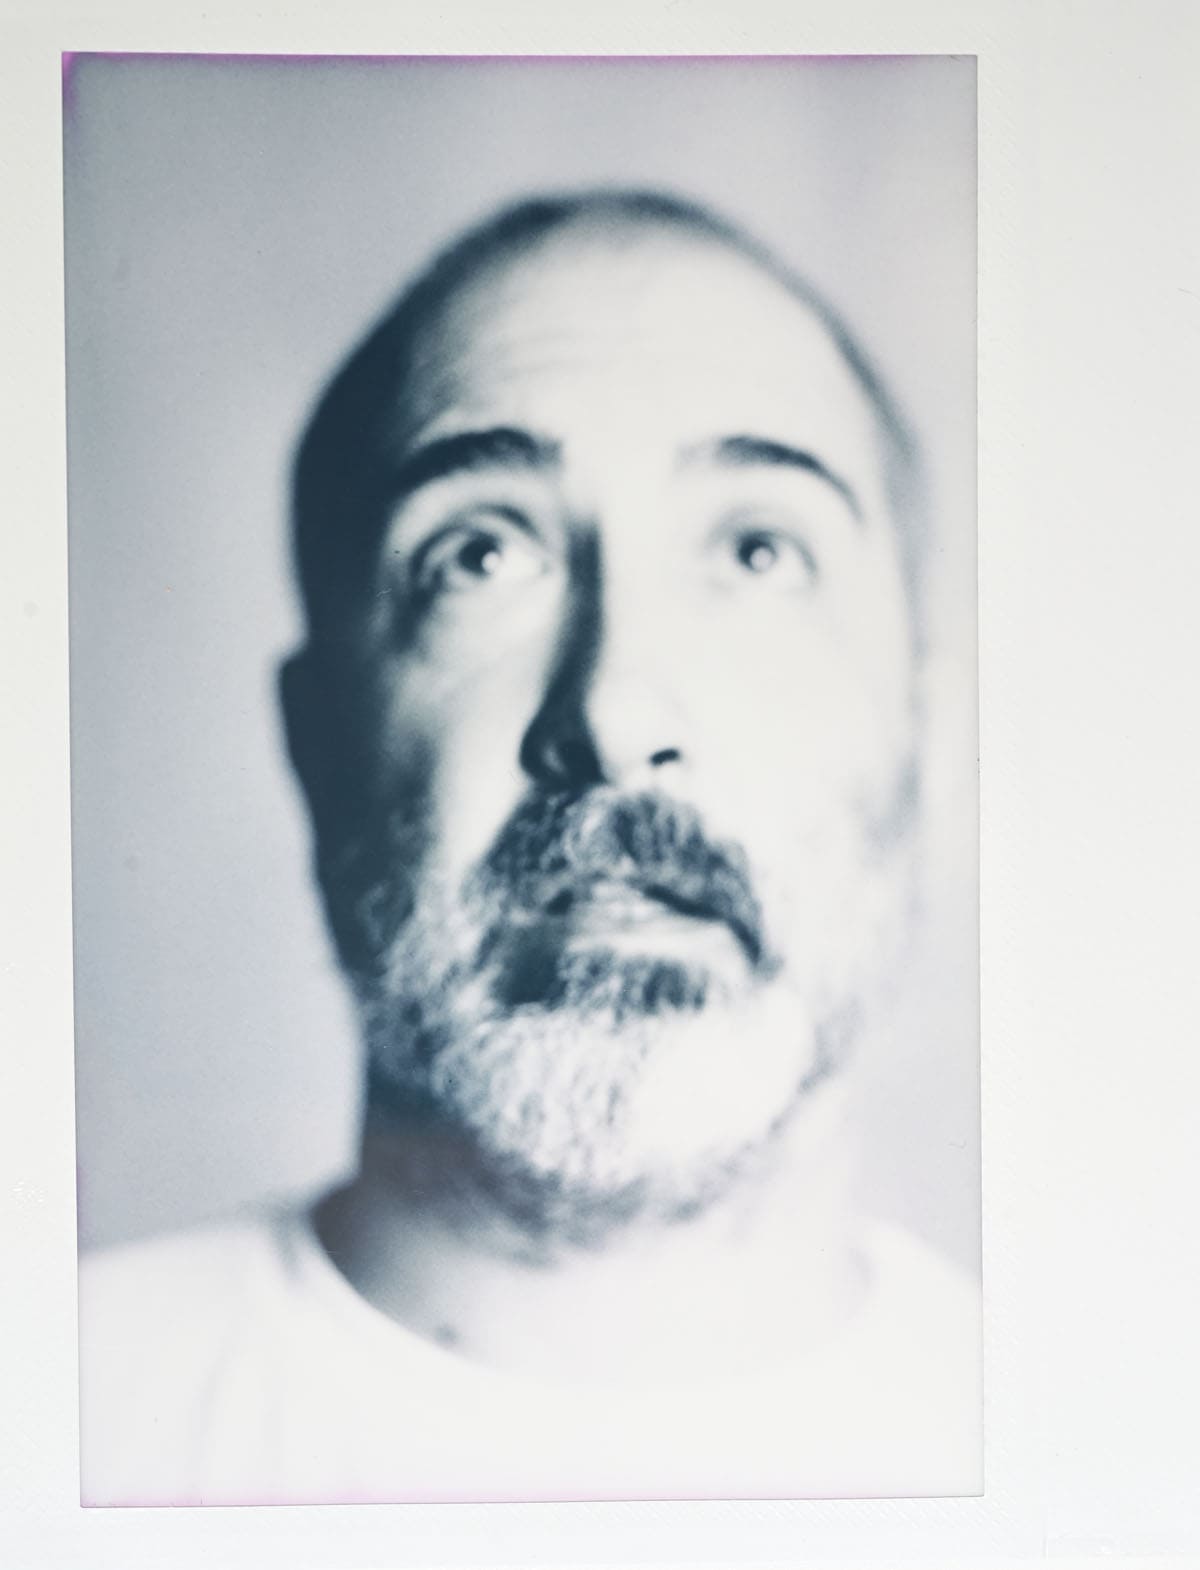
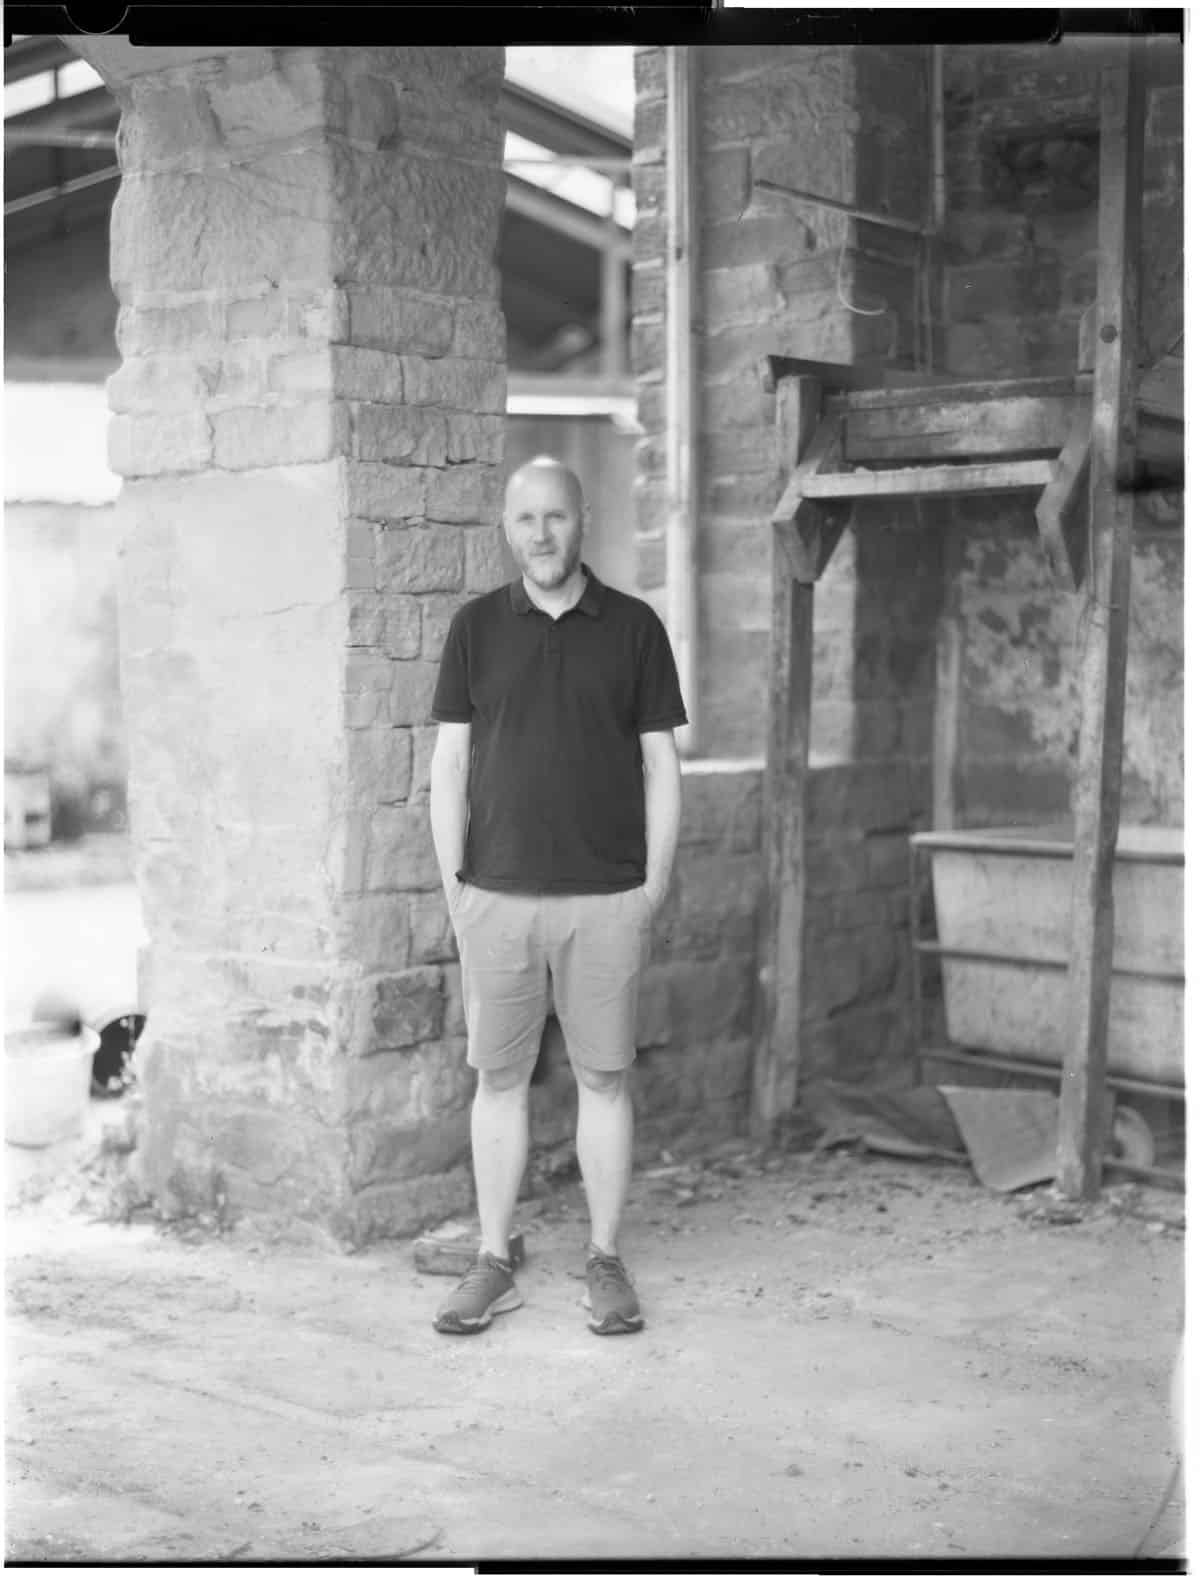
For our last shot, we used some more Catlabs 80 film and Chris took a picture of me. I think I moved slightly – so I am slightly soft-focused! – but it’s definitely a very shallow depth of field when using the f2.5 of the Aero Ektar lens!
Developing in the Darkroom
Once in the darkroom, I practiced getting the film into the “teeth” of the 4×5 insert in a darkroom bag and loaded the films into a Paterson tank.
We then pre-washed the film for 1 minute before developed it for 21 minutes using a 1+100 solution of 510Pyro (10ml of 510Pyro and 1000ml of water). We agitated constantly for the first minute before then agitating every minute for the next 20 minutes.
Once developed, we gave it a water stop bath for a minute and then fixed the film for 4 minutes with Adox Fixer, washed the film once more and then used Ilford’s PhotoFlo 200 wetting agent to help the film dry rapidly and evenly.
Chris then placed the films in a dryer and we set up his AHEL 1245 darkroom enlarger.
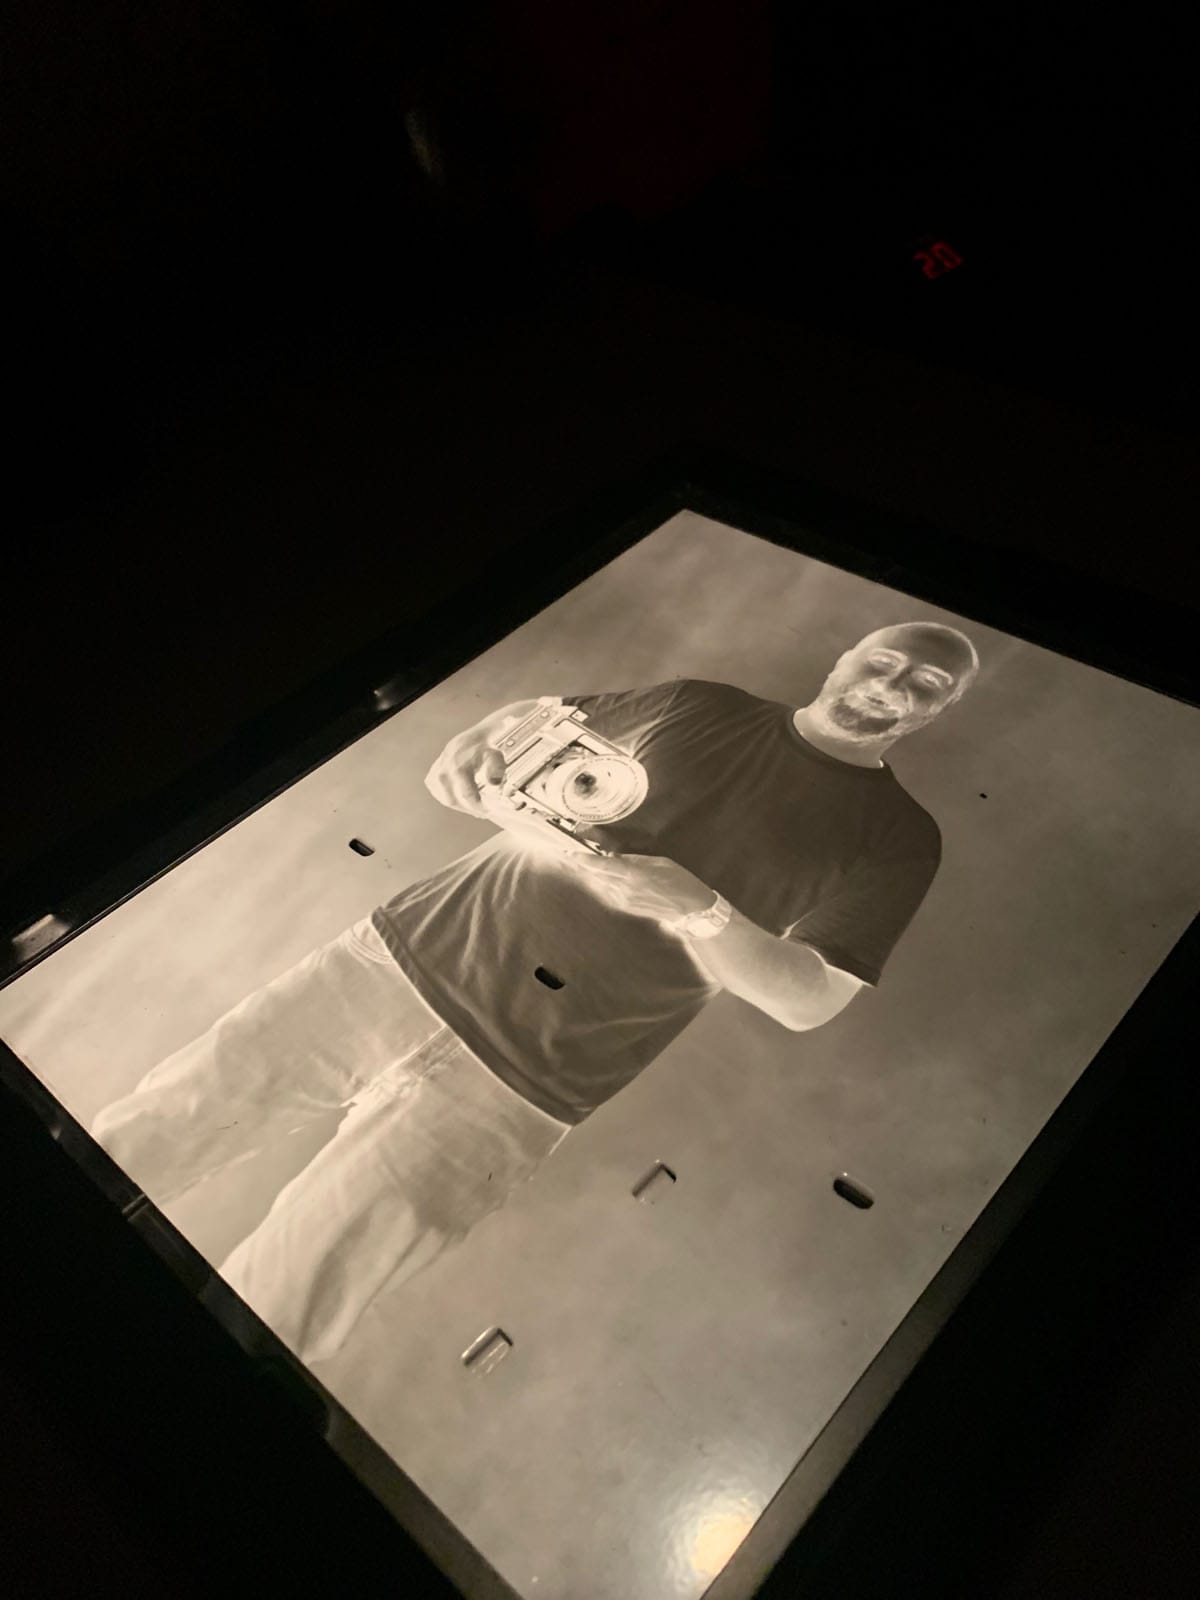
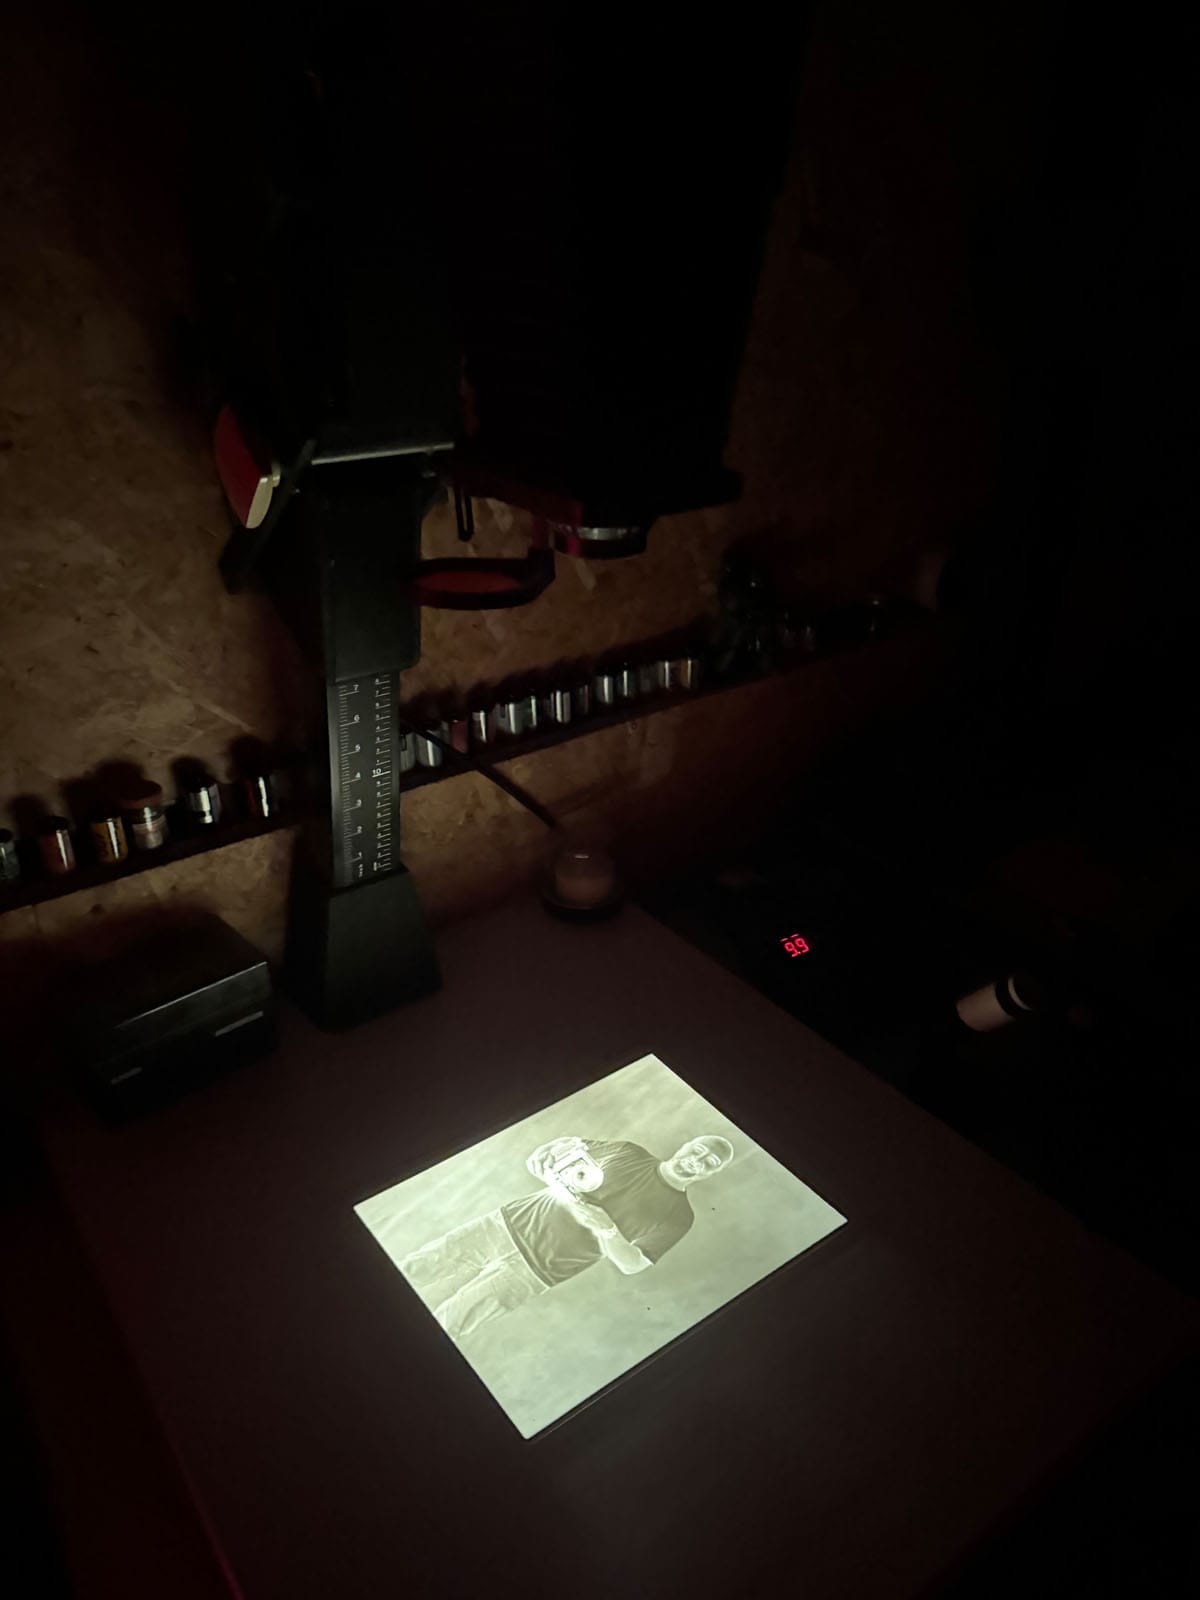
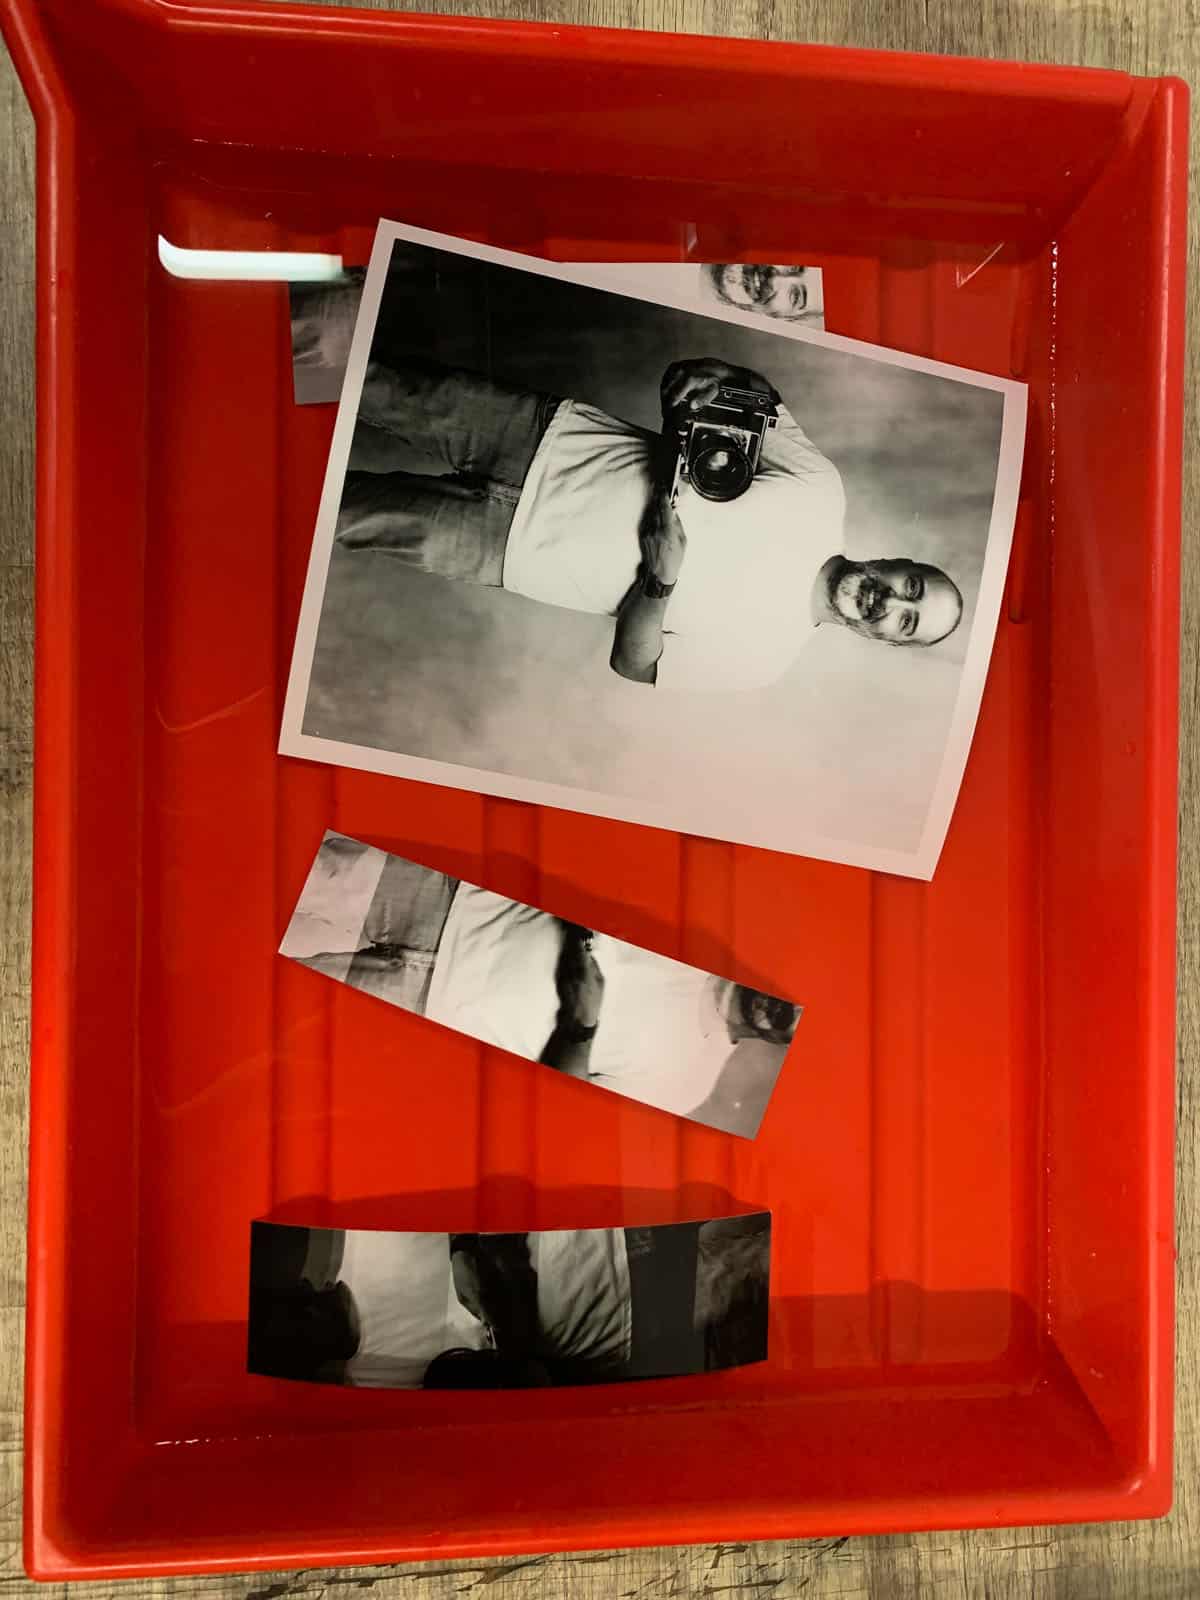
We did some test strips before finally creating a print we were happy with:
Post Course Images
I’ve done quite a few Instax images since my course and found the camera very easy to use and got some excellent results with it. I’m still getting used to nailing focus with the Aero Ektar lens, but I just love the feel of the images on Instax Wide.
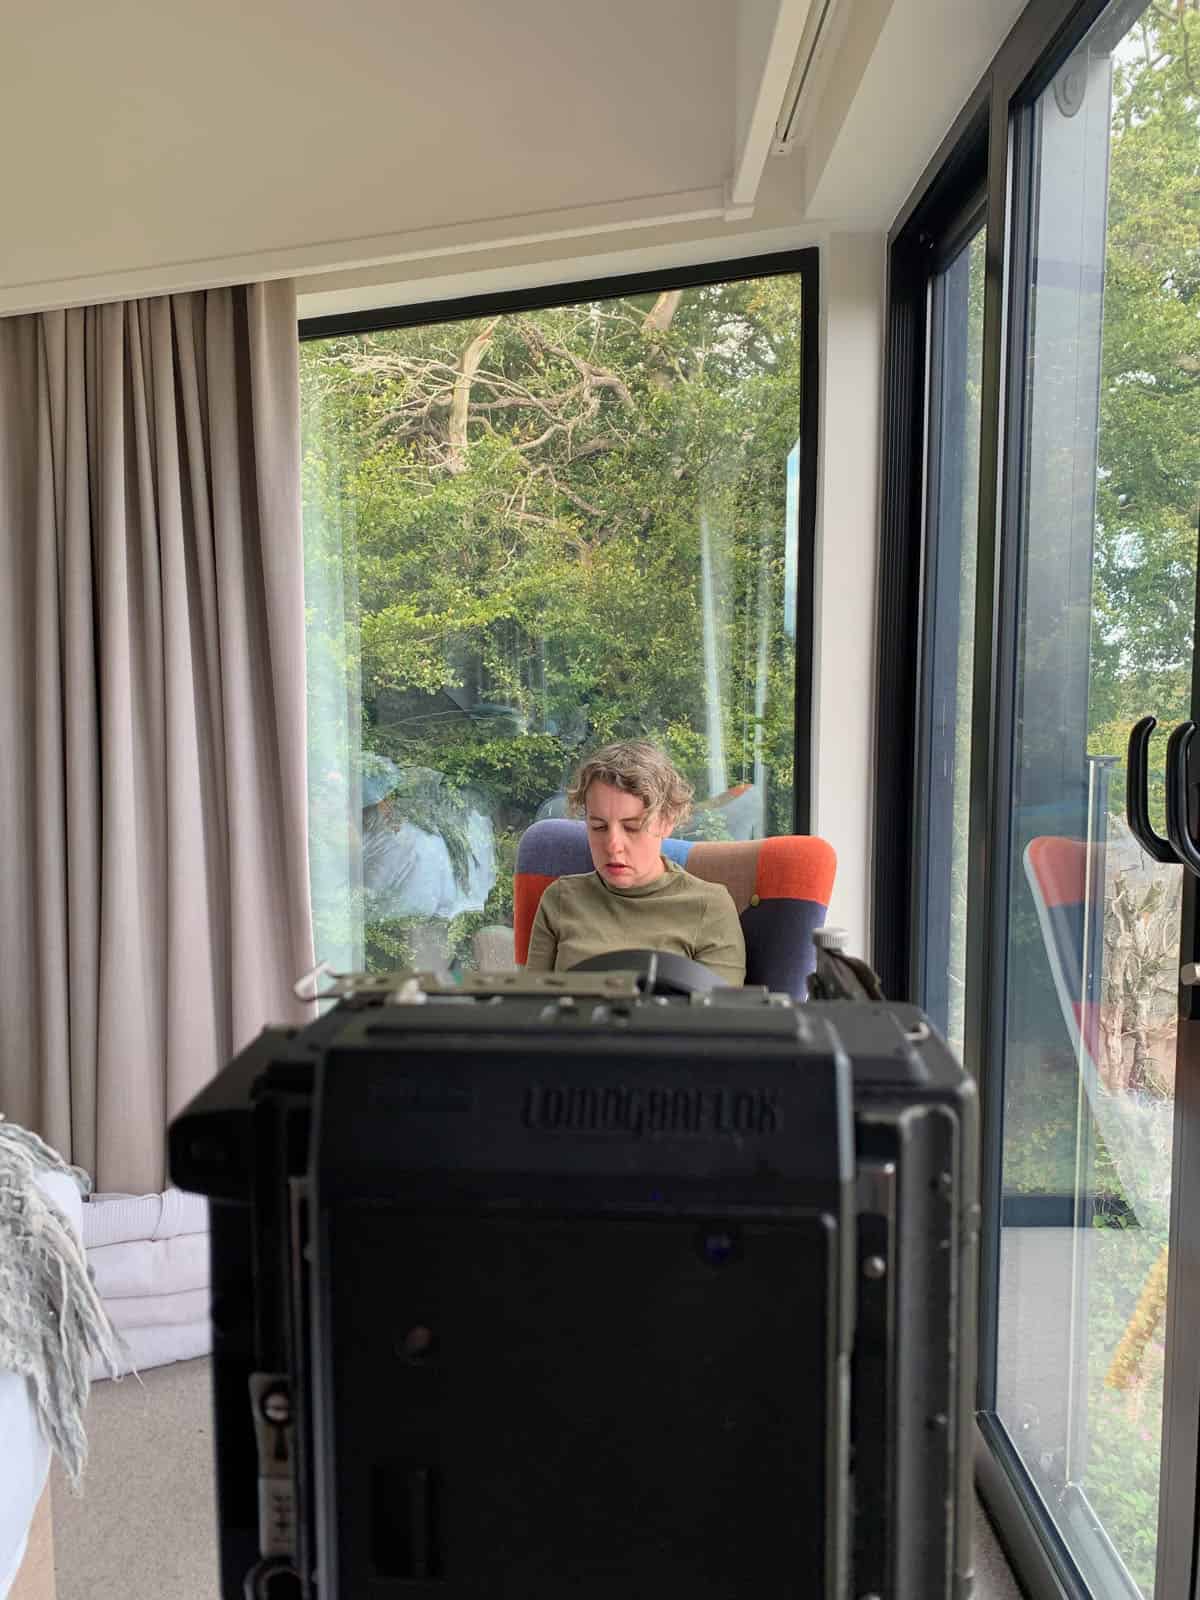
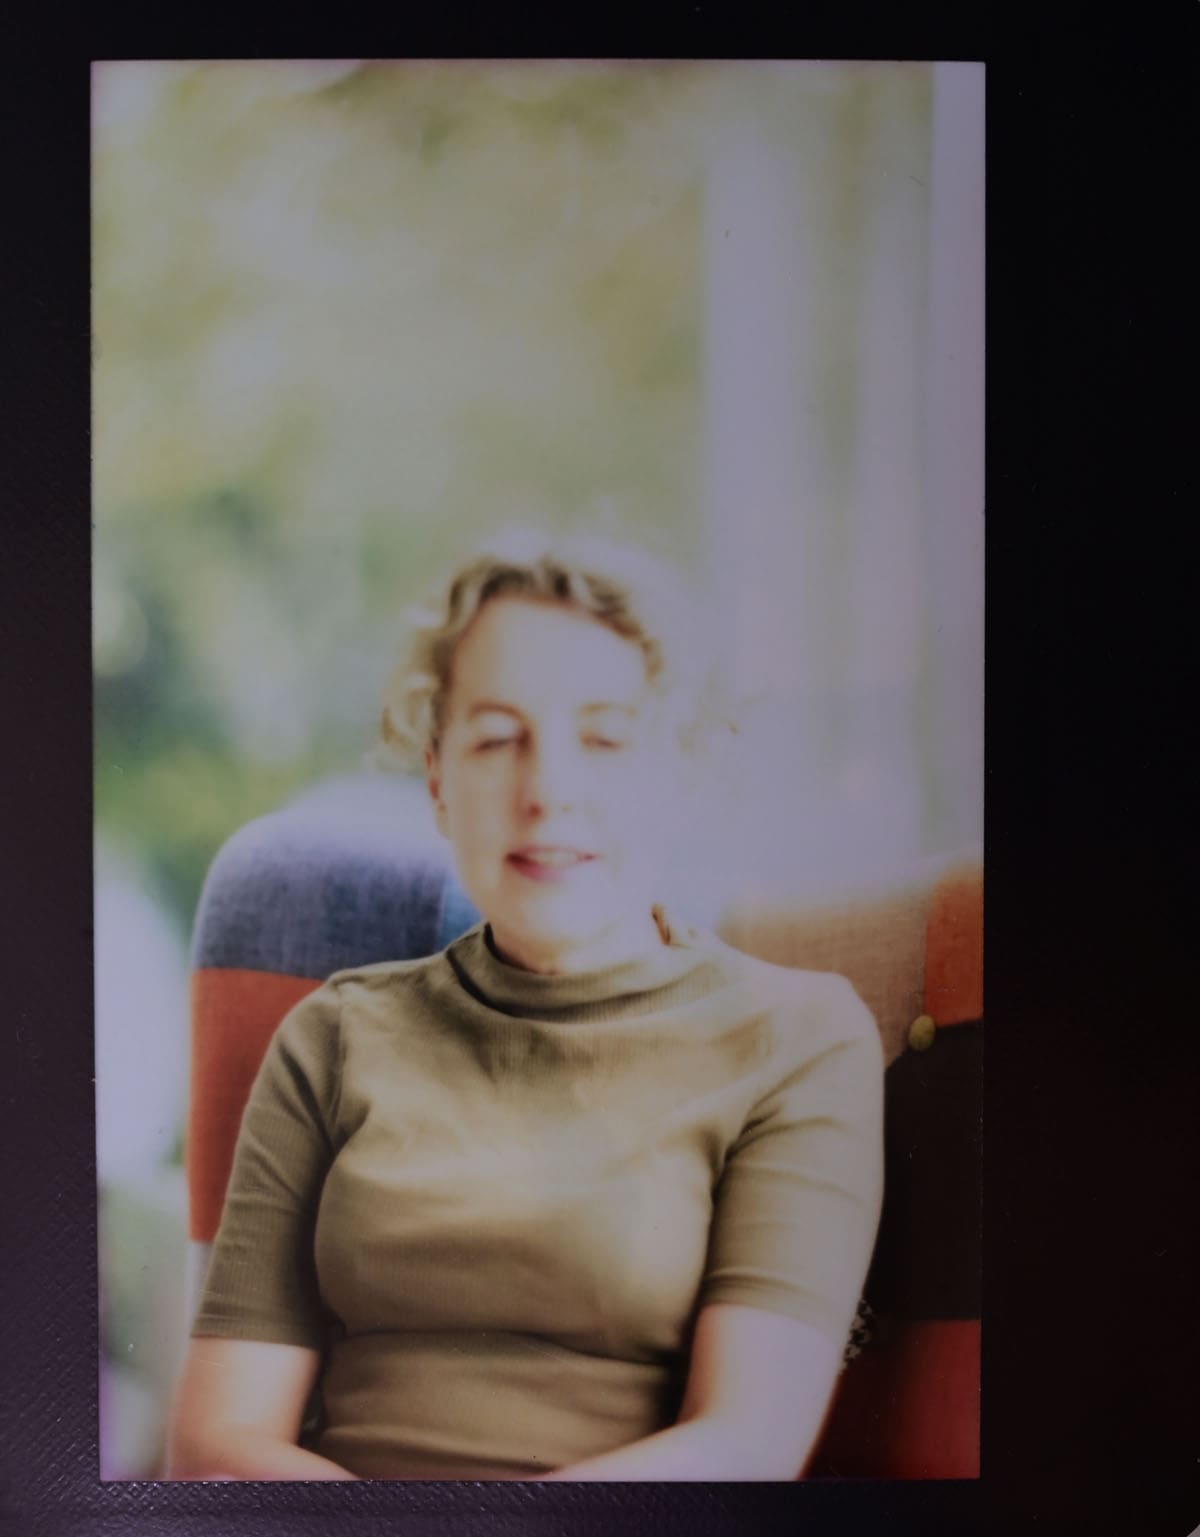
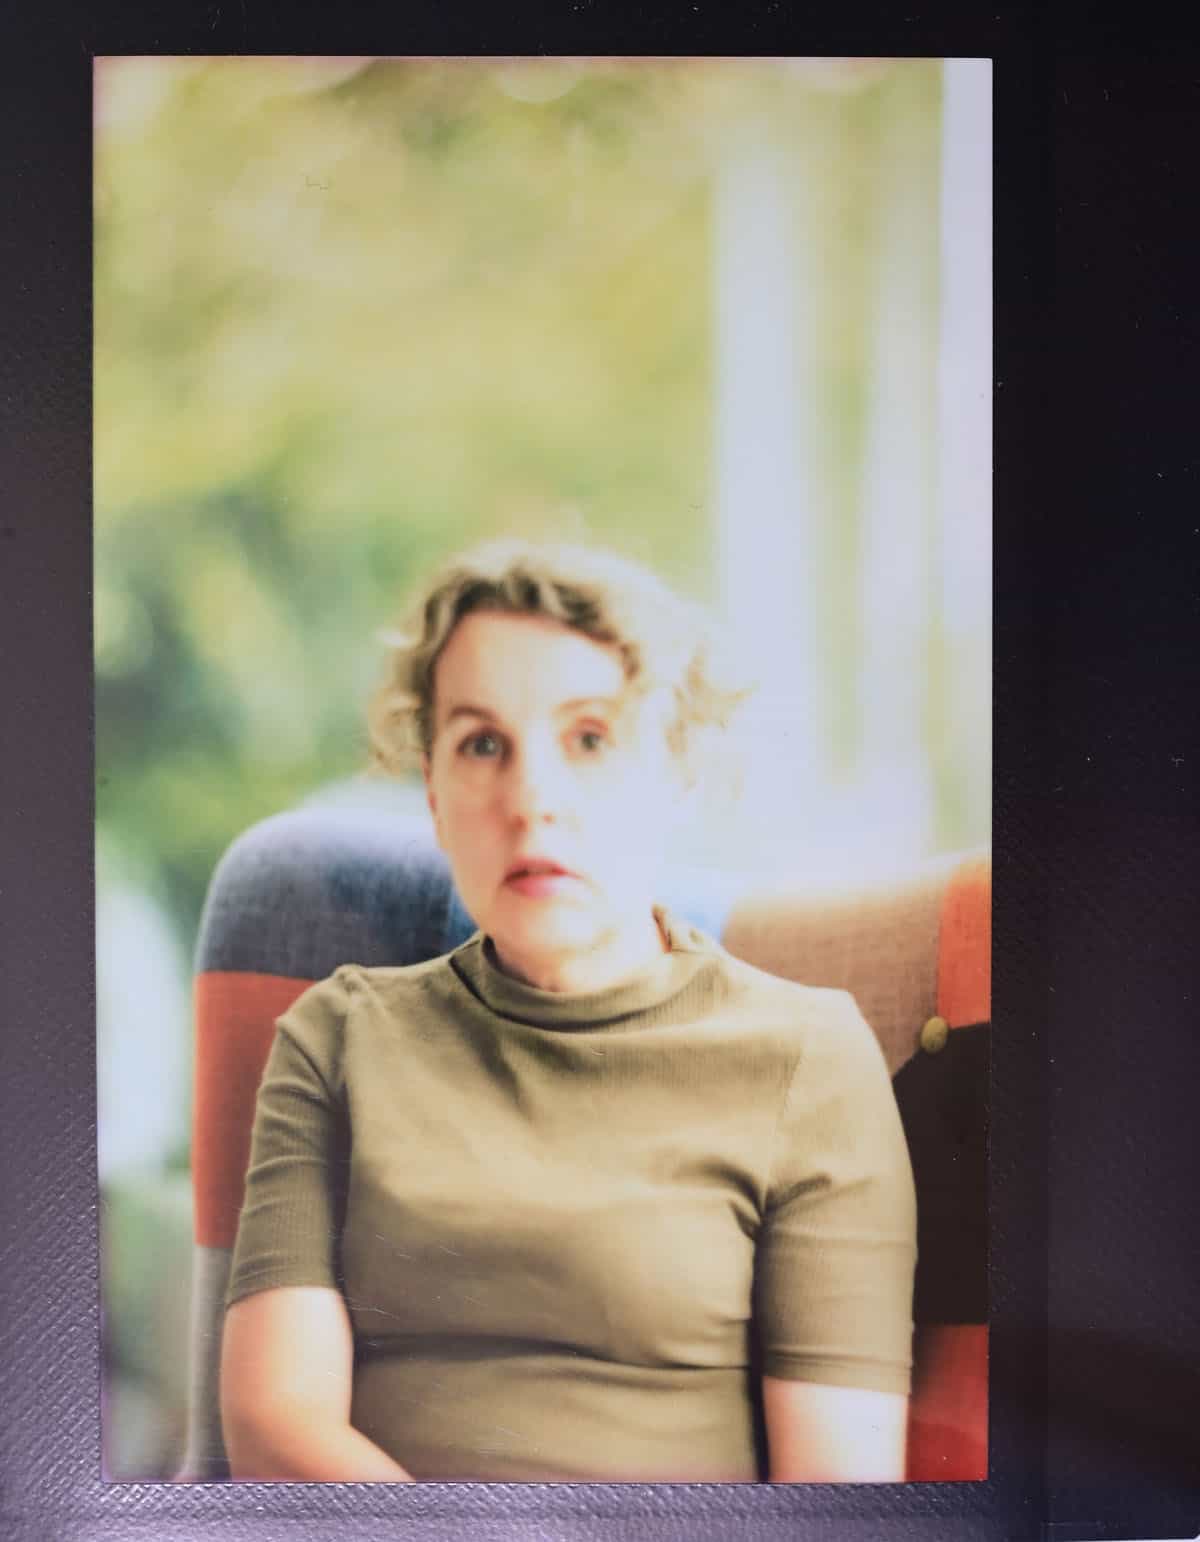
Here’s some of my wife which I took in our holiday rental:

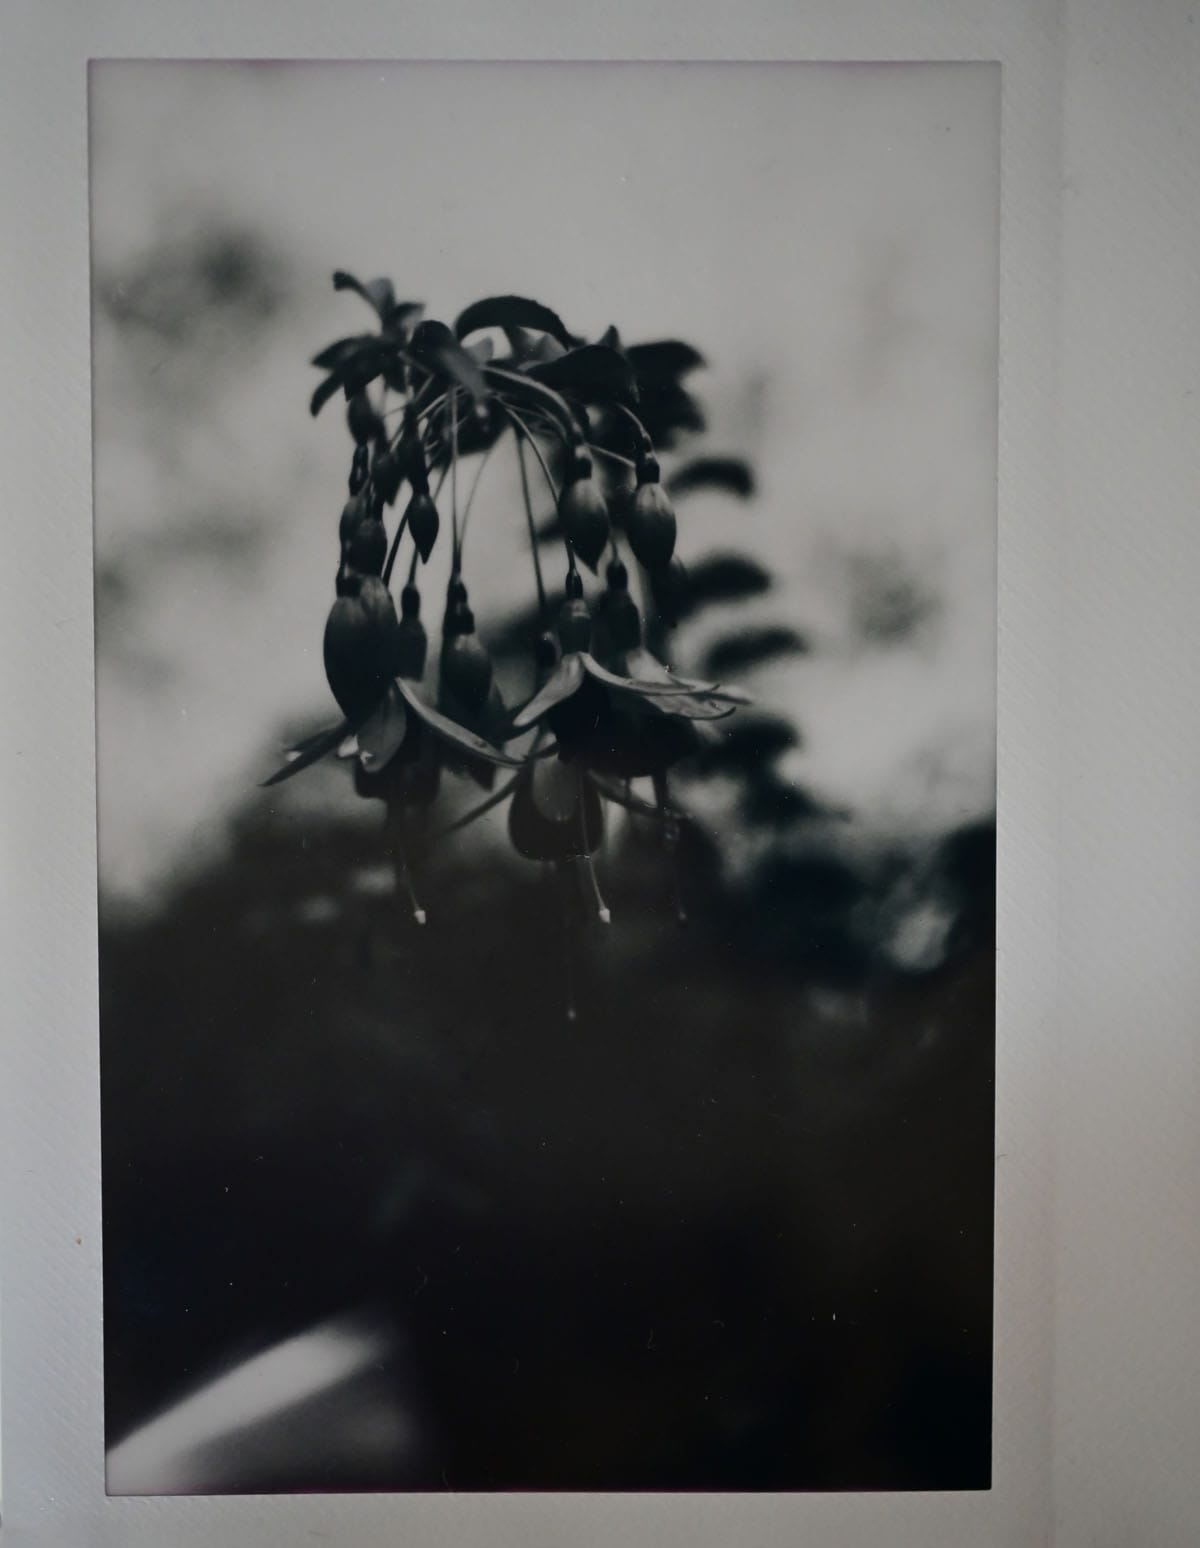
And here’s some orchids at home:
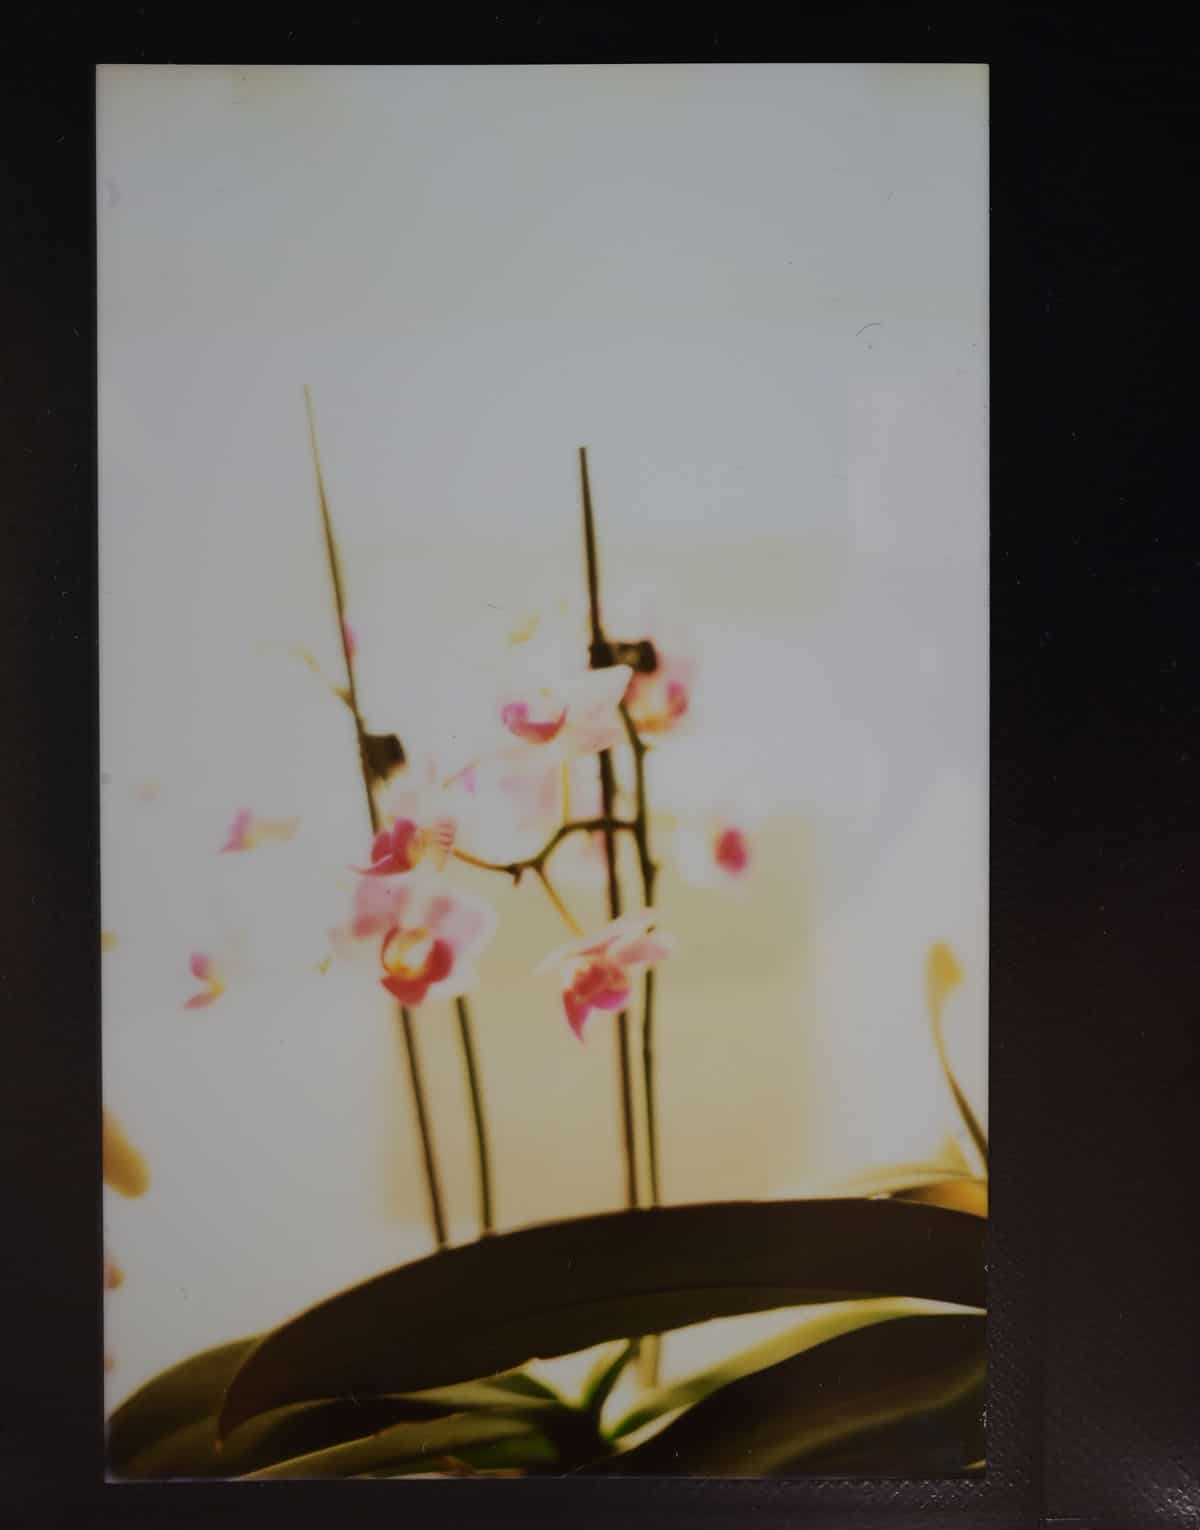
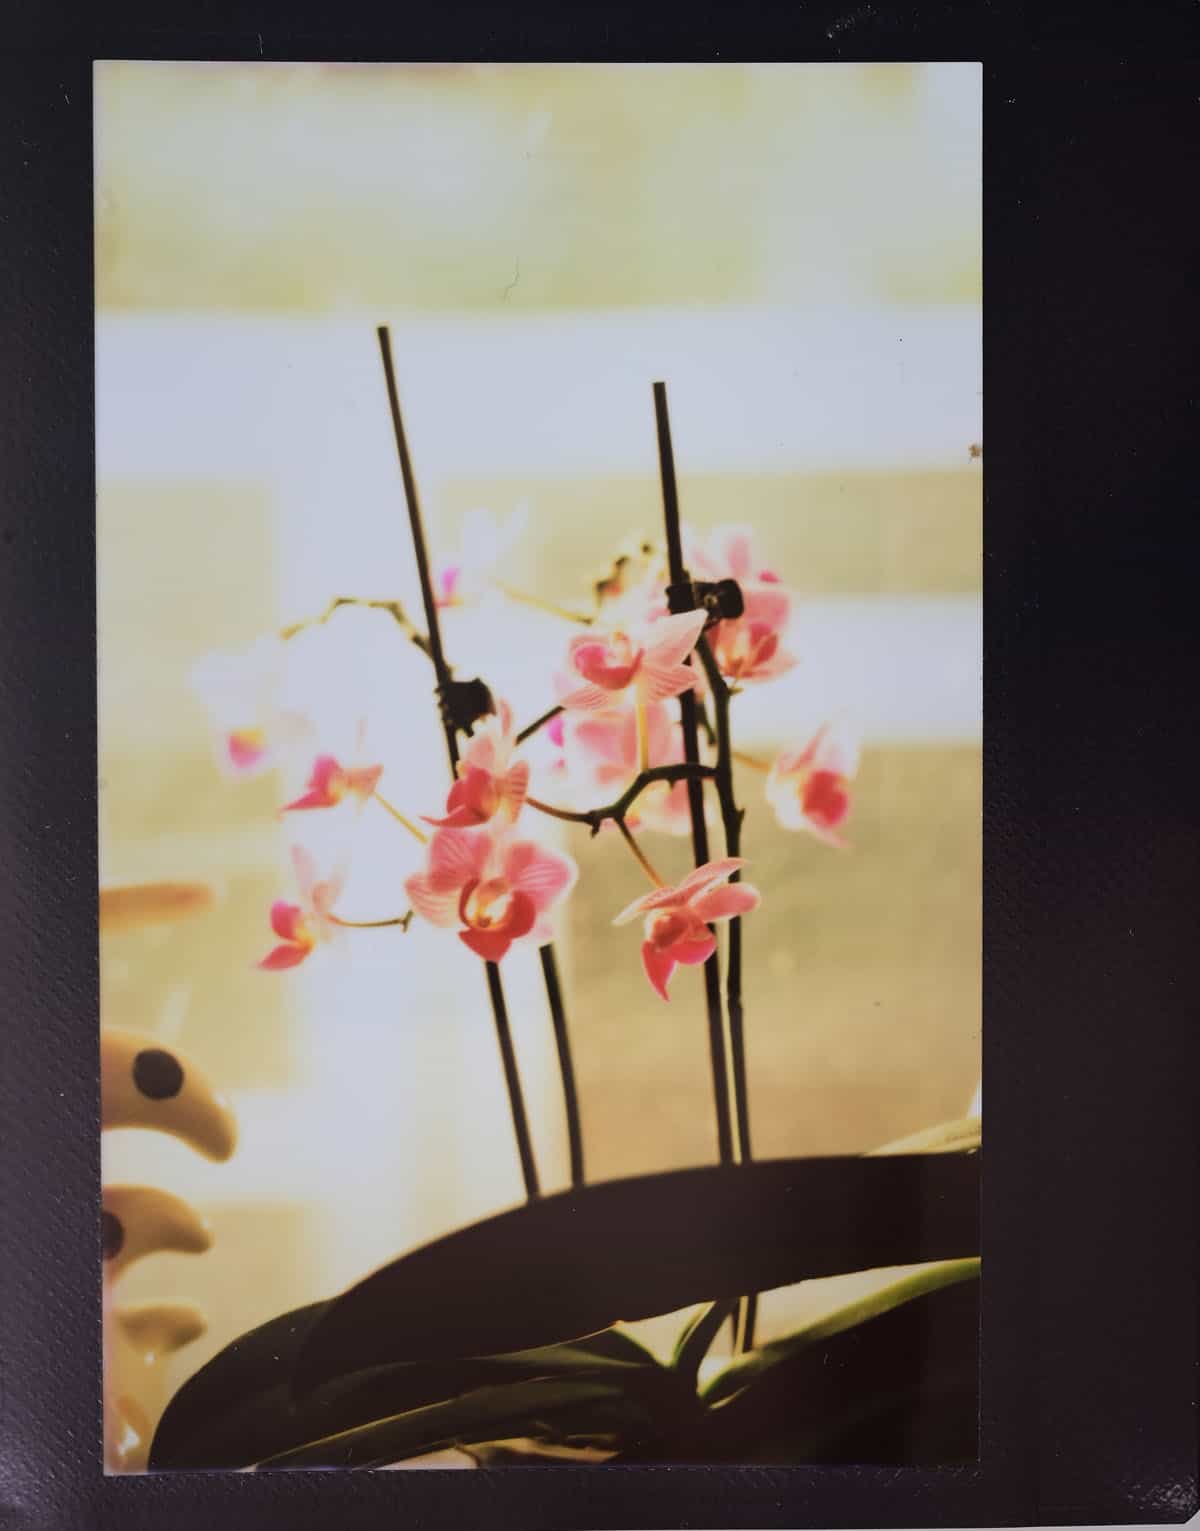
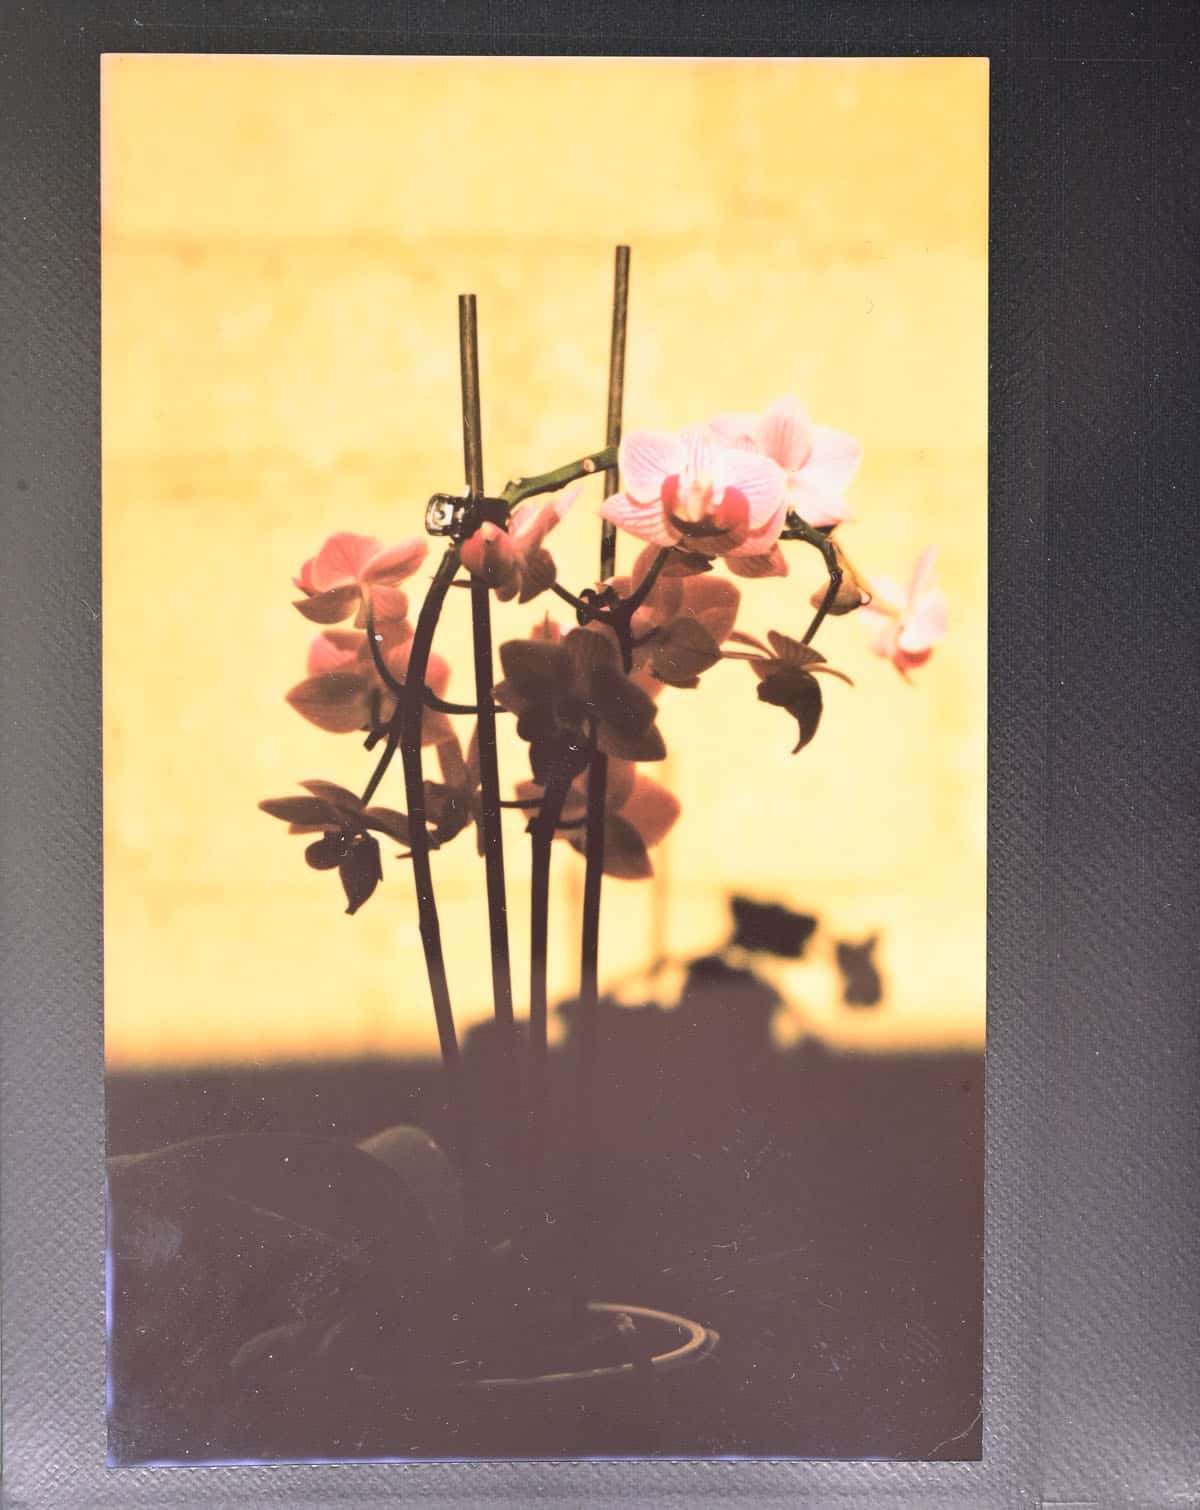
You can see that I’m still getting used to judging exposure on Instax. I am hoping that film is a little more forgiving.
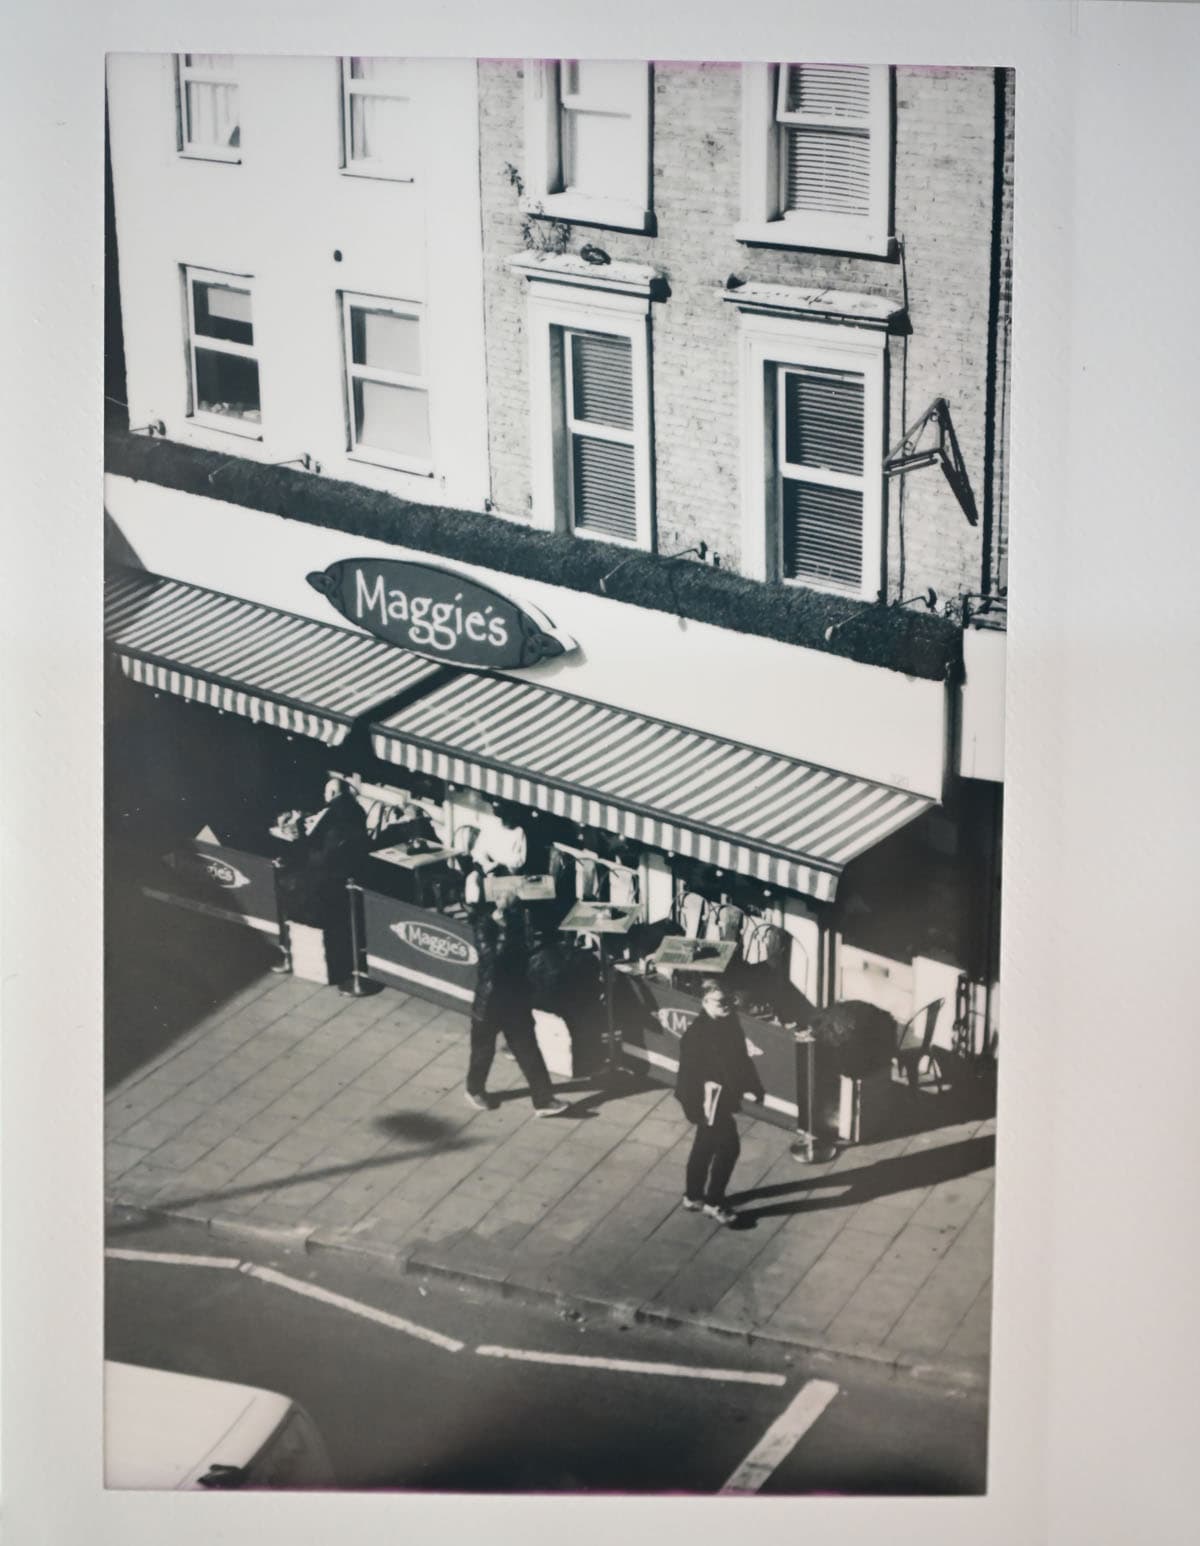
I did some shots from a balcony in Lewisham, too. A case of setting up the shot and waiting for people to walk into them. I’m hoping to go out and take really wide shots and get more blurred edges, but they’re excellent practice:
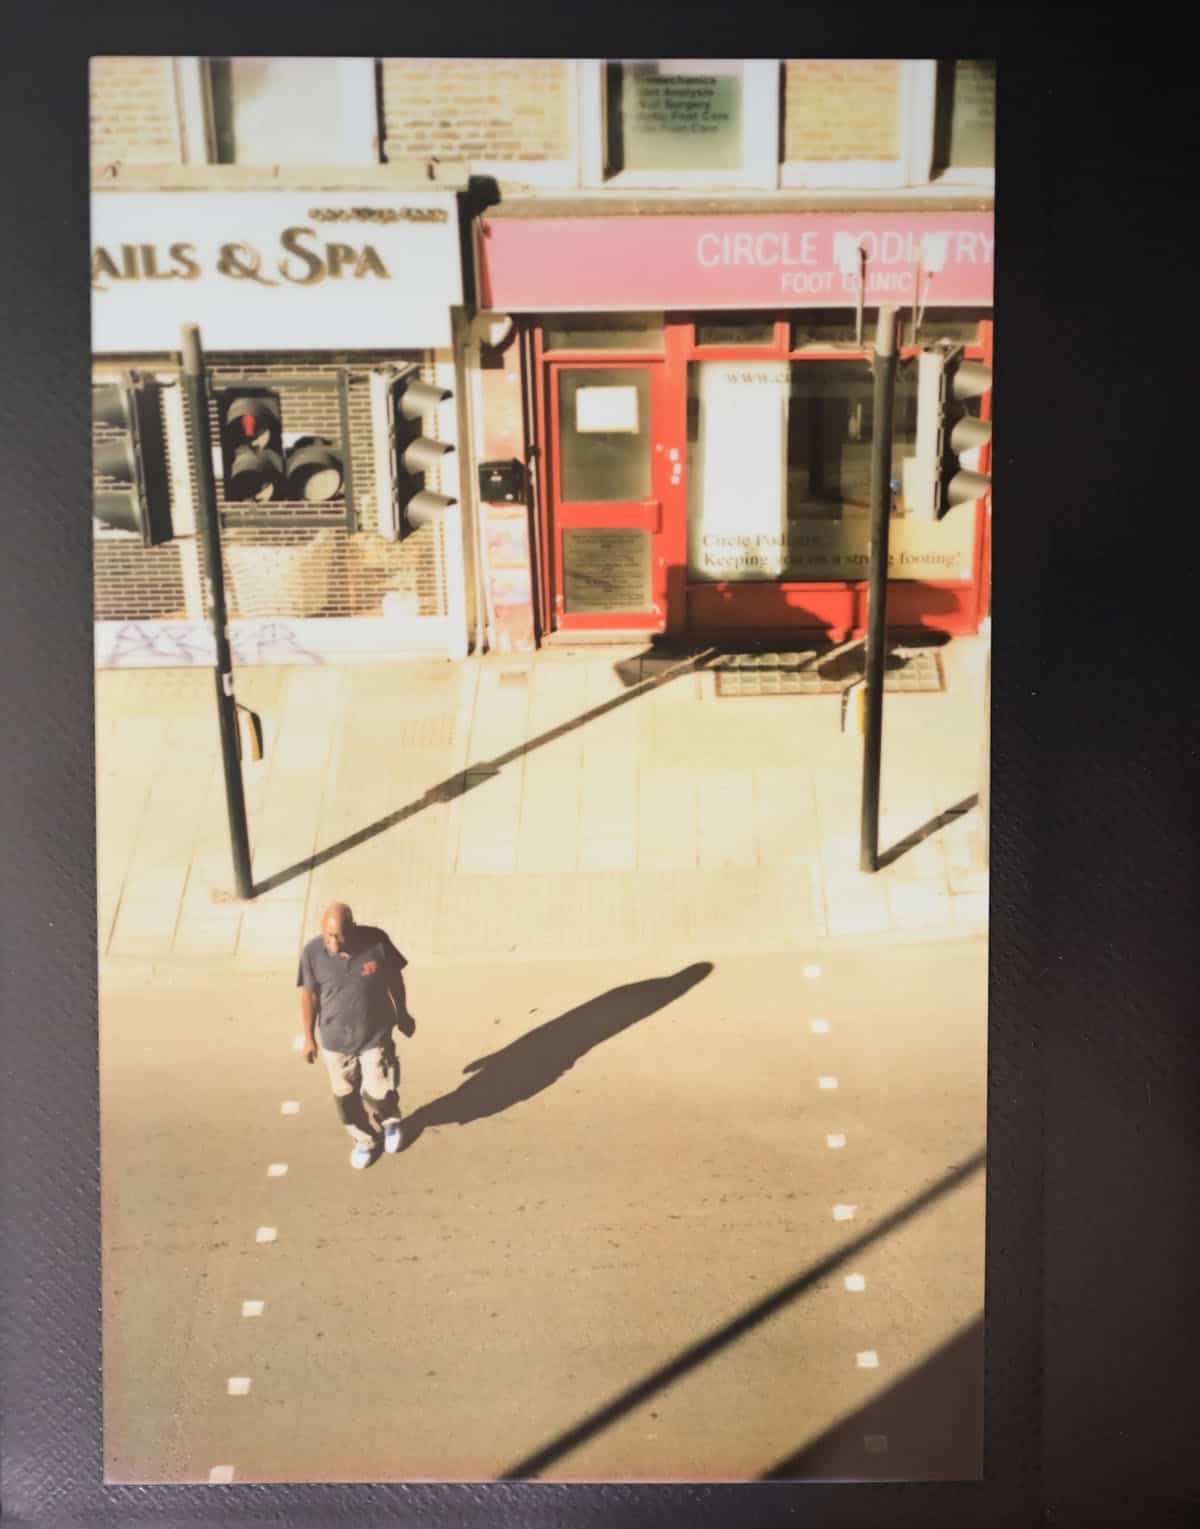
Here’s some of the balcony owner, Jason – in bright sunlight:
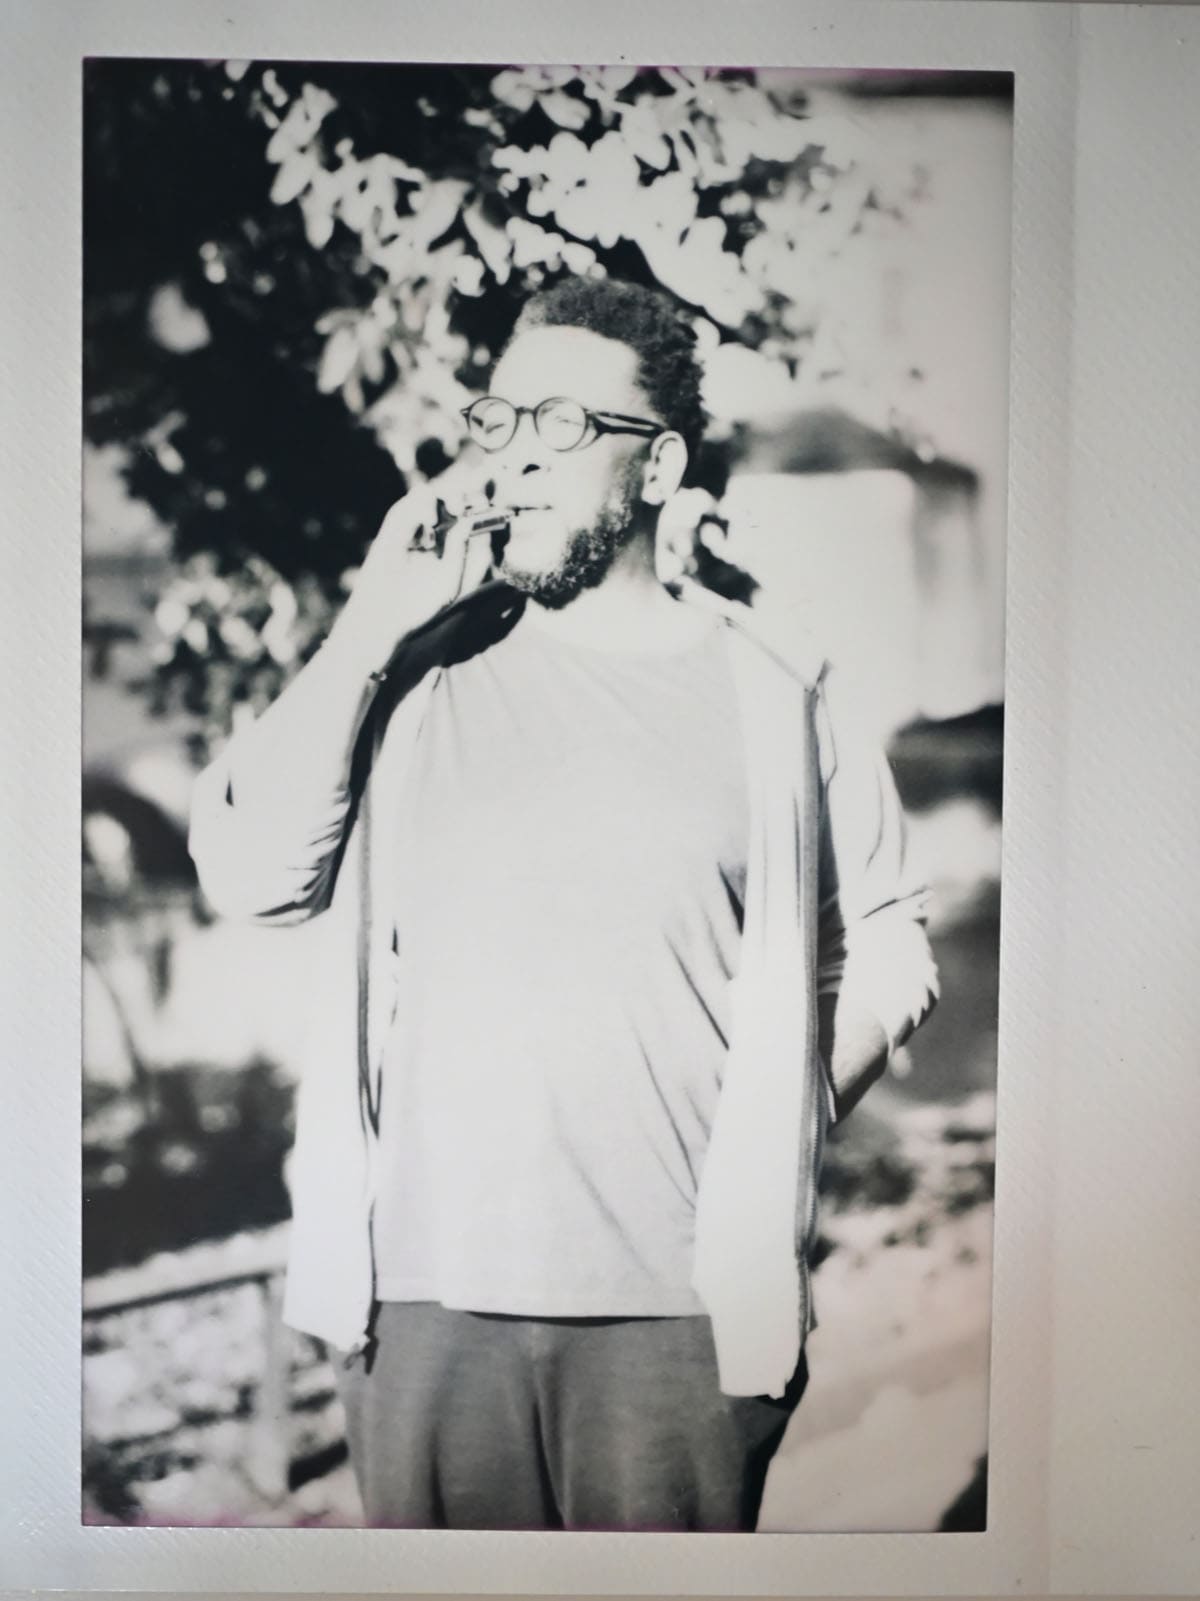
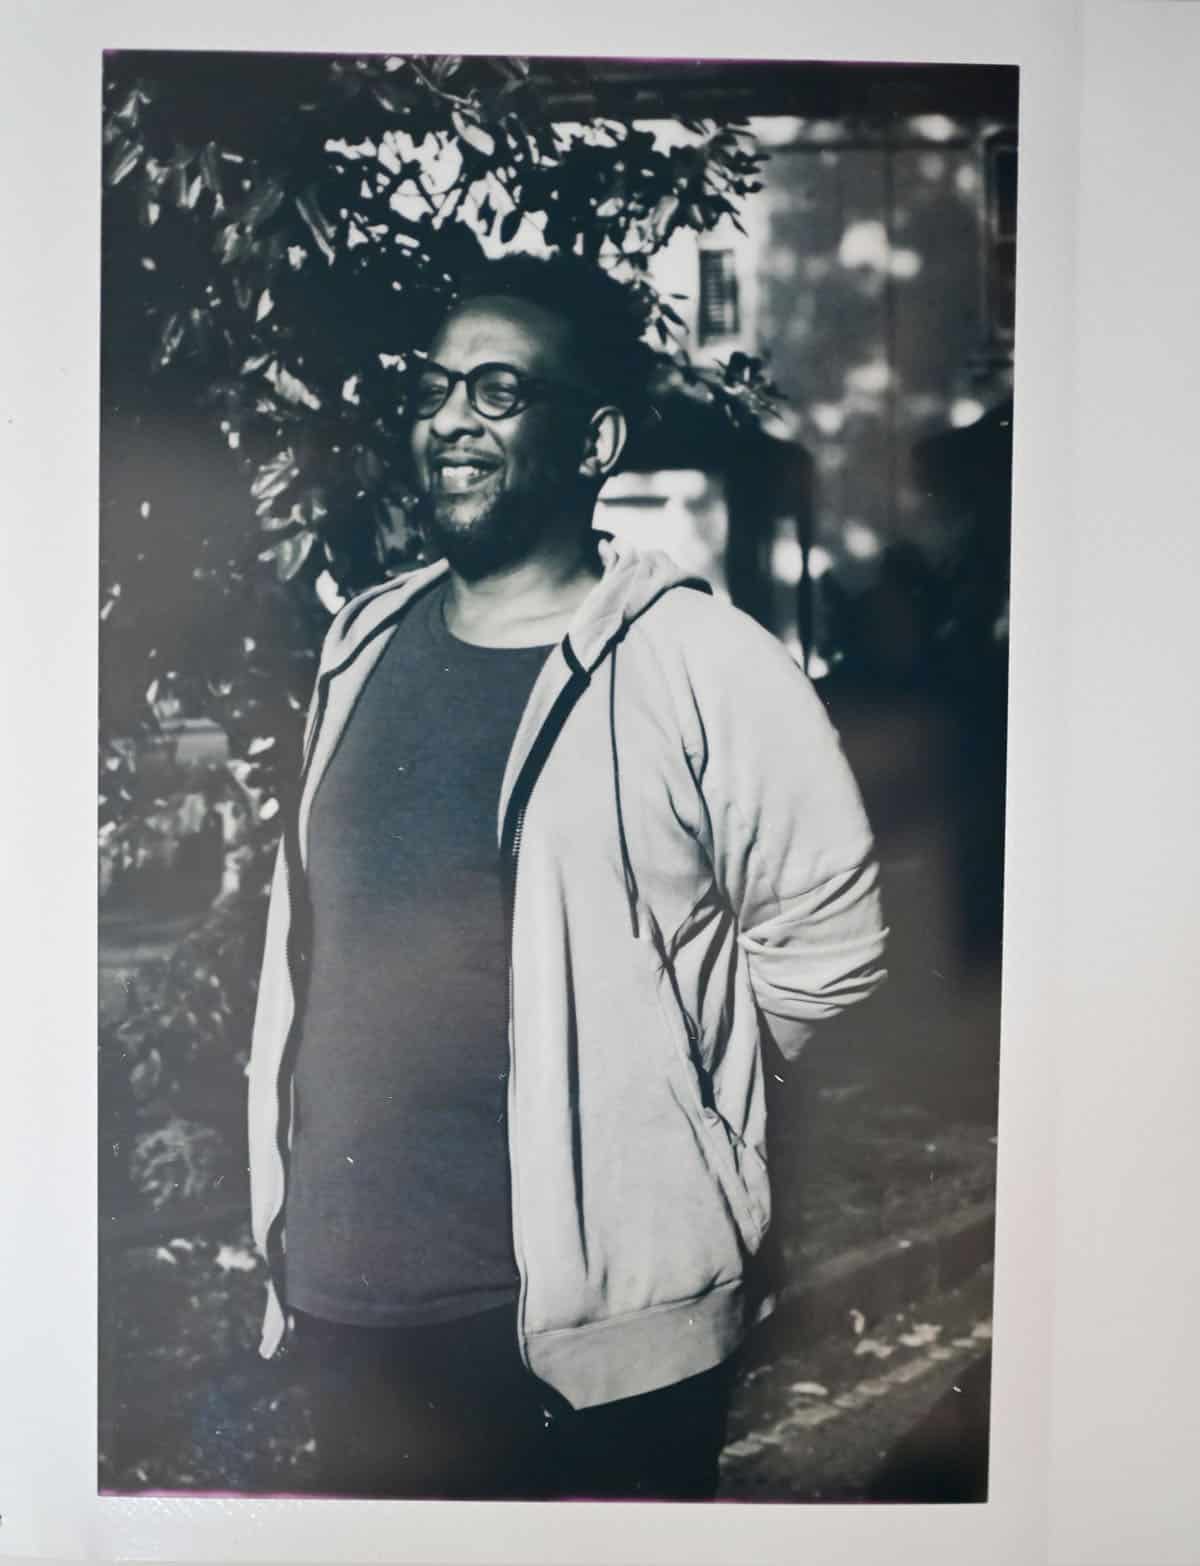
And lastly a close up of him:
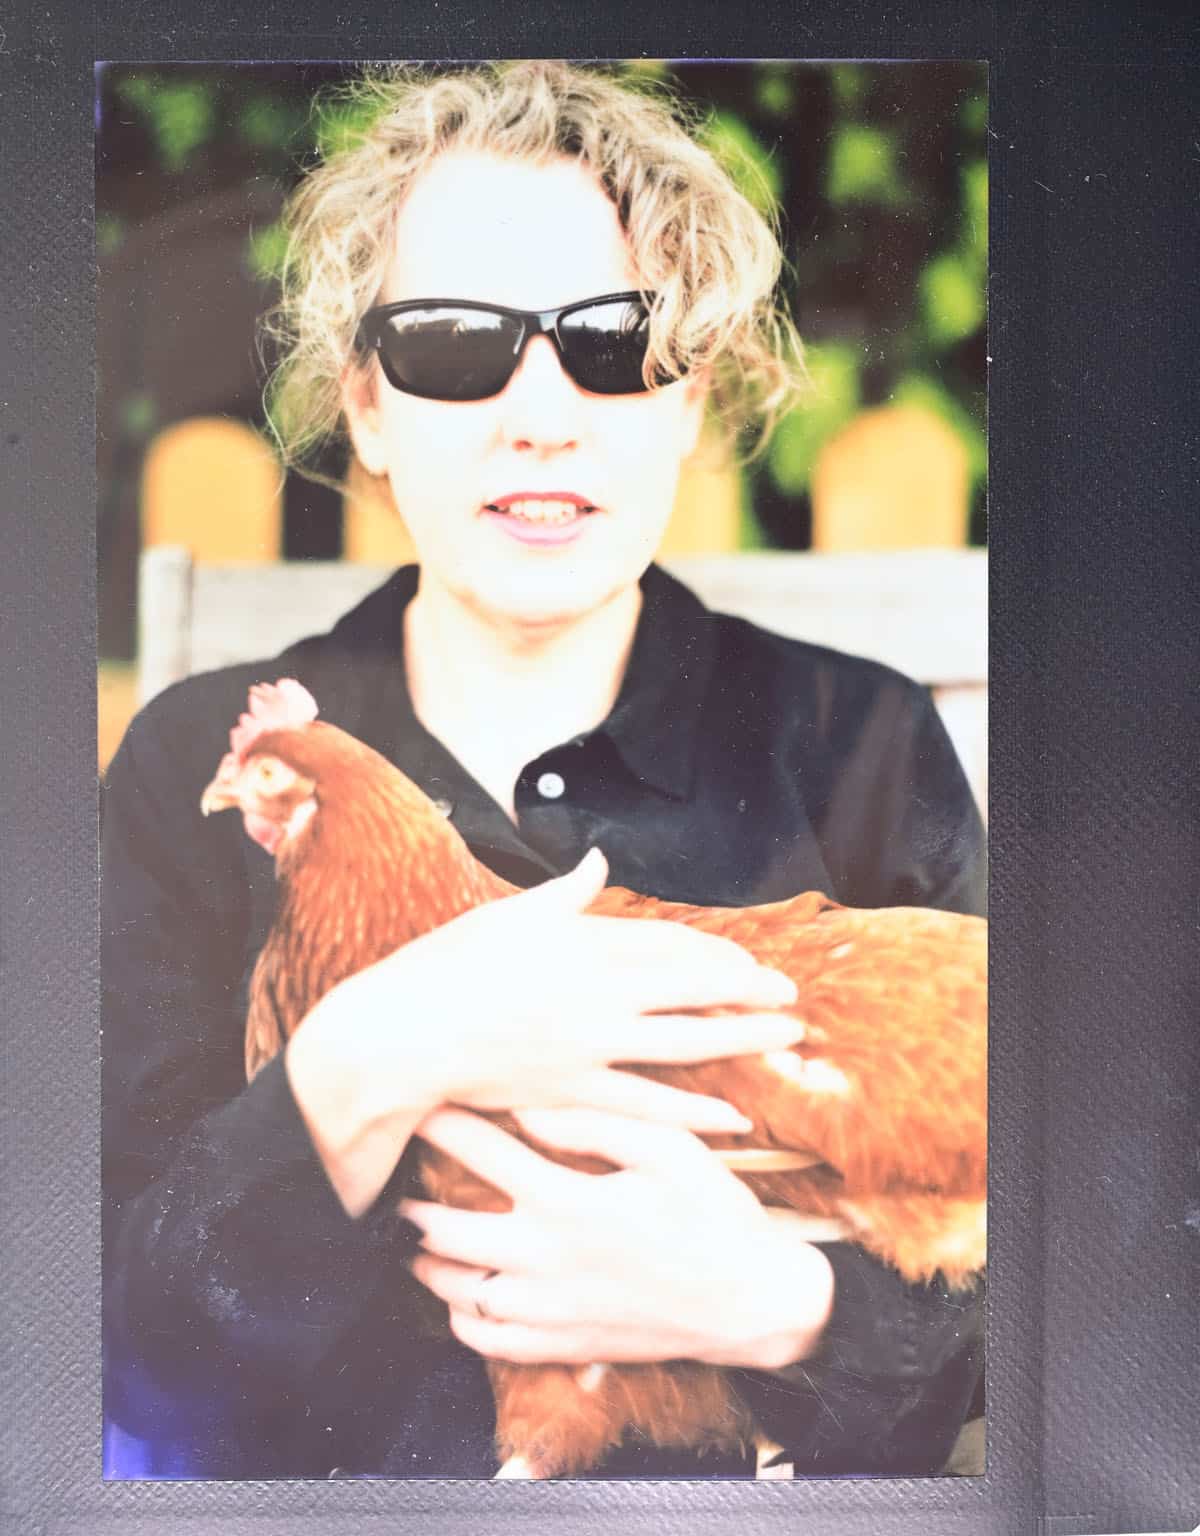
My favorite shot so far is of my wife with one of our chickens in the back garden:
Conclusion
I hope you’ve enjoyed both the details of my in-person workshop and the detail on how to use the Speed Graphic with strobes, with the Aero Ektar lens, and with the Lomograflok back.
I’m interested in doing more shots on film (and have four ready to develop). I’d love to do some really wide landscapes, too, and some more portraits of my wife with the Instax wide Polaroids.
It will take time for me to really get to know this camera and the lenses that go with it, but I hope you agree that taking a workshop to help “speed” things up is a worthwhile thing to do.
Thank you so much, Alec! Alec is a regular contributor here at Shoot It With Film, and be sure to check out his other articles, like Holga Glass vs. Plastic Lens: Is the Glass Lens Worth It? and Petzval 80.5mm f/1.9 MKII Bokeh Control Art Lens Review: It’s All About the Swirl.
You can also check out more of his work on Instagram.
Leave your questions about the Graflex Speed Graphic below in the comments, and you can pick one up for yourself at KEH Camera or on eBay.


Leave a Comment
Shoot It With Film on Instagram


Blog Comments
David
October 10, 2025 at 8:41 pm
Great article! I have a Super Graphic and have been trying to master the beast by learning on my own. I develop my own film. The fear of wasting an $8 sheet of Ektachrome is highly motivating to getting the shot right!