
Written by Lyssa Merritt
Wet plate collodion photography is basically the genesis of portrait photography.
It is the process of coating a tin plate or a glass plate in a light sensitive material, and then exposing it in order to create a photograph. It was all the rage back in the mid 1800’s.


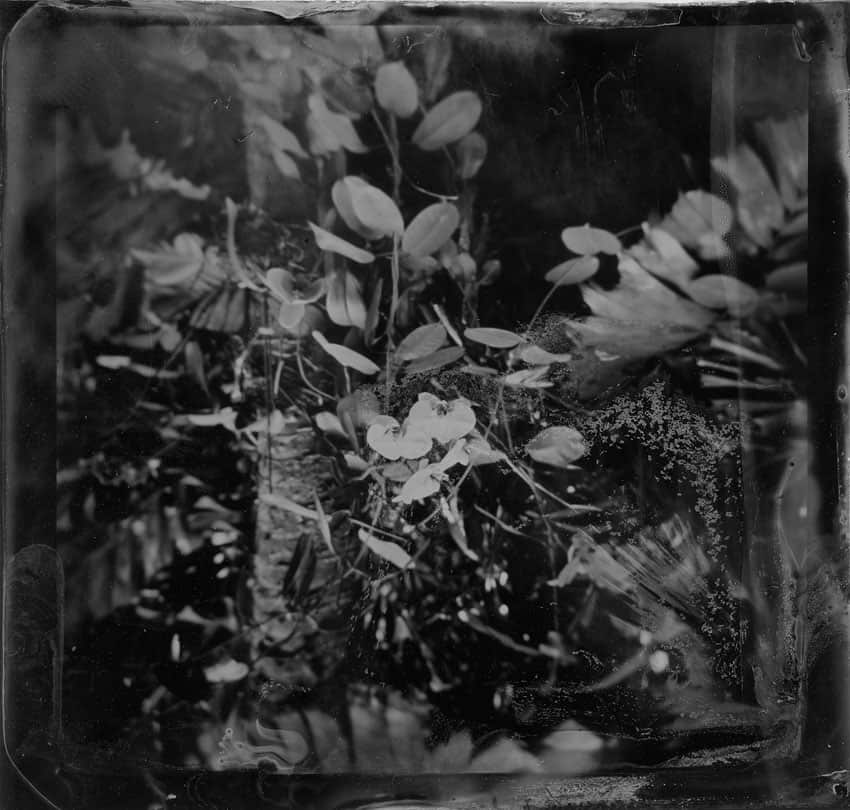
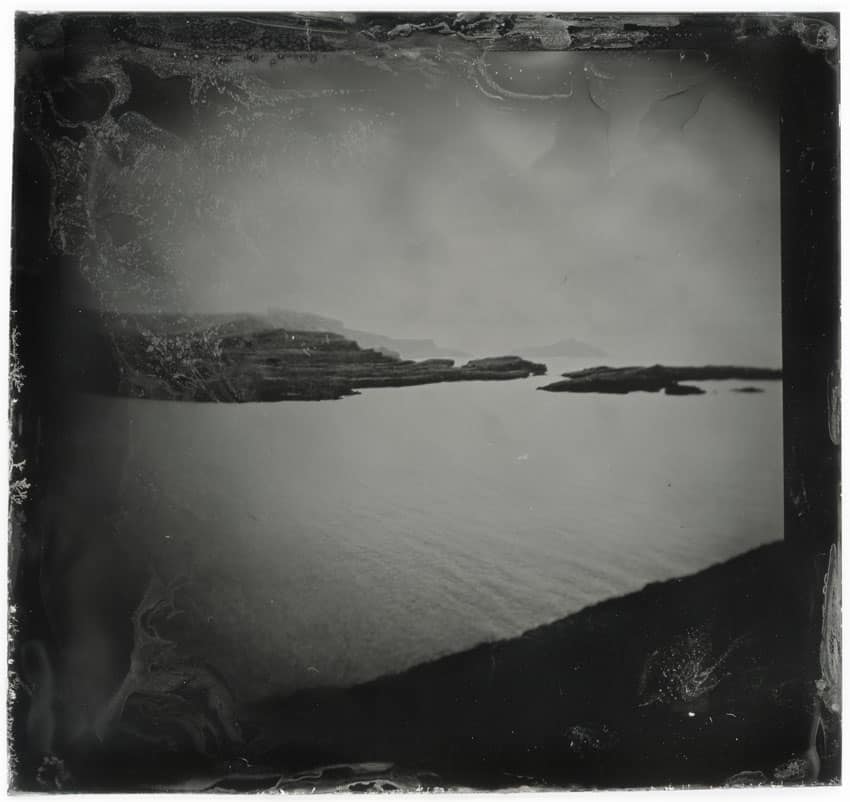
I’m sure, as photography enthusiasts, you have come across and admired some wet plate photographs, but the idea of trying it yourself seemed way too complicated and intricate to attempt. At least, that’s how I felt for years.
Then, the world came to a bit of a halt, and I had more than enough time to invest in a new art form.
I decided to look into the wet plate process and see if it would be feasible to get into. Hours and days and at least 30 website tabs open at any given time later, I realized I could do this!
Here is a beginner’s guide to wet plate photography, a simplified, demystified “how-to” on getting started with wet plate photography tintypes.
Basically, this is the article I wish existed when I first started researching wet plate photography and the collodion process.
I promise that by the end of this article you will feel stoked enough and confident enough to try tintypes out for yourself.
Supplies Needed for Wet Plate Photography
Wet plate photography involves taking a piece of tin, covering it in a light sensitive chemical solution, and placing that tin plate in your camera.
Then, you take your photo and develop the image.
This all happens within a very short time frame, usually about 15-20 minutes. You will also need access to a darkroom, since you’ll be using light sensitive materials and developing the image right away.
Here are the supplies you’ll need:
- Any analog camera
- I use a Holga 120 camera (Find on Amazon)
- Wet Plate Beginner’s Kit from Bostick & Sullivan
- The chemicals include Collodion, Silver Nitrate, Developer, Fixer, Nitric Acid, Amino Silane, Calcium Carbonate, and Sandarac Varnish.
- This beginner’s kit comes with literally everything you need as far as the chemistry, bottles, beakers, safety glasses, etc. It also comes with detailed instructions!
- Tin Plates – You can also find these at Bostick & Sullivan
- Developing Trays (Find these on Amazon, or you can just use plastic Tupperware containers.)
- Tripod (Find on Amazon)
- Optional: Shutter Release Cable (Find on Amazon)
- For the Holga, you’ll need a special adapter, which is no longer in production, to use a shutter release cable. I don’t actually use one, so it’s doable without, just easier with it.
- Plastic Gloves
- A Darkroom
- I use my windowless laundry room. Here is a step-by-step process on setting up a darkroom.
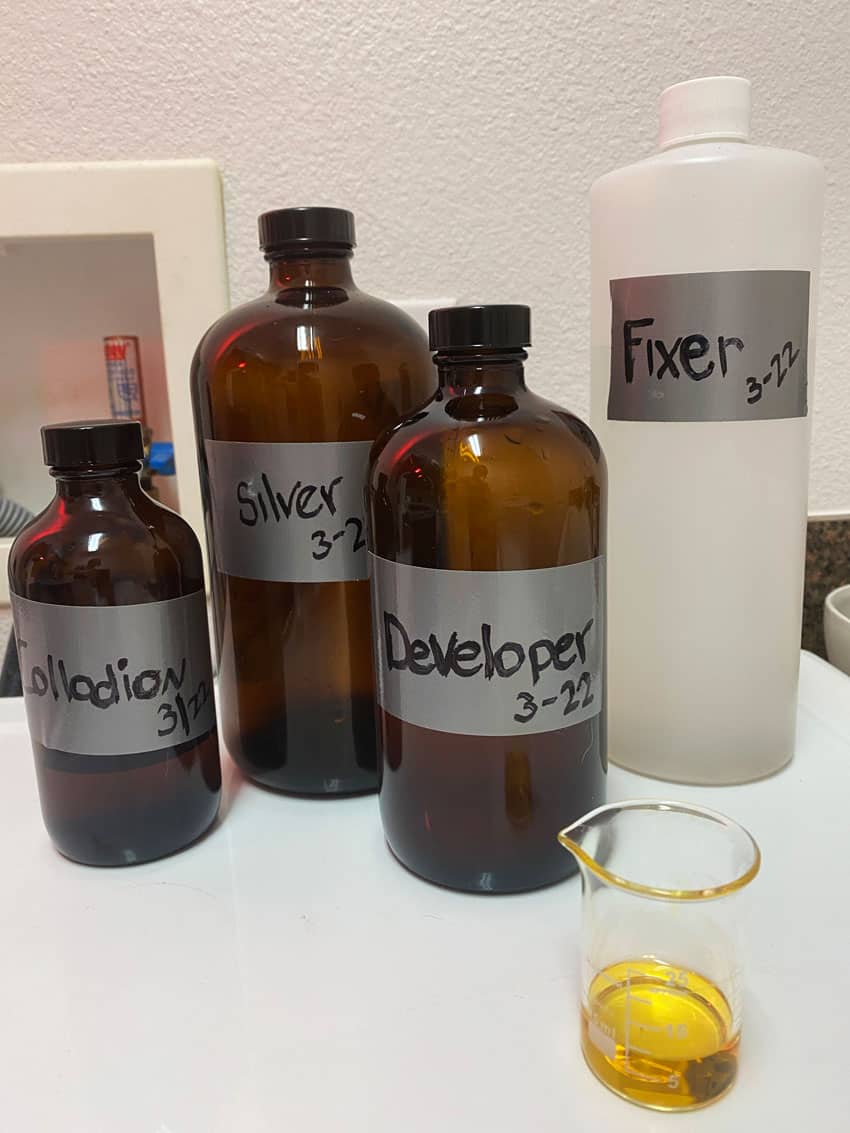


Preparing Your Holga
Once covered in chemicals, your tin plate will be light sensitive, so you’ll want to make sure your Holga 120 is light tight. Put a piece of electrical tape over the red window on the back of the camera to keep out any light.
Instead of film, you’ll put a 2-1/2” x 2-1/4” piece of tin plate into the Holga.
You can order custom tin plates sizes from Bostick and Sullivan, but you can also cut them to size on your own.
I found it cheaper to order 4″ x 5″ plates and cut them myself. I can get two plates from one 4″ x 5″ plate. I use these tin snips to cut them.

We’ll get more into the chemicals in the next section, but you’ll place your tin plate with the chemicals on it into your Holga while in the darkroom.
The chemicals are light sensitive, so make sure to do this part in the darkroom so you don’t ruin your image.
Once the Holga is closed (and the red window on the back of the camera is covered with tape!), it is safe for normal light.
Here’s a good video that shows covering the back of the Holga and loading the plate (starts at min 1:25).

Related: How to Make Cyanotype Prints
Using Your Holga with Regular Film After Using It for Wet Plate Photography
You might be worried about if the wet plate chemicals will leave a mess in your Holga.
As long as you wipe the inside of the Holga down when you’re done doing some plates, it’s completely safe to run film through it still.
The chemicals really aren’t as messy as I thought they would be.
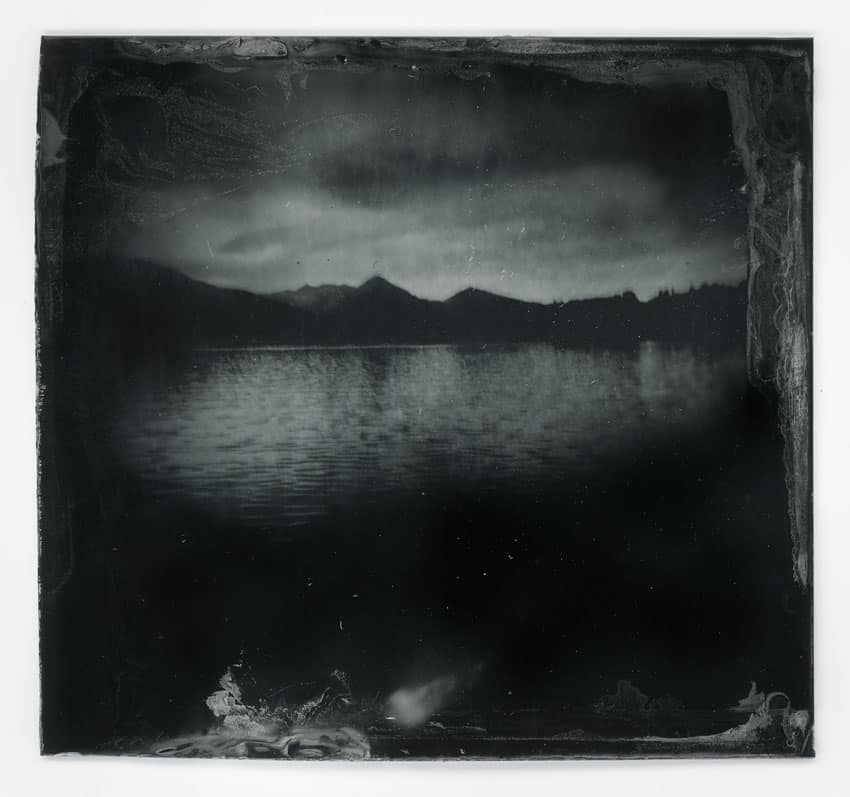
The Darkroom Process
You can buy all the chemicals individually for the collodion wet plate process and mix it all yourself, but I highly suggest you start out with the Bostick & Sullivan beginner’s kit.
When you start getting into the in-depth chemistry and numerous recipes out there, that is when you will get overwhelmed and frustrated.
Once you get the hang of the process and how everything works together, you can then start looking deeper into it.
The instructions that come with the Bostick & Sullivan kit are super detailed and easy to follow, but here is a simple breakdown of the wet plate darkroom process.
- Pour the collodion on the tin plate.
- Put the tin plate in a tray of silver nitrate for 3:00 minutes. Your plate is now light sensitive.
- Put the sensitized plate into your camera. Once your camera is closed and light tight, you can remove it from the darkroom.
- Take your photo. Take the photo as soon as possible (within 20 minutes max) so the chemicals don’t dry out.
- Back in the darkroom, place your tin plate into a tray of developer for 15 seconds.
- Rinse your plate under running water for 45 seconds to stop the development process. Your plate is no longer light sensitive, so you can turn on the room lights now if you wish.
- Put your plate into the fixer and watch your image appear! (Pure magic…) Leave it in the fixer for about 5-7 minutes.
- Do a final rinse of your plate.
- Varnish your plate.
For tips on setting up a darkroom and creating a light-tight space, check out this article.


Honestly, if you’ve ever developed your own film in a darkroom, doing wet plate really isn’t that much different. It’s still the same basic process.
If you’d like to know more about developing film at home, check out these articles on developing black and white film and developing color film.
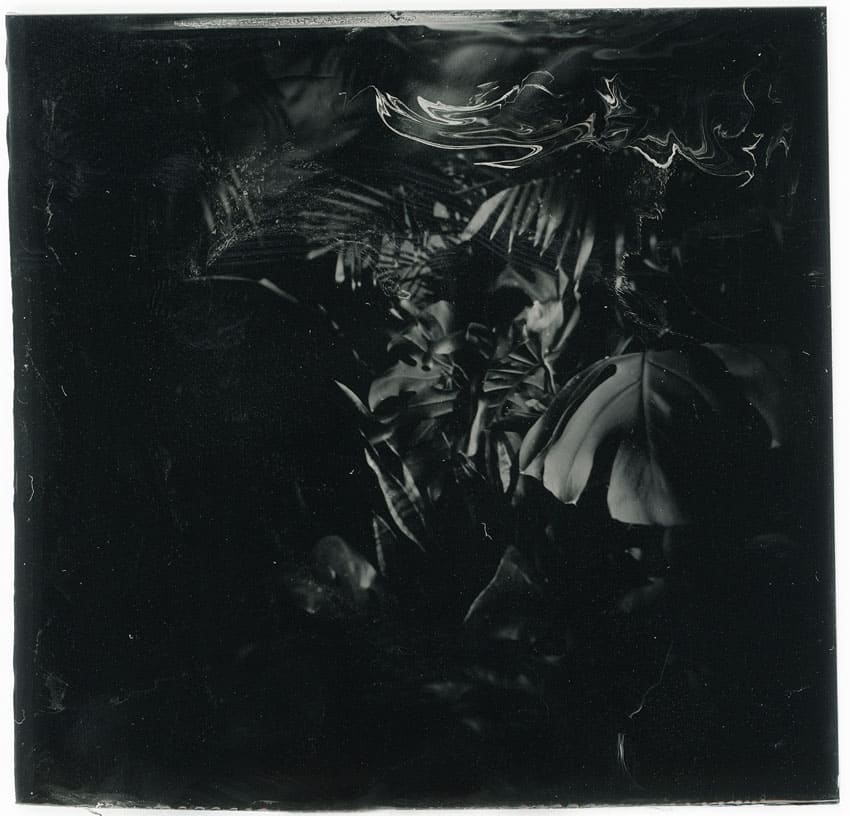
Taking Outdoor Wet Plate Photos
The shutter speed for outdoor wet plate photos will usually be quite long, so it’s best to use a tripod to steady your camera and frame your shot.
The best way I’ve found to determine the proper exposure settings is to download the Pocket Light Meter iOS app.
In the app, set the ISO to 1, and set the aperture for whatever camera you’re using (the Holga 120 aperture on the “cloudy” setting is about f/8).
Then, go into the app settings and change the Exposure Correction to “-2 2/3 EV.” This will give you the most accurate shutter speed.

In my experience in full sun, your shutter speed should be about 6-7 seconds and about 25 seconds in the shade.
These numbers are just a general guideline, so it will still take some trial and error to nail the correct exposure down.
Once you’ve taken your wet plate photo, you can head back into the darkroom to develop the image.

Converting Digital Photos to Wet Plate Photos
A few years ago, I had the idea to transfer some of my favorite digital photos on to different analog mediums (wet plate, film, Polaroid, etc). Simply because there is something so beautiful about analog photography.
I love the processes, the darkroom, and being able to hold a photo in my hand that I created from beginning to end.
Now, with all of us being grounded indefinitely, I’ve had plenty of time to work out how to do this. Also, I ran out of stuff of any interest to photograph around my home after about 6 days. Haha!
Through a lot of trial and error, it turns out I was making it way more difficult than it had to be.

Here’s my secret technique….pull your digital photo up on a TV or computer screen, and, then, take a photo of the screen with your analog camera of choice. Super intricate process, right?! Ha!
Because the minimum focusing distance of the Holga (as well as most old cameras) is at least a few feet, the screen you pull the photo up on needs to be fairly large in order to fill the whole frame. My MacBook Pro screen wasn’t big enough, so I found a way to put my photos up on our TV screen.
My method is to upload an album of photos on to Google Photos, and, then, use my Chrome browser to cast my MacBook screen to the TV. It’ll be different with other technology platforms, but easy enough to figure out.
Make sure that the brightness is turned up all the way on whatever screen you’re using. I prefer to do the photos at night, because, during the day, there’s always reflections on the TV screen from the windows.
Make sure you have the right distance between the TV and your tripod so the screen is in focus and the photo fills up the frame of the camera.
The light meter app is useless for this, so the exposure I use is 6-7 minutes with an aperture of 8.
This is where a shutter release cable comes in handy! I don’t have one yet, so it’s a little challenging holding down the shutter for that long without shaking, but it’s doable!

A Few Helpful Wet Plate Tips
- Wear old clothes! The chemicals leave dark stains that don’t come out at all.
- If you mess up a plate, you can wash off the image and reuse the plate. I prefer to wash the plate right away. If it dries, it’s harder to clean off the emulsion.
- Also, there are online forums, Facebook groups, and YouTube channels dedicated to wet plate photography that make for amazing learning resources!
- Don’t be intimidated!! Wet plate photography is not as hard as it seems. The payoff when you’re watching the image on your plate appear before your eyes makes everything so worth it.
- Embrace the imperfections and rawness of this art form.

Feel free to contact me with any questions, I’m more than stoked to help you out!
Thank you so much, Lyssa! You can check out more of Lyssa’s work on her website, Instagram, and Facebook.
Leave your questions about wet plate photography below in the comments!




Blog Comments
Amanda
January 28, 2021 at 11:37 am
Thank you for this! I have had such a rough time lately, and this article has helped my heart immensely! I’ve been wanting to try this for a while with no idea where to start. I just ordered my supplies and I can’t wait to give it a try 🙂
Lyssa Merritt
January 29, 2021 at 11:29 pm
Ah! Reading your comment made my day!! Wet plate & being in my darkroom is my therapy. I’m so stoked for you! And if you have any questions at all feel free to email me.💗
Jeff
May 11, 2021 at 9:21 pm
Hi Lyssa,
What would you say is a recommended shutter speed for indoor photographs? Already ordered my stuff and looking forward to attempting this.
A
June 10, 2021 at 10:24 am
I have a couple of questions…
1. What are the consequences of going under or over the times given for development and rinsing?
2. I did not realize that you could clean the plates… how sensitive is the photo to touch/fingerprints/smearing once developed? Is it safe to put it facedown in a scanner?
Jesper
June 30, 2021 at 5:50 am
Hi there. Id like to try this in my 6×6 lomo 120 BUT is it posible to enlarge this 6×6 tin plate over to photopaper in darkroom on an enlarger or som way digital to paper say 40 x40 cm? Thanks .regards jesper
shootitwithfilm
June 30, 2021 at 9:20 pm
Thank you so much for your comment, Jesper! If you’d like to use a darkroom for printing, you could photograph the tintype on film, and then use that negative for enlarging. If you’d like to print digitally, you could either scan the tintype and then print at a larger size or photograph the tintype with a digital camera.
Raimo Dahl
February 20, 2024 at 1:47 am
Jesper, there is always possibility to use glassplates, instead of tintypes. Also using different collodion, made specially for negatives, also developer is then different, than what is used for tintypes. But then you can enlarge it as normal negative.
What I would like to correct also (if I got it right), when developing tintype or whatever collodion image, you should use development as little as possible, so that developer just covers the plate. Not so that you have tray full of developer and you just put your plate there and wait 15s. But it might be that I understood that incorrectly.
Great blog post about wet plate collodion and how you don’t necessarily need large format camrera. I have tried made tintypes with 35mm camera, works as well 😀
John
October 24, 2024 at 9:19 am
I want so bad to try this….Ive been looking for an alternative photography process thats actually doable and this may be it! Thank you for the explanation and I hope I can pull this off….the images are beautiful 🙂
shootitwithfilm
October 28, 2024 at 9:27 pm
Please let us know if you try it, John! It’s such a fun process!