

Written by Taylor Blanchard
I have a few cameras that feel like an extension of me: cameras that produce images that most reflect who I am and help me creatively express my ideas. My Zero Image Pinhole is one of those cameras.
It’s not necessarily easy to use, but at its heart, it’s the embodiment of film photography – light passing through a small aperture and recording an image on film. No batteries, no lenses, no image framing window.
Find the Zero Image Pinhole Camera at the Zero Image website.
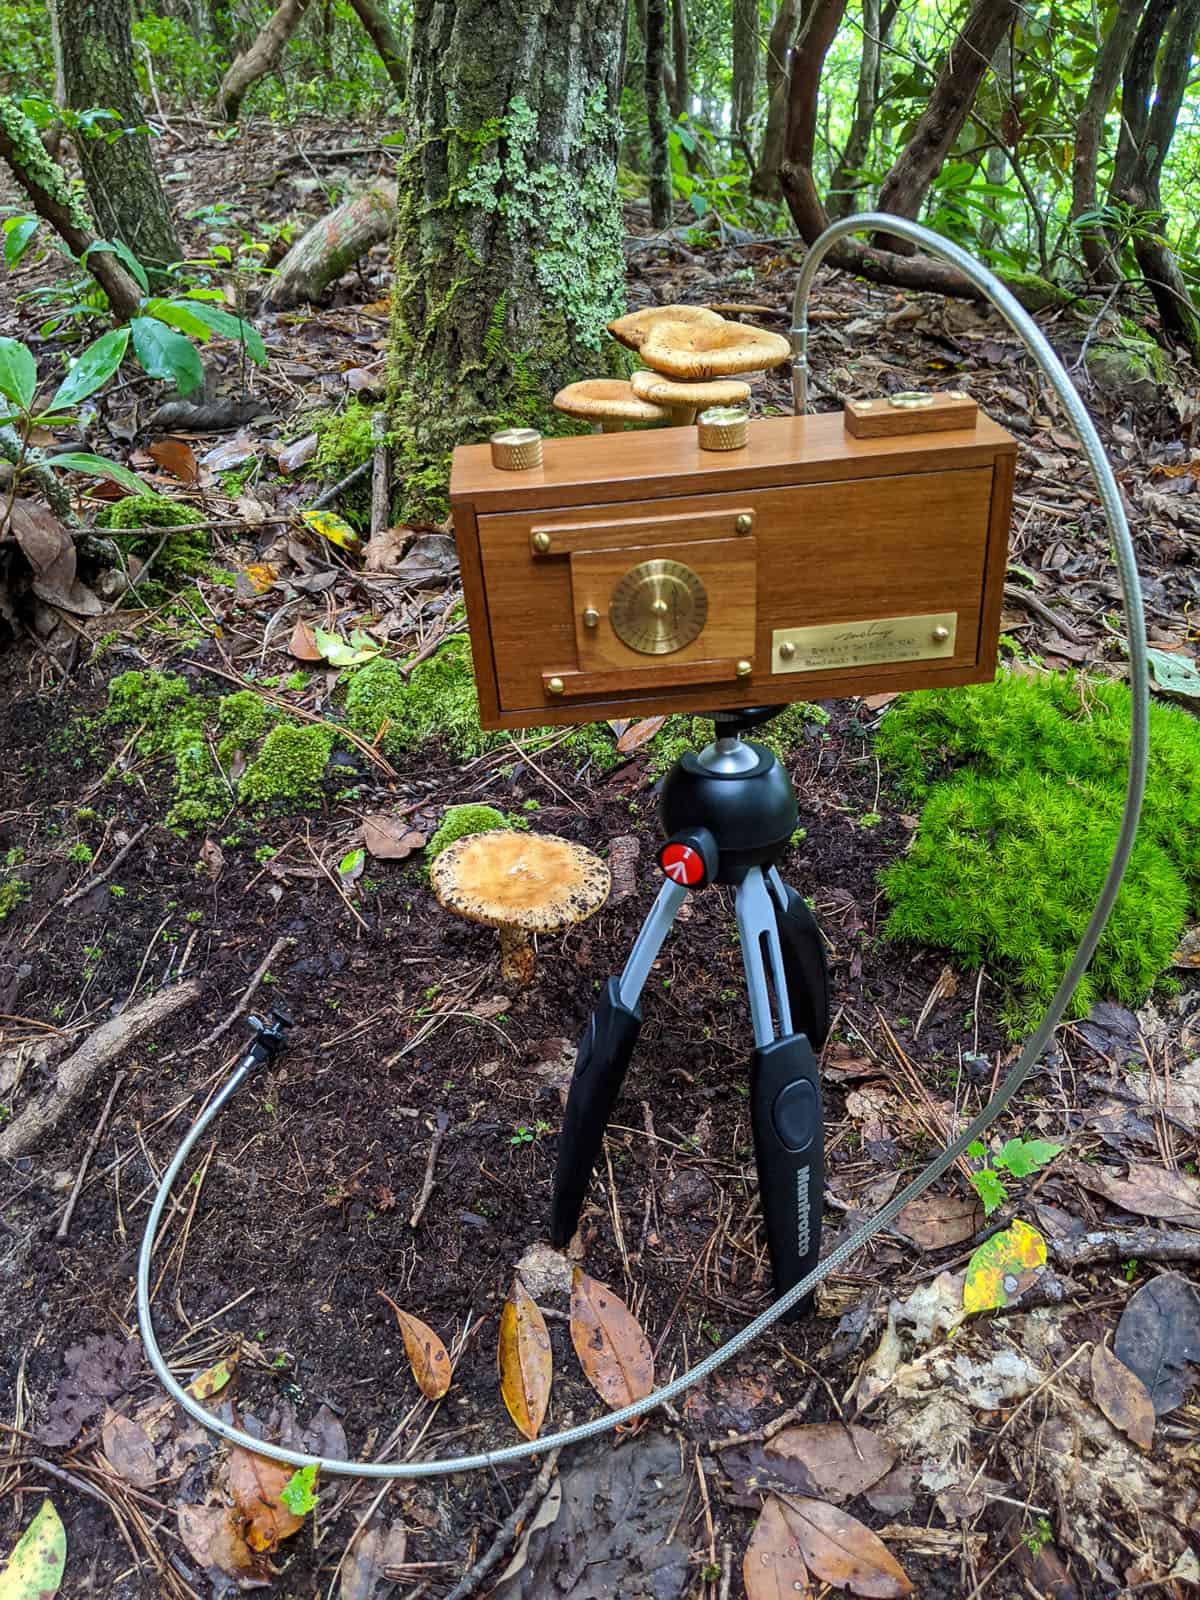
As the pandemic was ramping up in early 2020, Blue Moon Camera sent an email that they were receiving a shipment of cameras from Zero Image, a Hong Kong-based camera company that makes wooden cameras in a variety of formats.
Zero Image was shutting down for the foreseeable future given stay-at-home restrictions. In the U.S., we were a few weeks away from that fate. I’m not sure what resonated with me most: the beautiful wood camera? The thought of purchasing a camera from a company that couldn’t make cameras for a while? Or a typical case of GAS (gear acquisition syndrome)?
Whatever the reason, I clicked “add to cart” – buying one of the medium format (120 film) models. A few months later, well into stay-at-home orders in the U.S., the camera arrived. It was as beautiful as I had imagined, and quite intimidating. While it’s a simple rectangle box camera, it doesn’t look or feel easy to shoot in the way a plastic camera or a point and shoot does.
Zero Image was launched in 1999 by Zernike Au, a “pinhole enthusiast” who had a successful career as a product designer, according to the company’s website. When Zero Image launched, its website says there wasn’t another roll film pinhole camera company in existence. The cameras are constructed of teak wood and brass and finished with a wax or varnish, depending on the model. Several retailers carry the brand, but the cameras are often out of stock.
Unboxing and Setting Up the Zero Image Pinhole Camera
There are several models of Zero Image; I bought the 69D Deluxe “Back to Nature” edition. I think it’s named “Deluxe” because it comes with added features: a bubble level, a 52mm filter thread, and a cable release adapter (the naming of these cameras is a bit confusing to me). All the 69 models can shoot 6×4.5, 6×6, 6×7, and 6×9. Back to nature refers to the wood finish: a wood oil versus a varnish.
Zero Image pinhole cameras arrive in a subtle cardboard box. The camera comes with a basic instruction manual that provides a basic overview of loading film, exposing film, and caring for the camera.
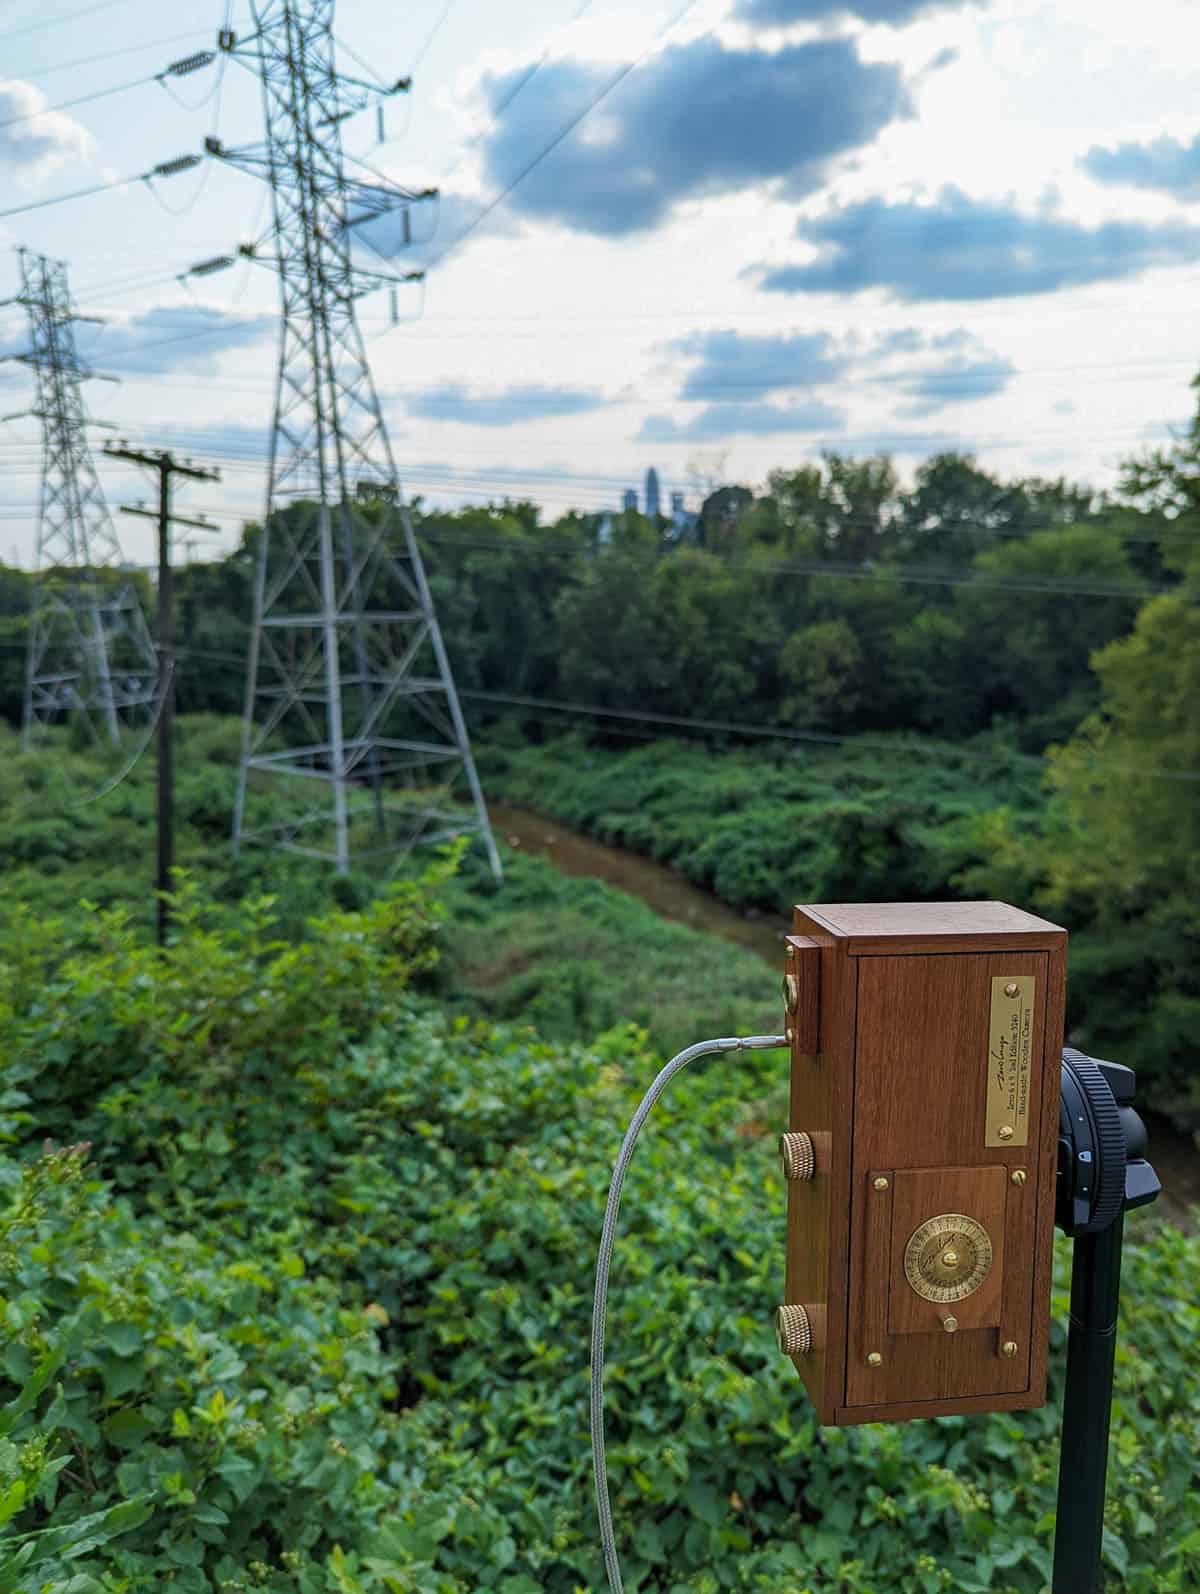
As I mentioned, the camera design is simple. On the front of the camera is the filter thread, a brass cable release adapter, and the shutter. The pinhole size is 0.17mm and the focal length is 40mm for an equivalent aperture opening of f/235.
The top of the camera has two brass knobs – one to lock the top wood plate in place; the other is a film advance winder. The bubble level is also on top of the camera. The back of the camera has a sliding cover with 3 red windows to reveal the film count: the upper window is for 6×4.5, the middle is for 6×6, and the bottom is for 6×7 and 6×9. There is also a brass dial on the back which acts as an exposure scale to guide your exposure calculations.
To adjust the film format size and load the film, remove the top cover and then slide out the back cover. Two dividers allow you to adjust the aspect ratio. I generally shoot the same aspect ratio with this camera, although you could adjust it every time you load film.
The film loads on the left side of the camera; the film moves from left to right. Loading the camera can be a bit tricky, even once you’re accustomed to the process. You drop the film into the right side slot and then roll the 120 paper leader onto the take-up spool, ensuring the spool snugly fits behind a metal guide. You then slide the back cover on and fasten the top onto the camera. You must line up the slot on the take up spool with the film advance knob. Finally, tighten the center knob.
Then, turn the film advance knob clockwise to move the film. You move the film until the number 1 appears in the window that matches the format that you set. The red window is similar to several other cameras with red windows, like a Holga or Brownie.
Moving from ‘Meh’ to ‘Marvelous’
The first year or so I owned this camera, I enjoyed it, but I didn’t connect with the camera. I thought the exposures didn’t render the results that I expected. Following the exposure dial on the back of the camera and using a light meter app, I felt like all my shots were way under- or over-exposed, and I didn’t like the images I was getting. I muddled along with the camera, never loving it.
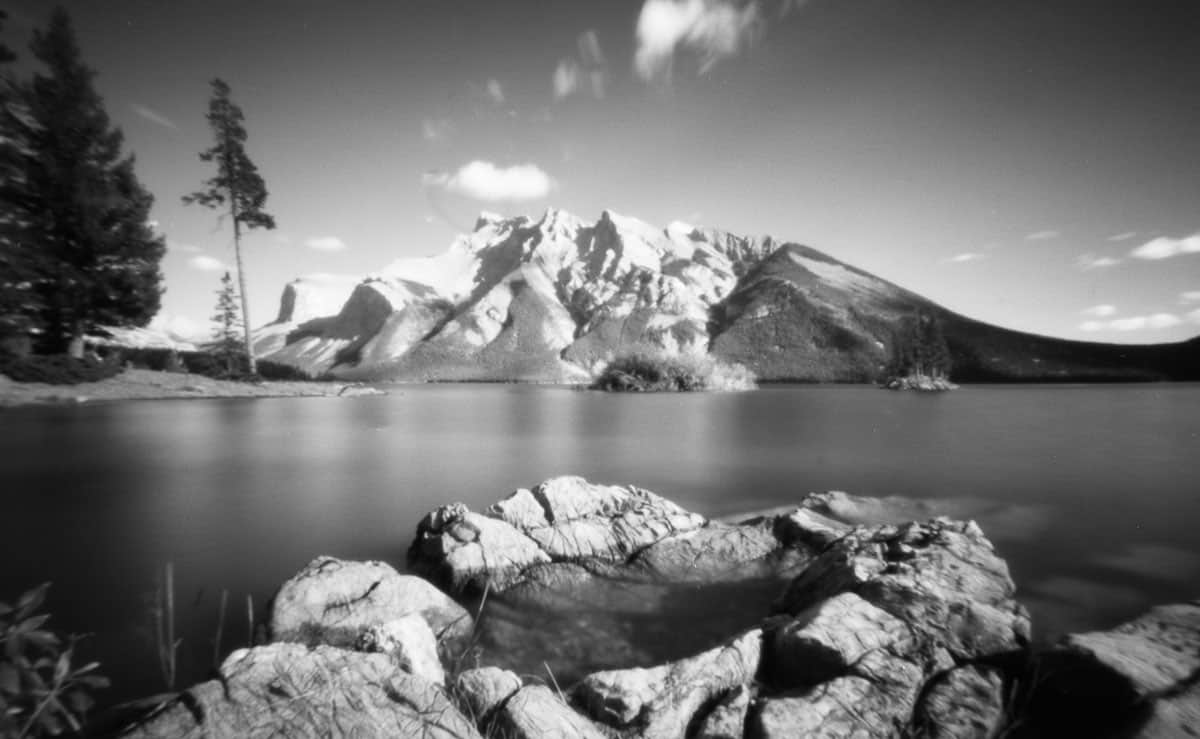
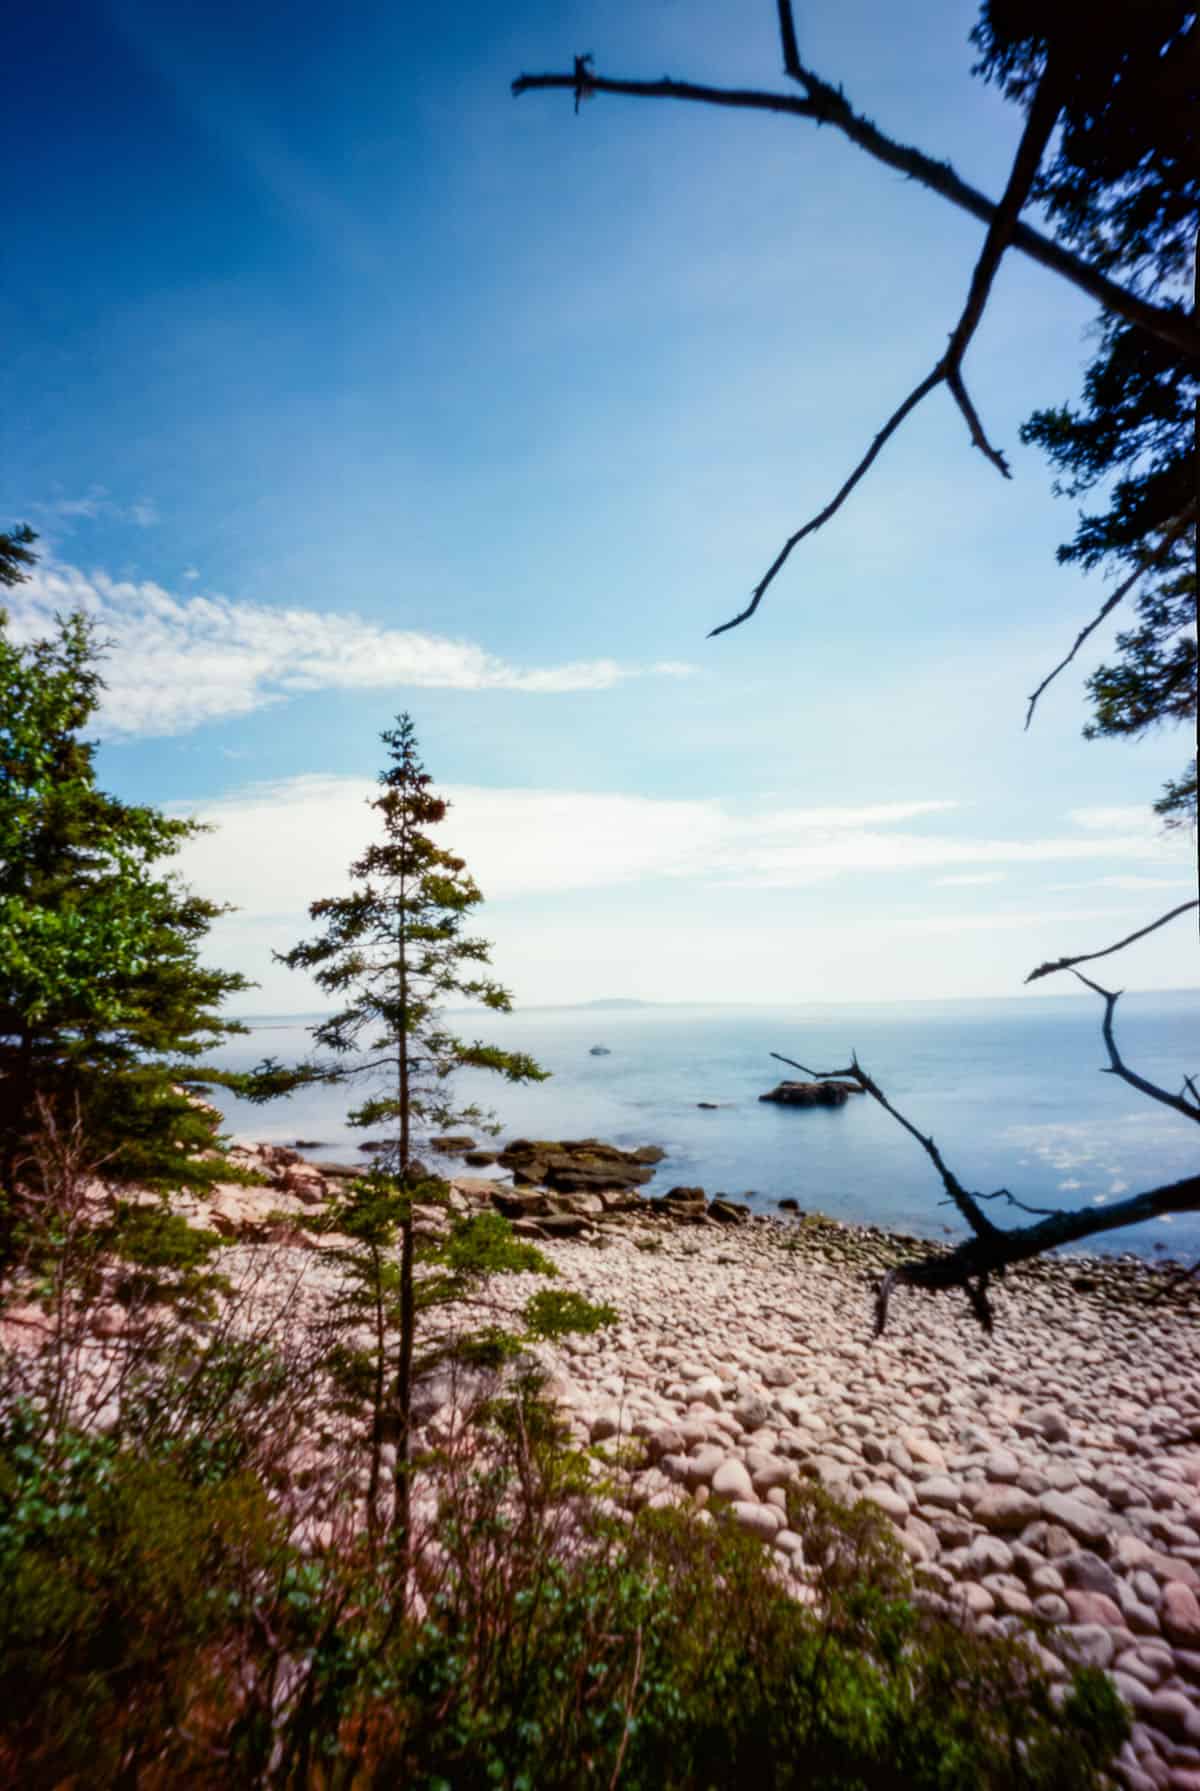
Then, two things changed. First, I adjusted the aspect ratio from 6×6 to 6×9. I’m not sure why I defaulted to shooting 6×6 when I first got the camera, as I already have several cameras that shoot that format. I find it easier to frame my photos and pre-visualize the scene with 6×9, since it’s almost as wide as the camera. The 6×9 format also creates more expansive images (and, yes, I eventually want a camera that shoots 6×12).
Next, my friend Alec Pain helped me with the exposure calculations. To get more accurate exposures, I follow the multi-step process that he later published for Shoot It With Film. The two biggest changes I made were calculating the exposure specifically for f/235 and then accounting for the reciprocity characteristics of the film. Before I had been winging it with exposure, which can sometimes lead to good results, but never consistent results.
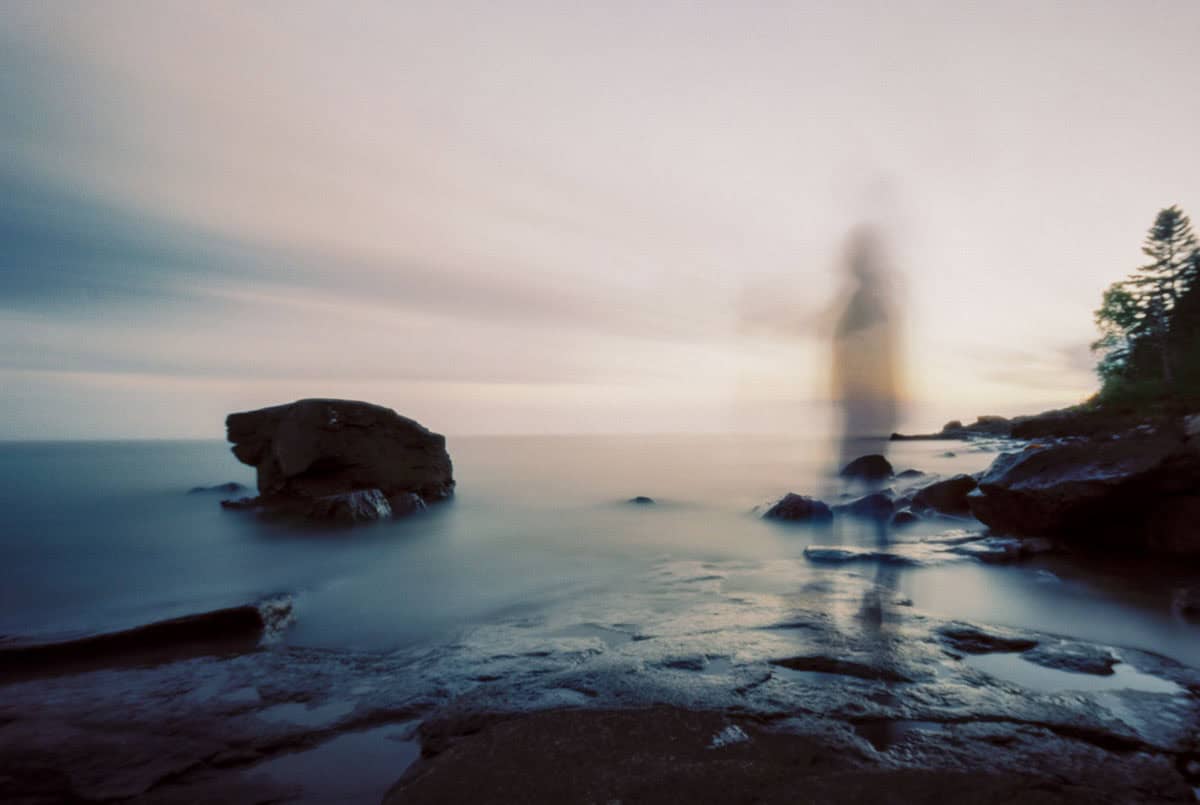
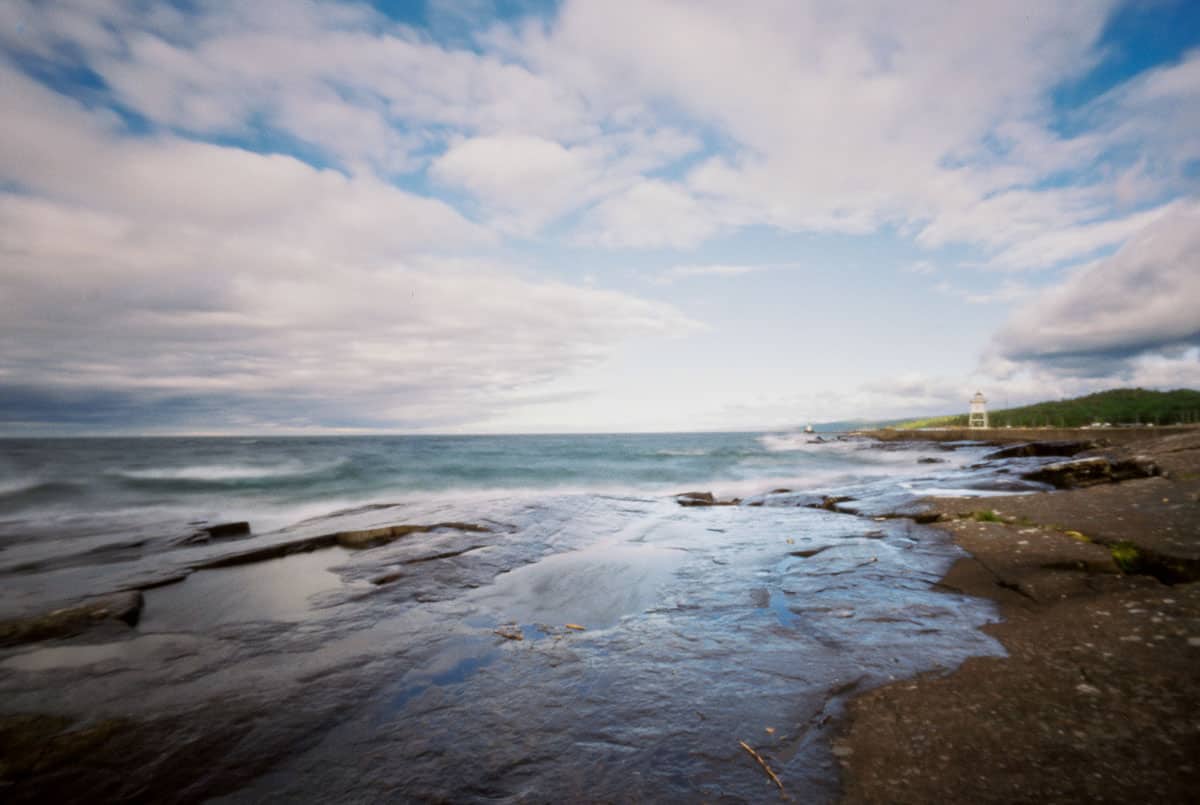
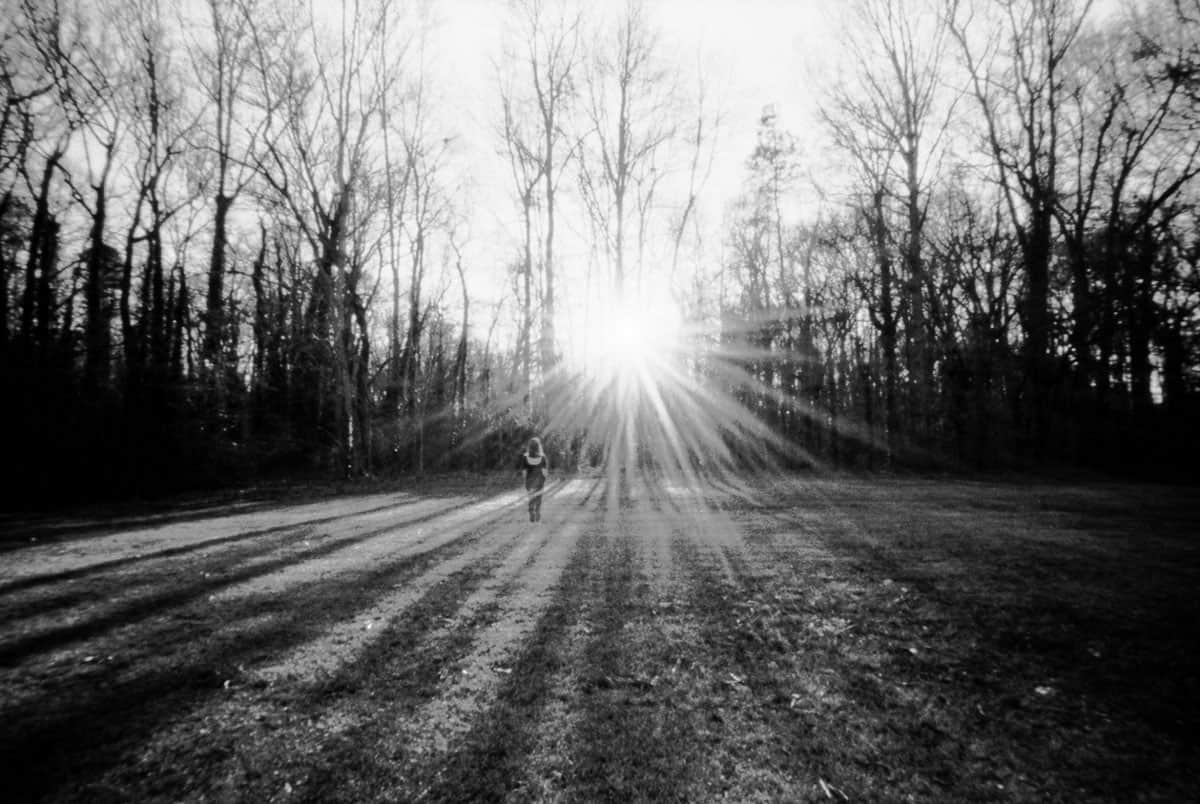
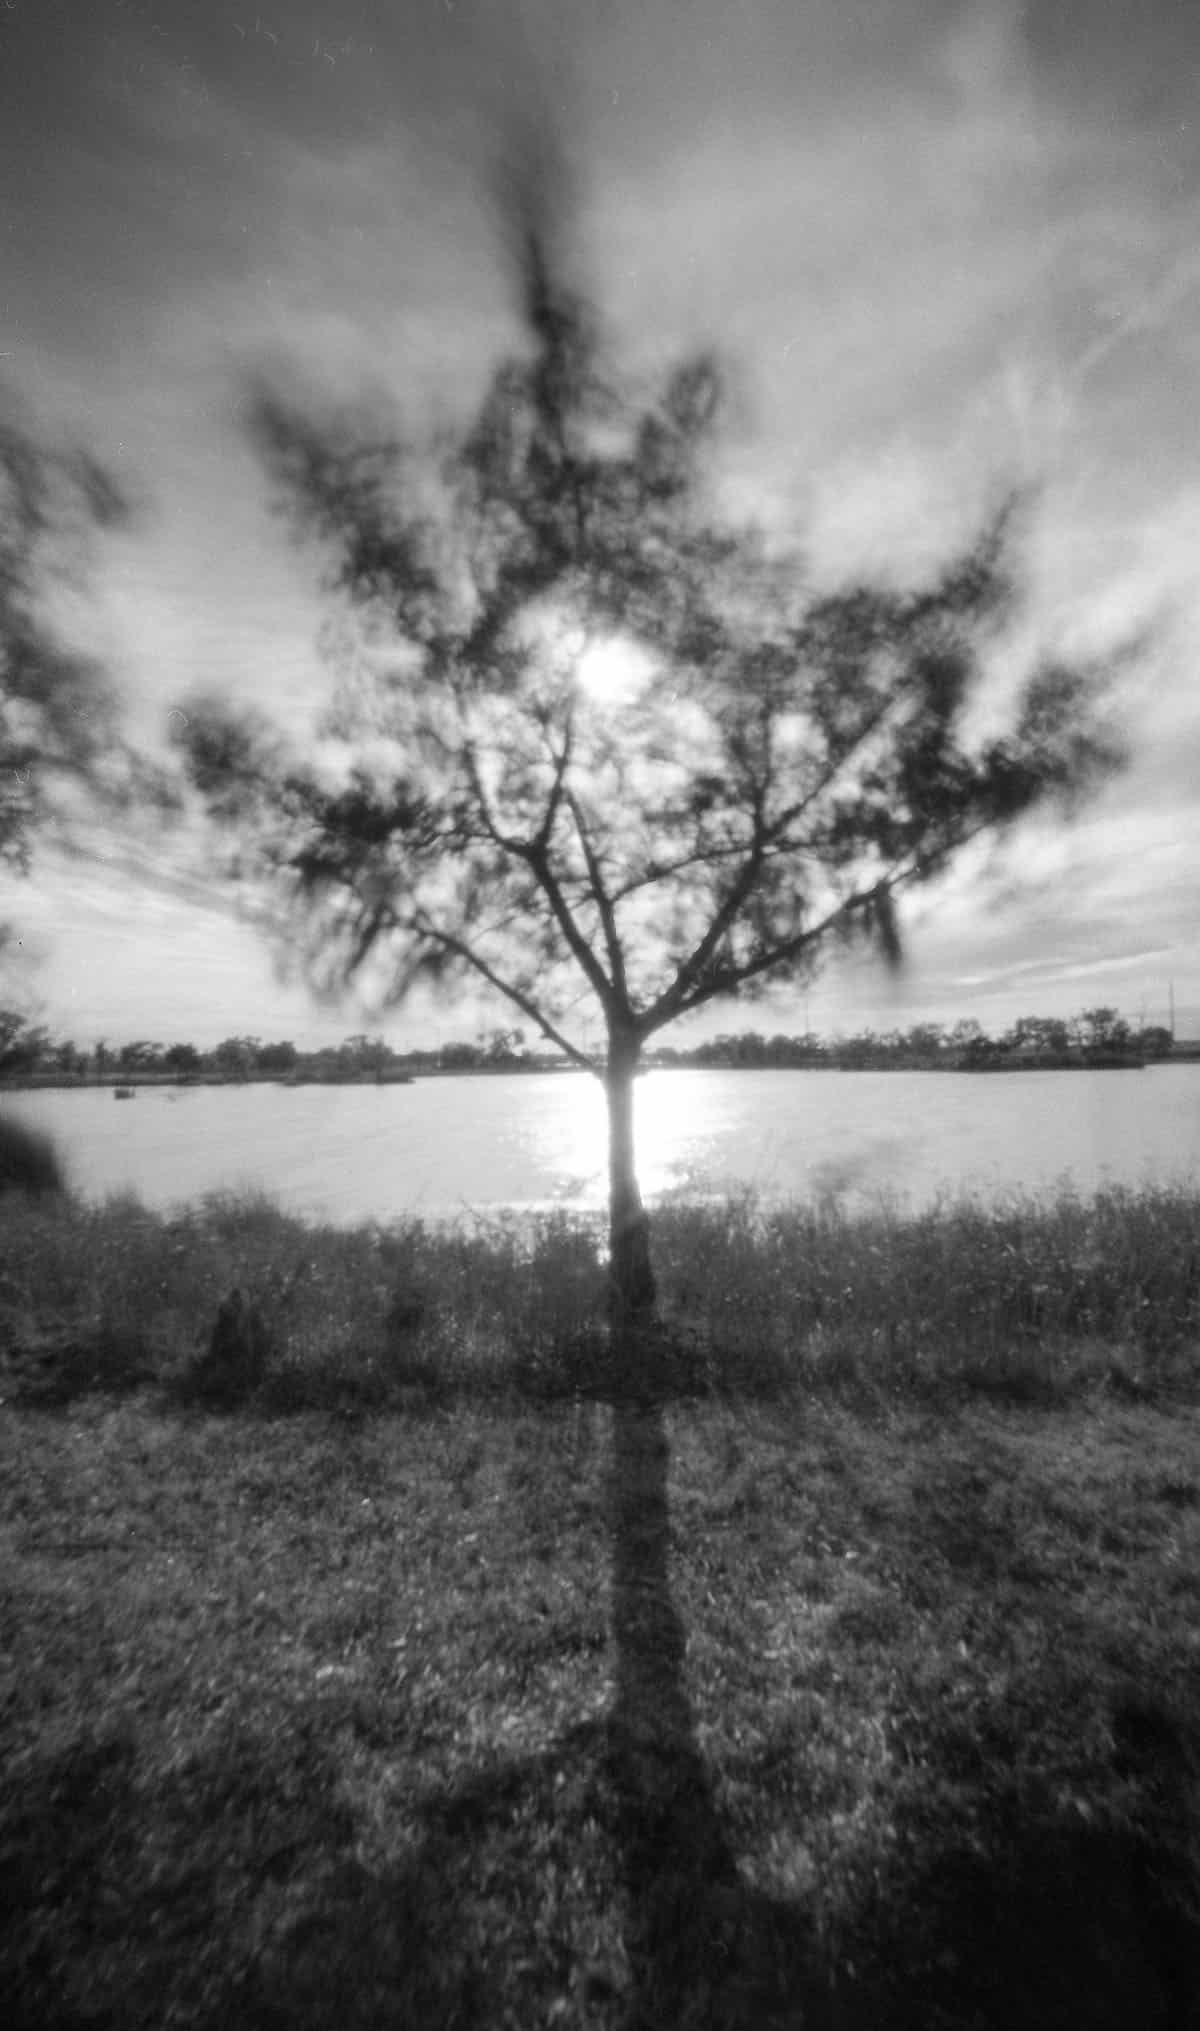
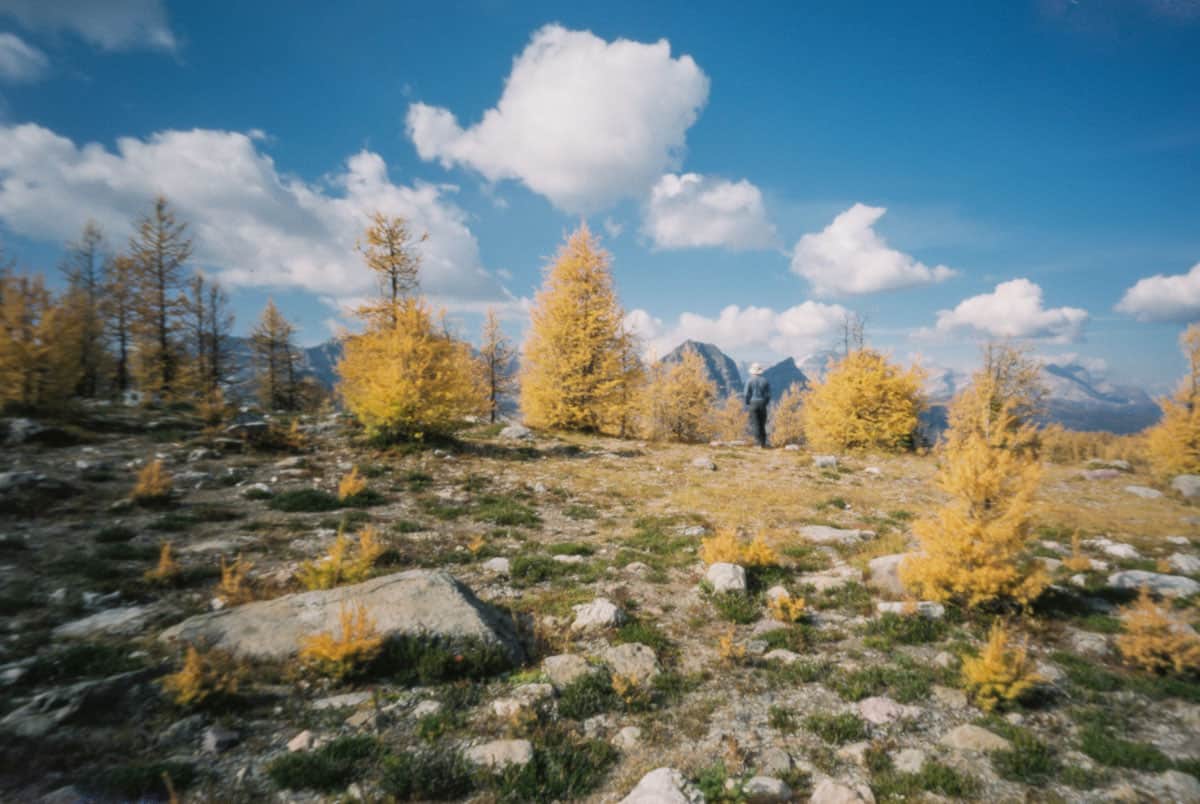
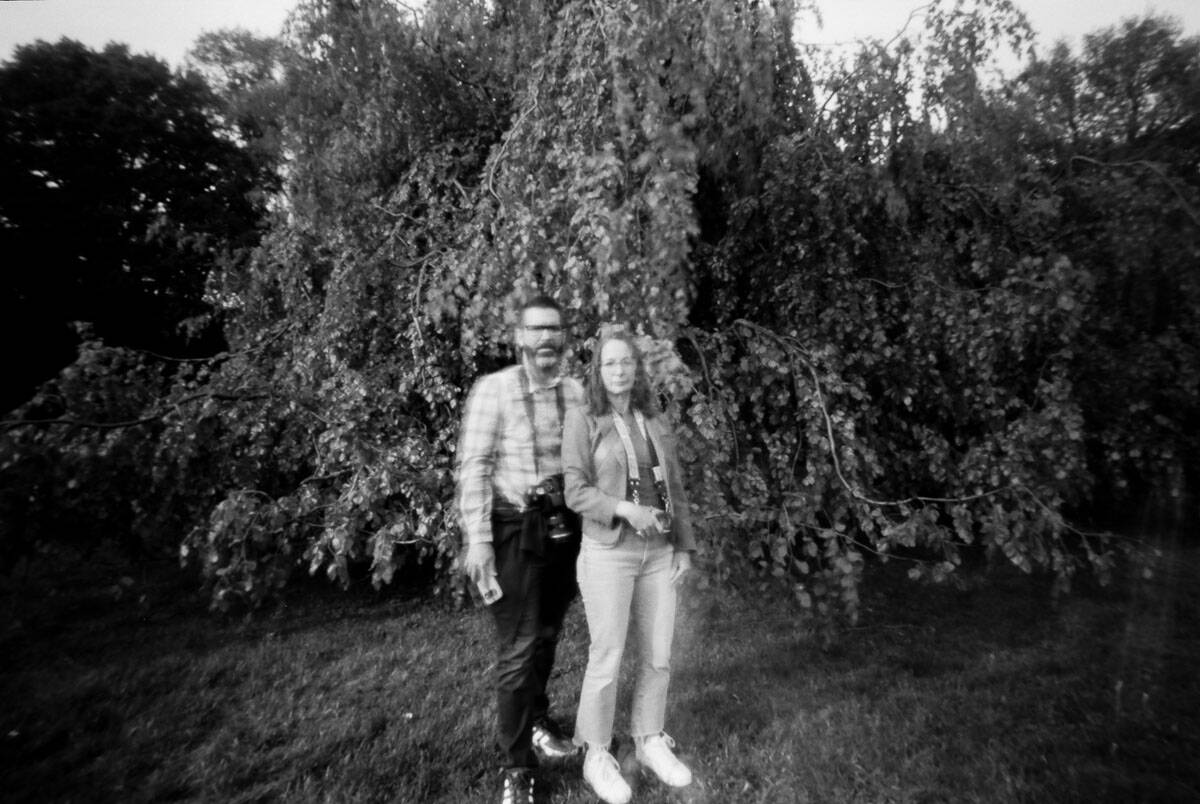
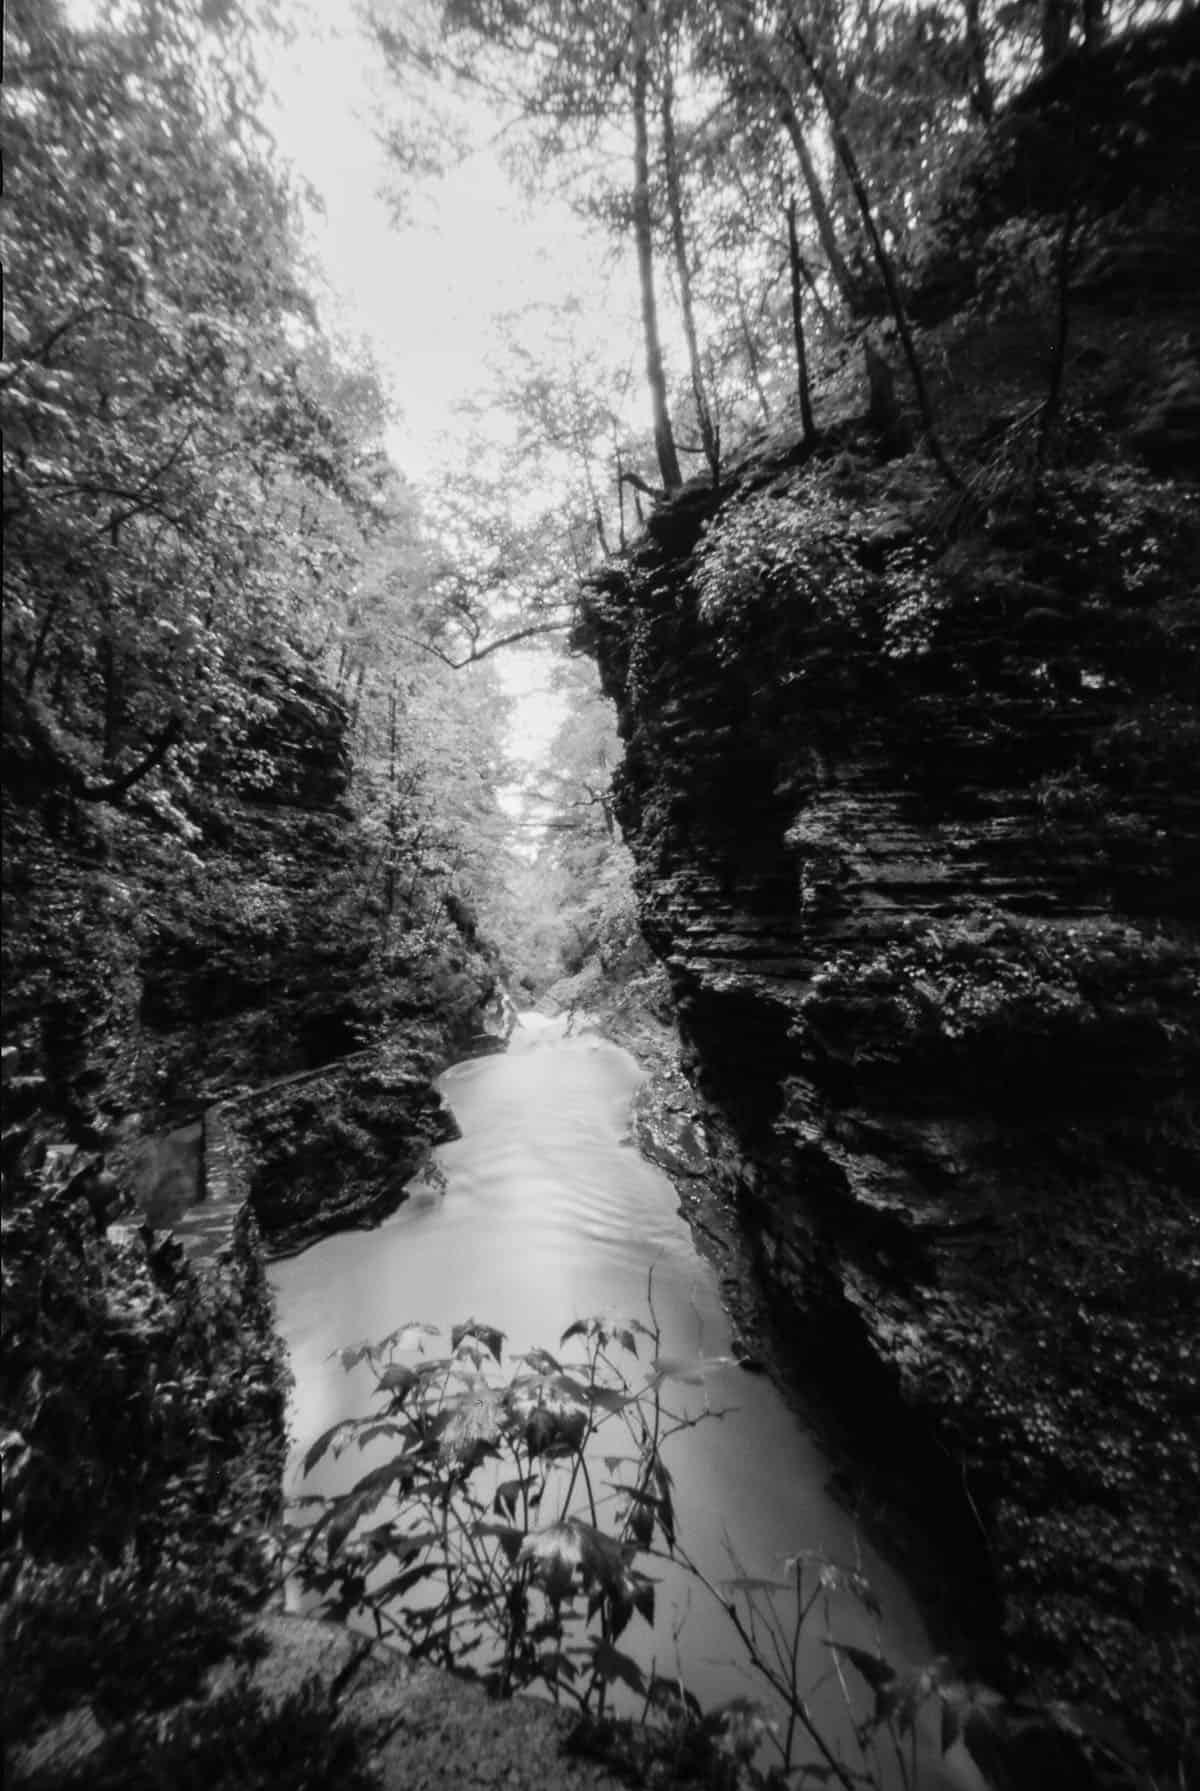
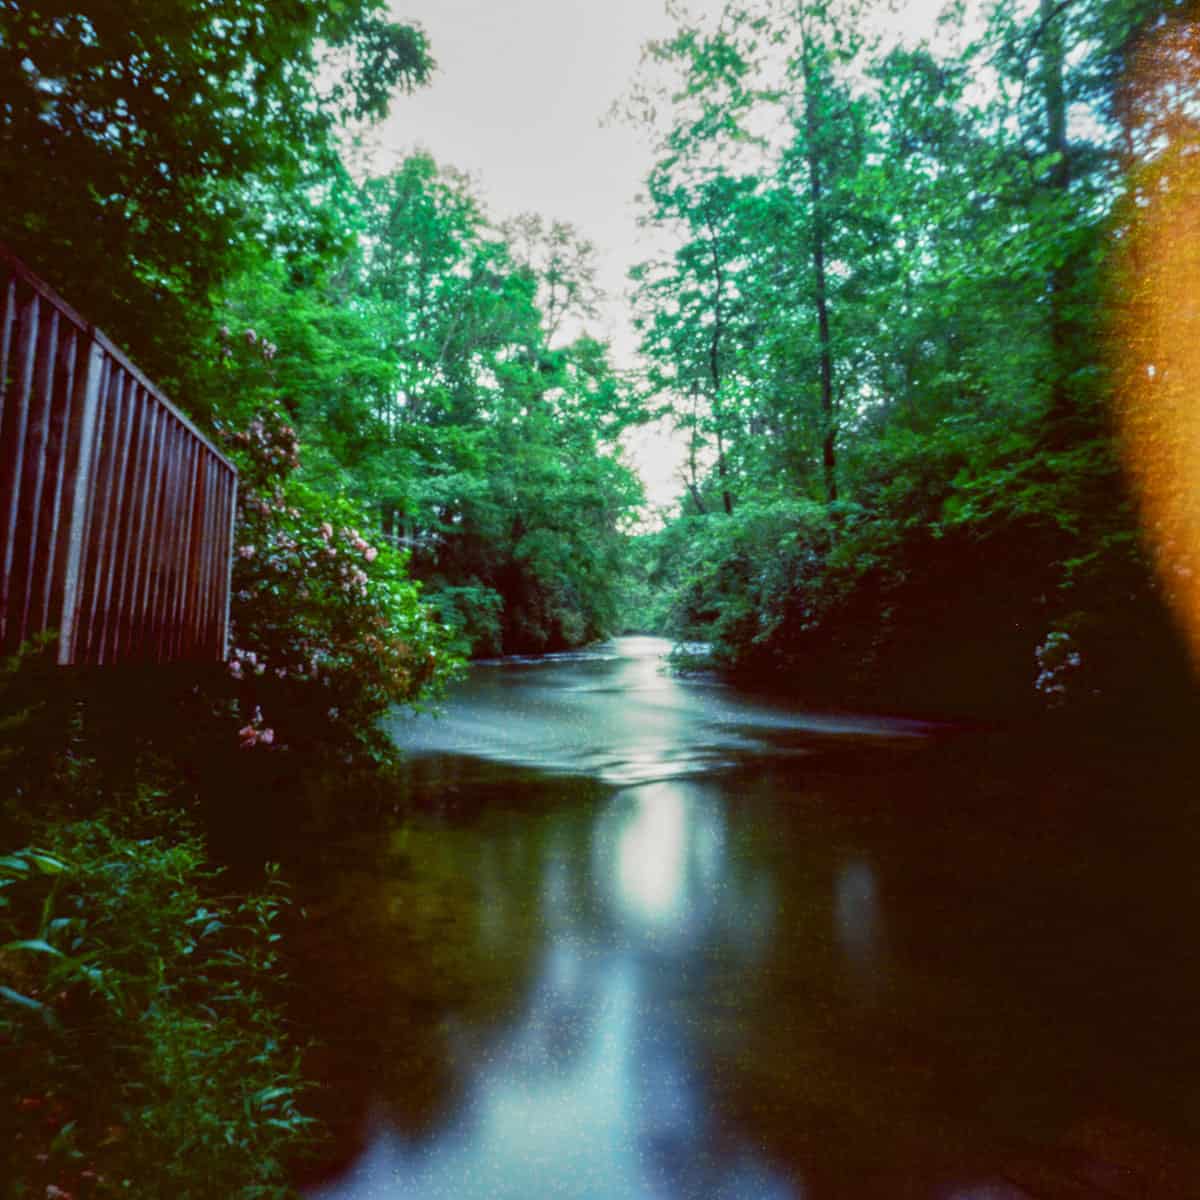
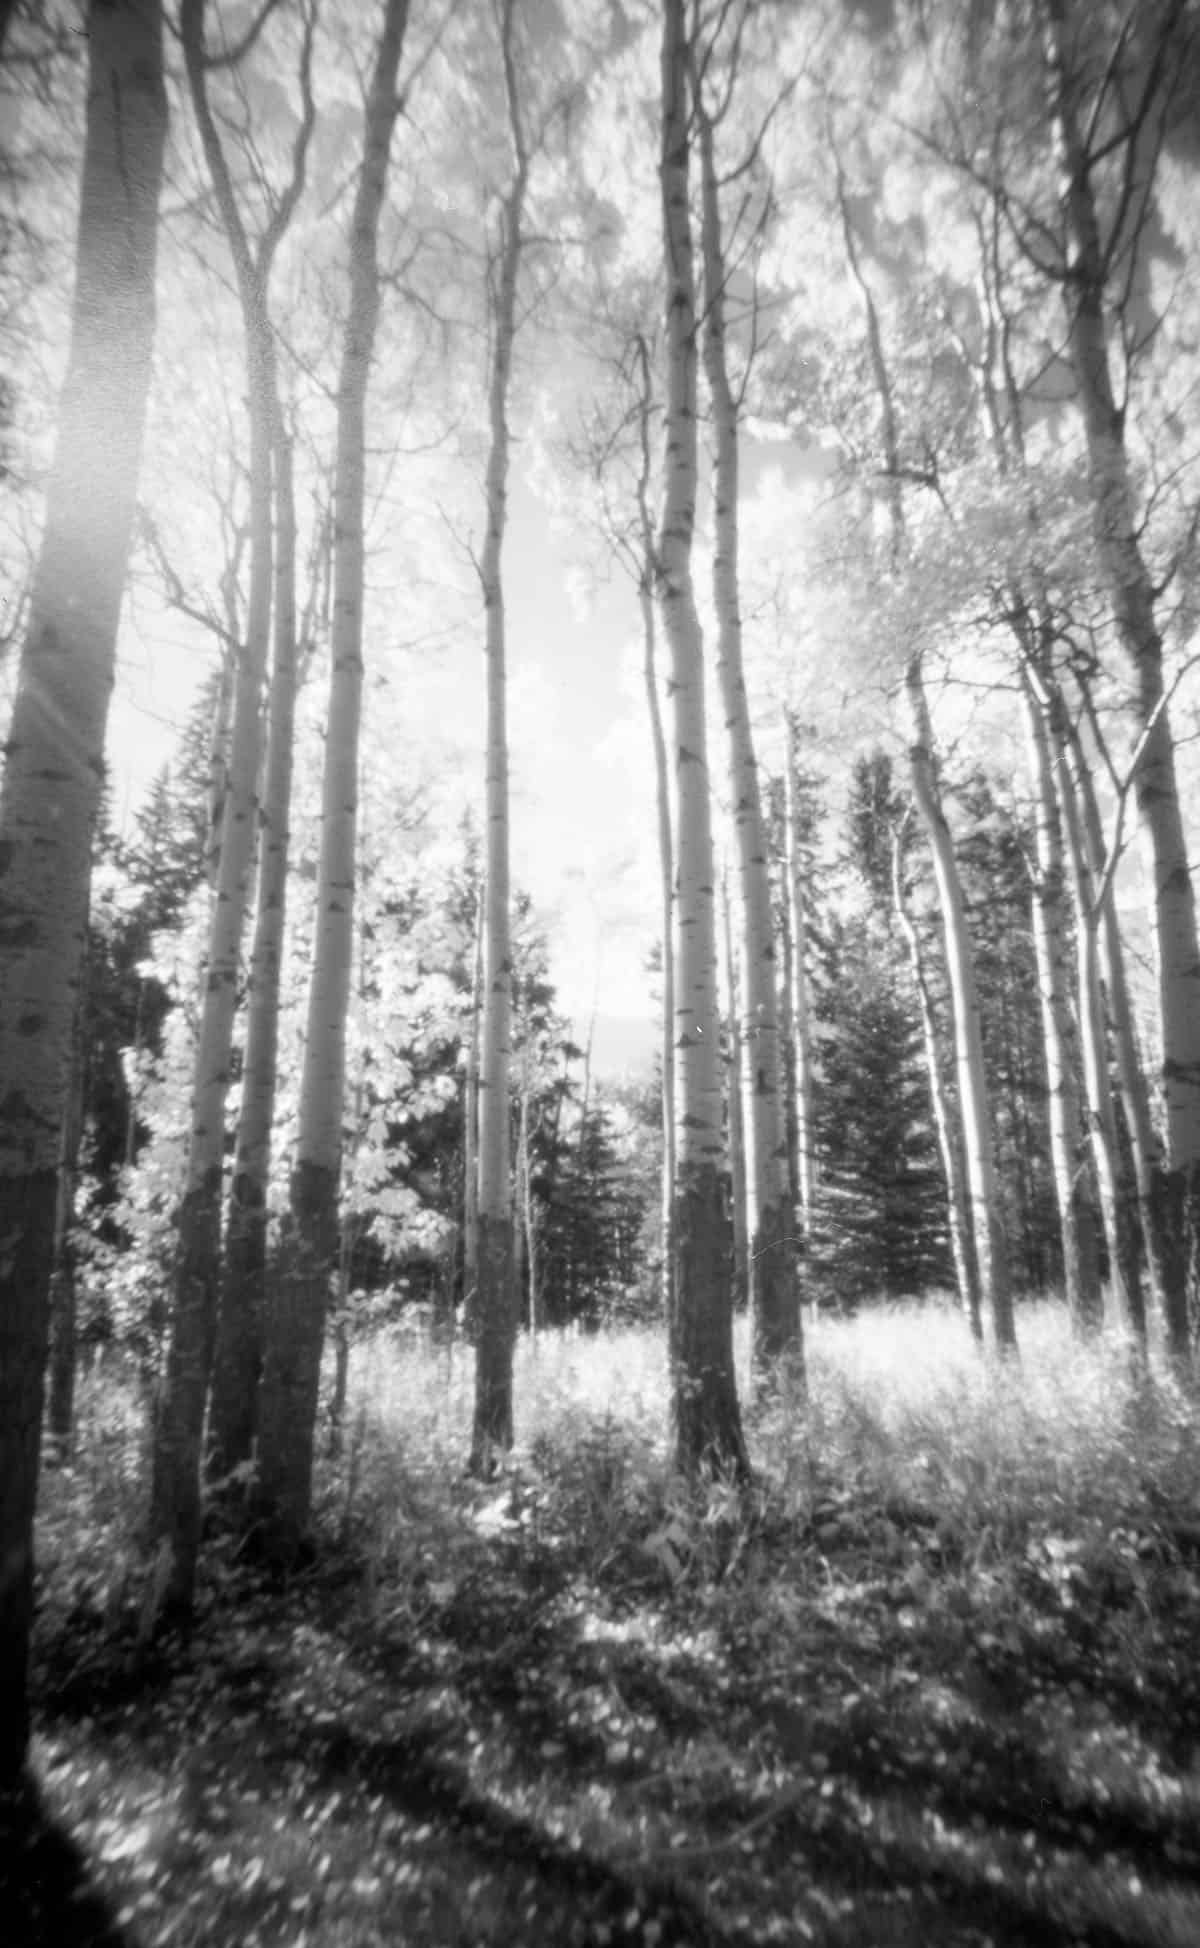
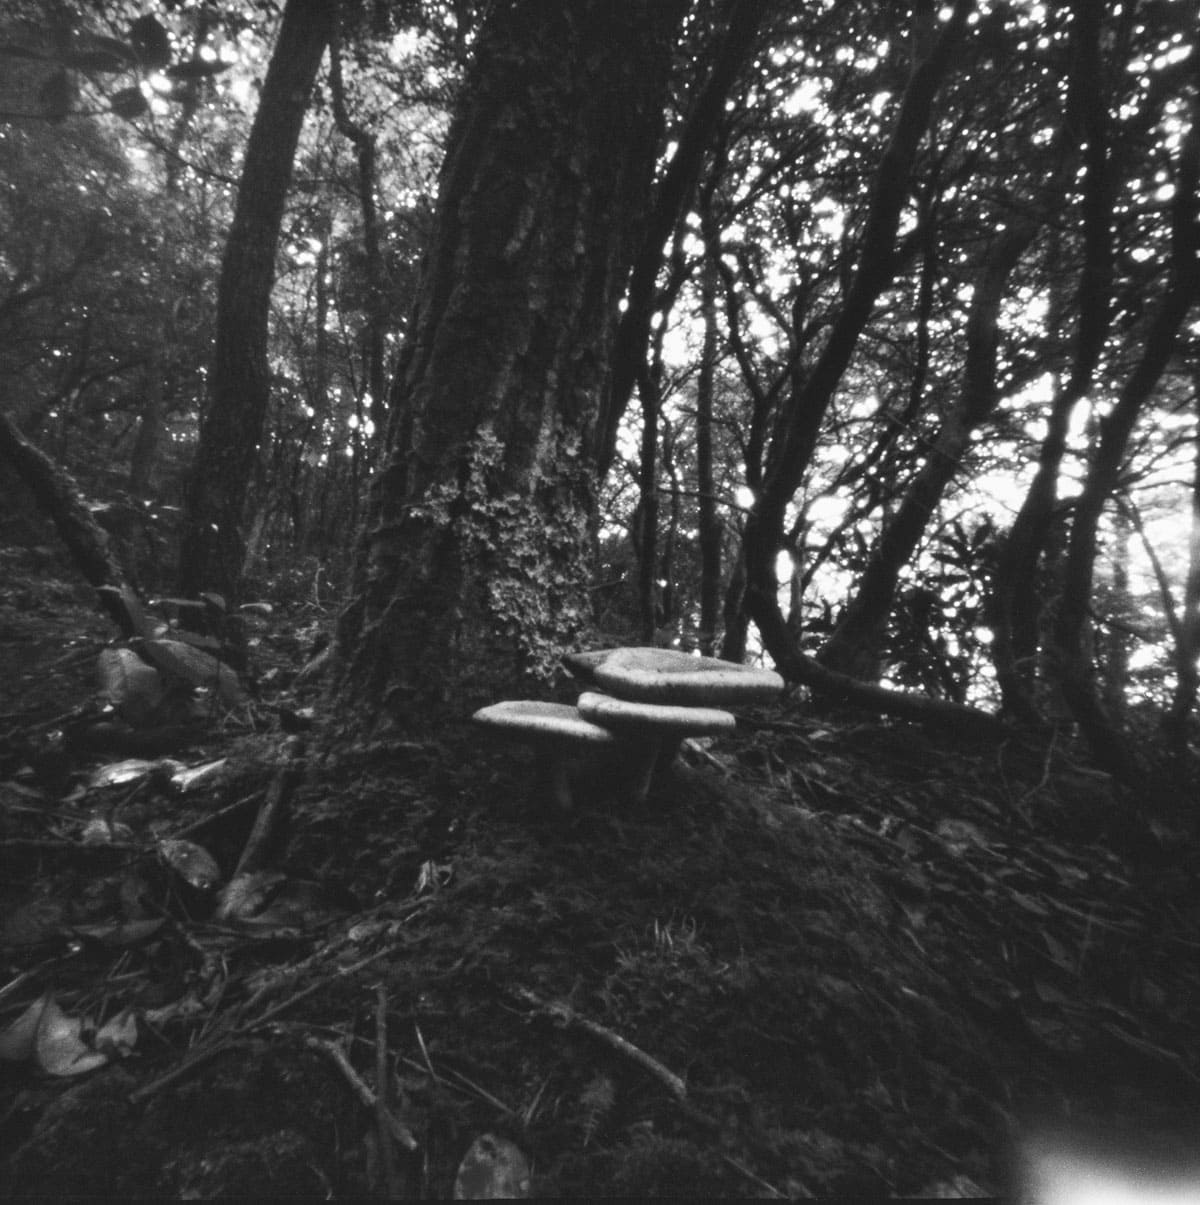
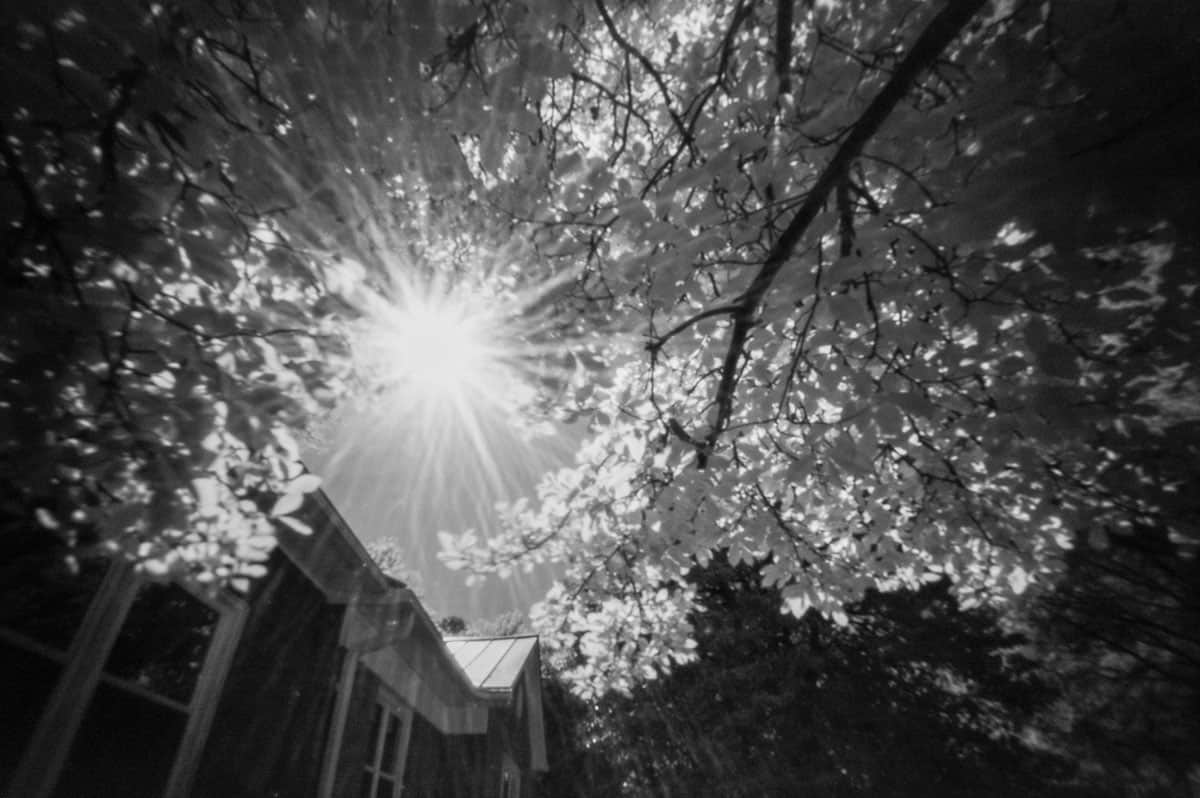
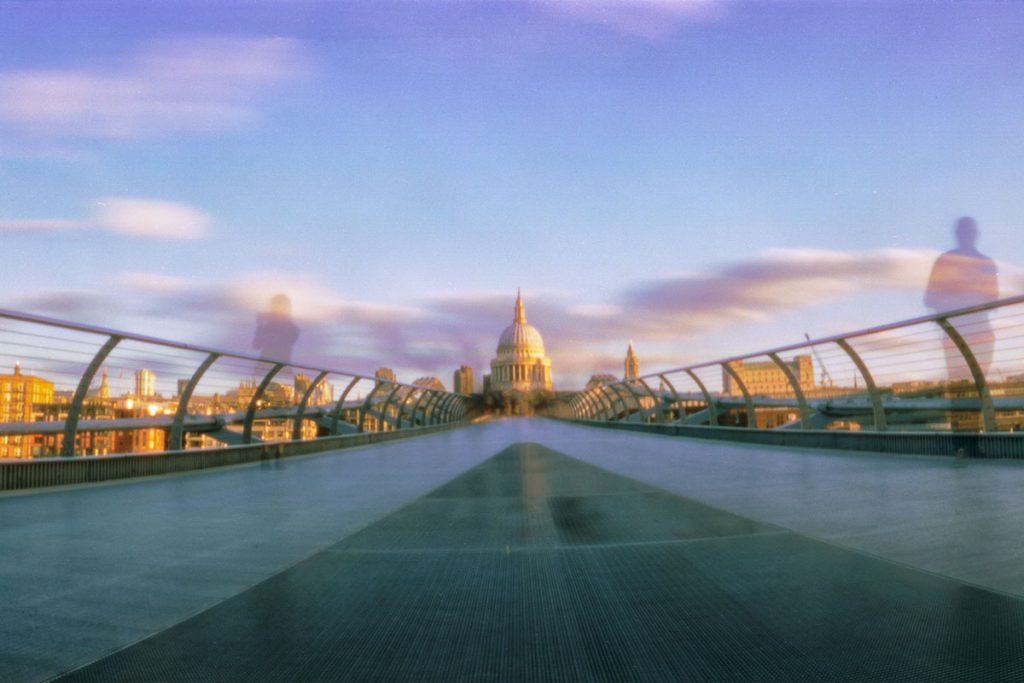
I started to play more with the camera and push the limits of shooting with it. Instead of always reaching for a film with a good reciprocity quality, I would look in my reciprocity app for the films that need multiple minutes of light for a minute of measured exposure. I frequently use filters, typically a red or IR filter, which add even more exposure time, for creating self-portraits or photographing the environment around me. The results of these long exposures feel like capturing time as a continuum and not a fixed instant.
With these changes, the camera is the one I turn to for many ideas and projects. I love carrying it when I travel, even though it takes more effort to use. It’s one way to capture a frequently photographed scene in a new way.
One of My Favorite Cameras, Broken
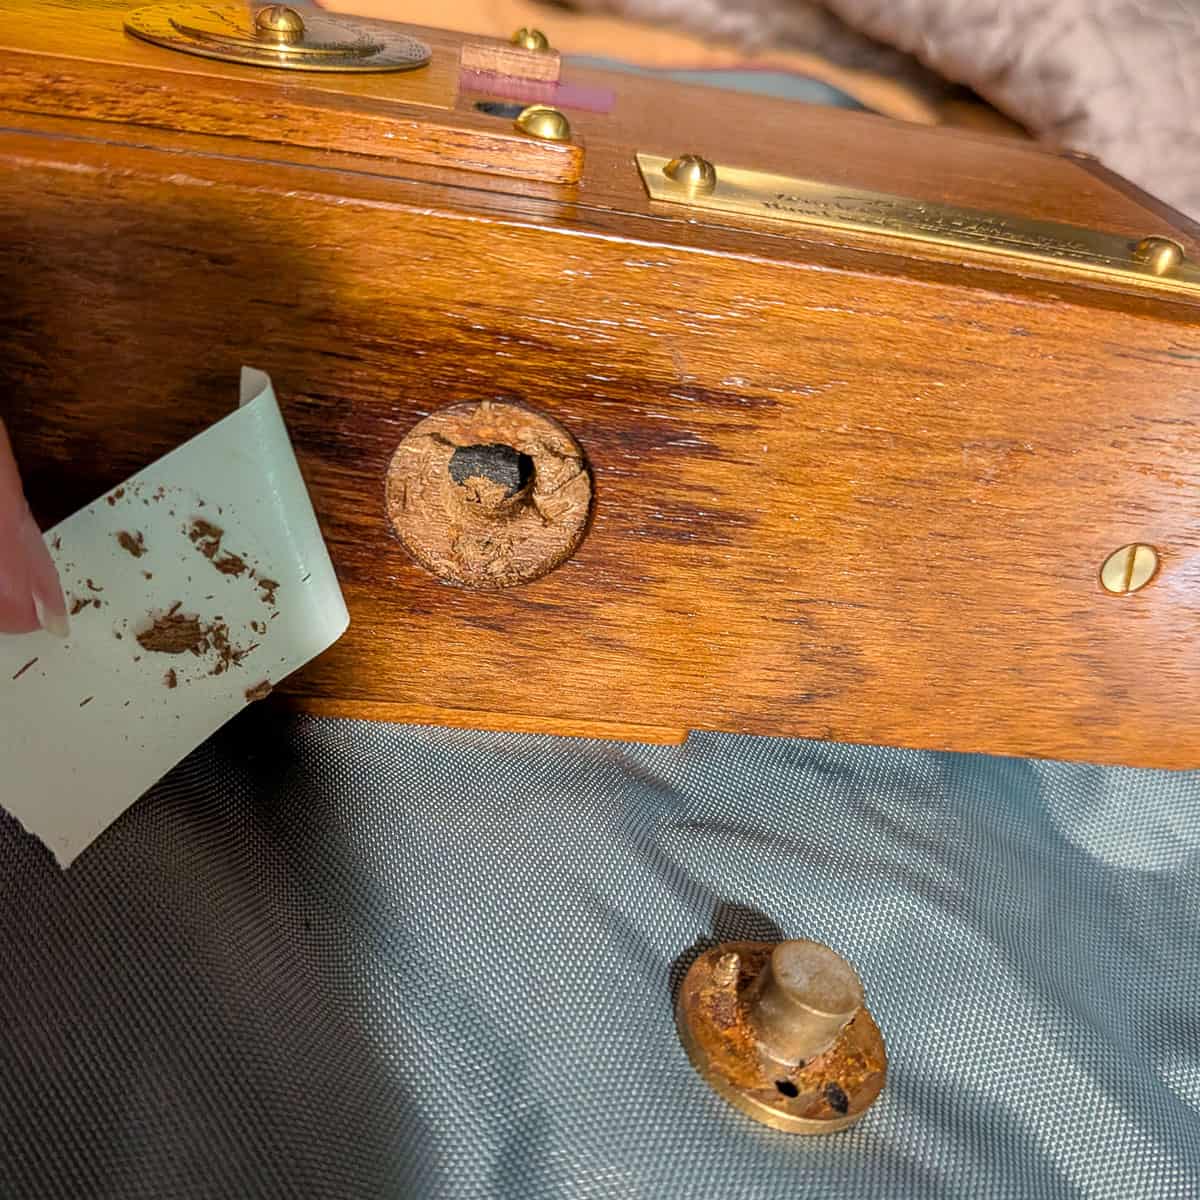
As I was pondering the outline for this article, the worst happened: the camera started to wobble on the tripod, so I unscrewed the tripod plate to investigate – accidentally pulling off the tripod thread and the wood that was holding it in place. That point of the camera is often under pressure with the tripod, plus I am often taking the tripod plate off to move to another camera, which might add additional tension. I emailed Blue Moon Camera to see if they had any ideas, and someone named Jed (I think) called me back.
He’d had the same thing happen to his Zero Image camera and we chatted through some ideas on how to fix it. I ended up screwing the plate back into the camera, slightly offset from the previous screw holes into wood that is still stable. Next, I need to get a product like Liquid Nails to secure it further.
It’s something to keep in mind with this, or any wood camera. I always keep mine stored in a Domke wrap, in a plastic bin with some silica gel packets. But, I also tote it around with me, and it’s definitely been dinged up and exposed to the elements.
I thought the tripod base would have been sturdier and, honestly, am a bit surprised that the wood would have become that soft. I also found it reassuring that it happened to someone else, although it begs the question how many other people have experienced this issue?
Conclusion
While anyone can make a pinhole camera with household materials (and it’s a fun activity for kids and adults), generally you don’t have as much control. With a Zero Image (or similar brand) pinhole, you know the exact aperture opening and can calculate your exposures. It’s an amazing camera to test the limits of a film stock and push yourself creatively.
The wood is gorgeous and eye-catching and often prompts conversations with passersby. I would hope that subsequent versions of the camera have a stronger base for the filter thread. I’ll continue to use the camera for as long as possible, even if I have to keep gluing it!
What do you think of these wood pinhole cameras? Let me know what you think in the comments!
Thank you so much, Taylor! Taylor is a regular contributor here at Shoot It With Film, and you can check out her other articles here, such as Phoenix vs. Ektachrome: Is Harman’s Color Film a Slide Film Alternative? and Shooting Film on a Budget: Color Films Under $10.
You can also check out more of Taylor’s work on Instagram.
Leave your questions about the Zero Image Pinhole Camera below in the comments, and you can pick one up for yourself on the Zero Image website.


Leave a Comment
Shoot It With Film on Instagram


Blog Comments
Neal
August 21, 2026 at 10:54 am
I really like your results and they are much better than what I got a few years ago with a Zero Image 35mm. I sent it back and now have two Vermeer wooden and a Holga plastic pinhole camera, all in 120 and a better size for pinhole. I’ve had great results with the Pinhole Assist exposure app as it can be adjusted for just about any combination of film, f/stop and even filters.
Taylor Blanchard
August 22, 2026 at 8:55 am
Neal – thank you for the comment! I haven’t tried a 35mm pinhole camera but I’m sure you’re right that 120 is better for this type of photography. I’m also very interested in the 4×5 pinholes. I have an Android phone and don’t think the Pinhole Assistant app is available:(
Bob
August 21, 2026 at 9:59 pm
I’ve purchased and use a few ZeroImage cameras and have never found them awkward or difficult to use. Rather, they are a welcomed extension to my artistic practice with a therapeutic aspect. Your photos here are wonderful examples of what a pinhole camera can do – thanks for sharing.
Taylor Blanchard
August 22, 2026 at 8:58 am
Bob – I love that insight about the pinholes having a therapeutic aspect – well said! I couldn’t agree more. Thank you.
Jon
August 22, 2026 at 5:51 am
As beautiful as a wooden camera is, its a liability in the hands of all but the most careful. I have a number of wooden pinhole cameras. I only use them when I’m fully engaged in photography. It gets wrapped and placed in a substantial camera bag. That said, I once knocked my tripod over with a 6×17 plastic camera on it. It didn’t end well. For a daily just in case camera I stick to the plastic camera. There more robust and tend to be cheaper with no noticeable drop in picture quality.
Taylor Blanchard
August 22, 2026 at 9:01 am
Jon – ugh I can just imagine the feeling when your camera was knocked over on the tripod! In retrospect, while I am careful with the wood camera, I could probably have been more careful overall. I also love plastic cameras too and they certainly can take more abuse.
John Smith
September 2, 2026 at 5:56 pm
This was a great read — I went through the same arc with my Zero Image. I shot it at 6×6 for the first year and felt underwhelmed, but switching to 6×9 and actually calculating exposures for f/235 (with real reciprocity compensation instead of winging it) completely changed the results. Those multi-minute long exposures with a red filter really do feel like capturing time as a continuum. Question: when you use the red or IR filter, do you meter without it and apply the factor, or meter through it? I’ve had inconsistent results from metering apps at tiny apertures. And that soft tripod base is worrying — glad the offset screw fix is holding for now.
Taylor Blanchard
September 10, 2026 at 11:45 am
Hi John – great to hear from you! When I’m using a filter, I meter for an adjusted ISO with the filter factor. For example, if I’m using Rollei 400 IR with the R72 filter, I will meter for ISO 6. (Or if I’m shooting Tmax 400 with a red filter with a factor of 3, then I’ll meter at ISO 50). Then I enter that time in the reciprocity calculator. That seems to work pretty well. How are you managing? I just got a spot meter a month ago so am using that for more consistent results (the app I was using lately has been all over the place and I don’t trust it anymore).