Written by Taylor Blanchard
Last summer, I came up with the idea to shoot every film stock in the Ilford lineup.
That’s when I realized I’d never shot Ilford SFX, which is sensitive to the infrared (IR) spectrum and can result in moderate infrared effects when using a red filter.
I’d seen infrared film photos with dark skies and white, ethereal foliage, but I hadn’t yet shot an IR film myself.
I loaded my Rolleiflex MX-EVS with Ilford SFX and a red filter. After shooting and developing the film, I could see characteristics of IR film.
I was hooked and started down a rabbit hole of learning about red-sensitive films, and then experimenting with how to get the most out of some of the film stocks available today.

First, A Little Science About the Color Spectrum
Most black and white film available today is panochromatic, meaning it’s sensitive to the spectrum of visible light from violet to red: the colors you see when looking at light through a prism or when you see a rainbow.
Each color of light has a different wavelength, with violet being the shortest and red being the longest. Visible light is measured in nanometers (nm), and the “rainbow” spectrum of light we can see is about 380 nm (violet) to 700 nm (red).
(Note: the scientific community does not agree on the exact wavelength range we can see.)
Beyond the visible spectrum is the ultraviolet (UV) and infrared (IR) range of light. While many creatures can see UV or IR light, humans cannot.


Now, Some History About Infrared Photography
- 1880: The term infrared was coined by William de Wiveleslie Abney – he was the first person to sensitize plates to capture the infrared spectrum up to 1200nm.
- 1910: The first infrared photographs were published by Robert Williams Wood – a physics professor at John Hopkins. (Sidenote: he also invented the fisheye lens.) There’s an effect with infrared film in which green foliage renders white – this is called the “wood effect” after him.
- 1915: Astronomers used IR plates to photograph Jupiter and Saturn. WWI: Military interest in infrared film grew because IR light isn’t as likely to scatter in the atmosphere, making clearer images attainable from aircraft.
- 1930s: Sufficient advances had been made in IR photography that major manufacturers – Kodak, Ilford, and Agfa – began producing plates and roll film sensitive to IR. The availability and possible applications of IR film brought a renaissance of discovery as it was used in industry and scientific research.
- 1933: On the first successful flight to photograph Mount Everest, an aerial infrared photograph of the mountain was captured from 100 miles away.
- 1960s: Several album covers showcased color IR photography, including Jimi Hendrix and Frank Zappa, and color IR images became associated with the psychedelic movement.
Unfortunately, many infrared films were discontinued once digital cameras exploded in popularity. There are a few important film stocks from the past that are longed after today: Kodak HIE; Efke IR 820, and Kodak Aerochrome (color).
Today, a cold-stored version of one of these films is very expensive. You can find them on eBay.

Related: Ilford SFX 200 Film Stock Review
Infrared Film Today
You can find new films today sensitive to the infrared spectrum – topping out at approximately 750nm sensitivity (compared to Kodak HIE which was sensitive to 900nm).
My guess is that films with extended sensitivity to IR light are more difficult to produce and may be considered more of a niche product. IR films sensitive to 820nm and beyond often required special handling.
While we don’t get as much sensitivity, the films available today are easier to work with because they don’t require darkness for loading and unloading the film.
While beloved infrared film stocks have been discontinued, you still have many options. I shot three readily available IR films:
Testing Infrared Films
For my test, I took the same photo in the same place with no filter and then a yellow, orange, red, and an IR (R72) filter.
I shot each roll on the same day in the same conditions – only changing my settings to compensate for the extra stops required by the filters.
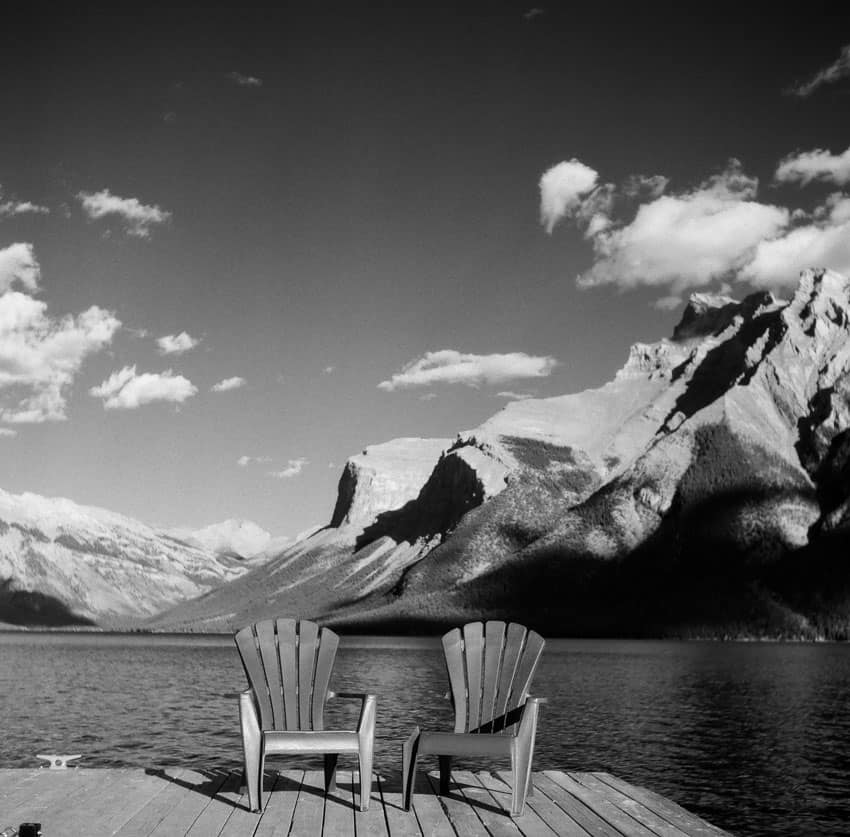
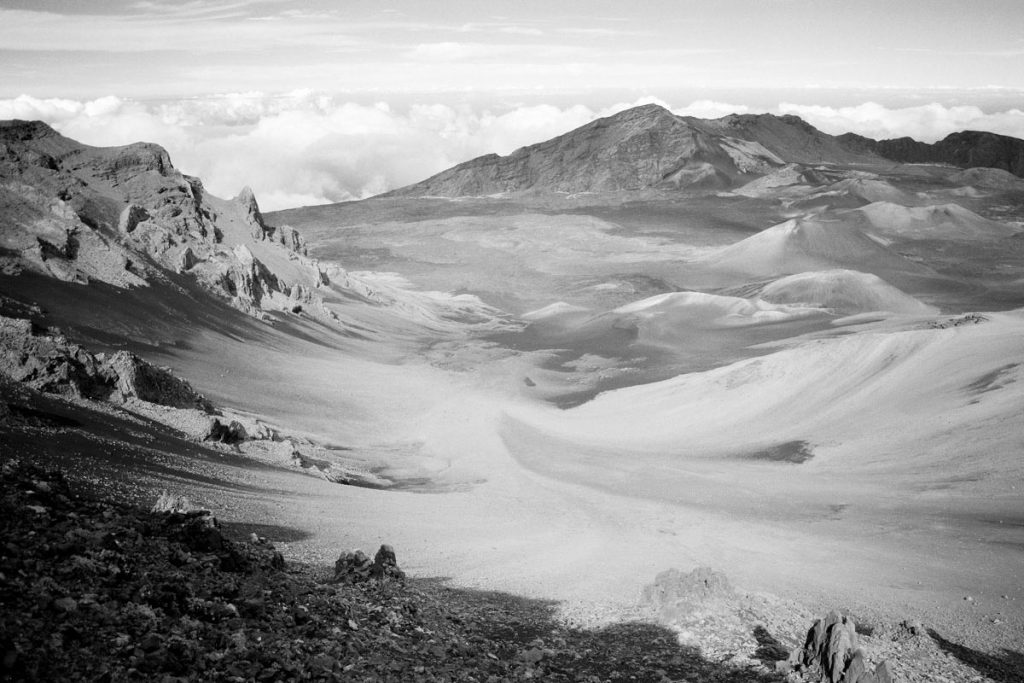
I could see a vast difference between the filters and was able to get pronounced “wood effect” results.


The Results
Rollei 400 IR has sensitivity to 750nm and is my top pick. (Note: Some retailers list the sensitivity up to 820nm, but the datasheet from Rollei says 750.)
First, in 120 format, it is the least expensive of the 3. It’s also the only one available in sheet film, which I tested in my Anba Ikeda 4×5.
Interestingly, many of the films in the Rollei line-up have red sensitivity (check out our review on Rollei Retro 80 S).
Japan Camera Hunter Street Pan 400 is my second pick for IR, and like the Rollei IR, is sensitive up to 750nm.
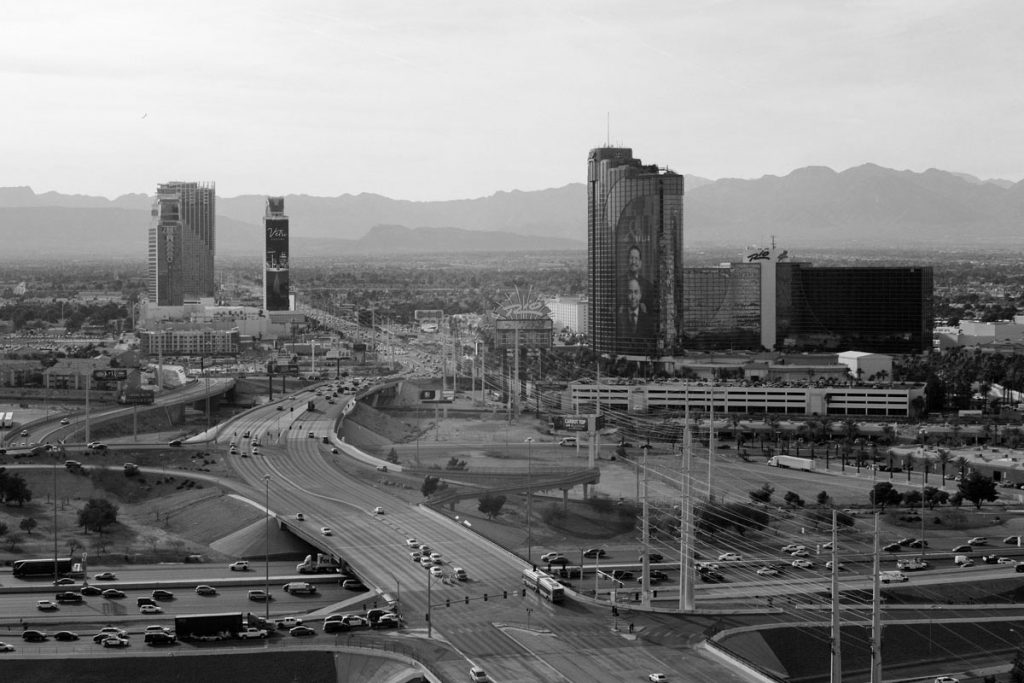
It produced some stunning results and might have been my favorite if they made it in sheet film and if it was the best price. I’m certainly adding this film into the rotation, especially for travel.
While I love Ilford SFX and think it’s a great film to shoot with an orange or red filter, I was not able to produce fantastic results with the infrared filter. SFX has sensitivity up to 740nm.


Tips for Shooting Infrared Film
All of these films are extremely versatile and do well with no filter; however, to get the most IR effect, you will need a filter to cut out some or all of the visible light.
If you don’t already have a red filter for black and white film, get one now, especially if you ever shoot landscapes. It’s one of the best tools in your arsenal.
However, I highly recommend buying an infrared filter, which will filter out most visible light and let IR light pass through.
There are many types of IR filters; the R72 filter lets in light longer than 720nm. It’s important to understand how much light your filter blocks and the sensitivity of your film. For example, if you get a filter that blocks wavelengths up to 850nm and your film does not extend that far, then you will get no exposure.
A great thing about shooting IR is the results are often most pronounced at the peak of the day – a time when you might not want to shoot another film stock. You’ll get the most IR effects if you photograph foliage and keep the sun behind you.

IR light focuses on a different plane than visible light, so you have to shift focus on your lens if you are shooting at a wider aperture. To avoid having to adjust my focus, I shot at f16 or f22, or used my pinhole camera.
If you want to shoot wide open, you will have to focus and compose your shot, and then adjust your lens to the red markings.
Metering with an R72 filter is tricky if you use your camera’s TTL, or through the lens, meter, because the filter cuts out so much light.
You can either meter without the filter, and then screw the filter back onto the lens, making sure you compensate for the extra stops, or use a handheld meter. Again, this is where I loved using my TLR or pinhole because I wasn’t looking through the lens.
Finally, even in the middle of the day, when you are using an R72 filter, your exposures will likely clock in at a second or higher, so you will want to have a tripod and a cable release – or at least a stable place to set your camera and a steady hand.

Related: How To Shoot Color Infrared Film
Working with Infrared Film in The Darkroom
All of the films with extended red sensitivity are thinner than other stocks and can feel quite flimsy and difficult to load onto spools.
Because the negatives are so contrasty, I struggled with exposure in the darkroom. I could tell from my test prints that I didn’t need to use any filters to add contrast, but then I lost too much detail when printing without a filter.
I couldn’t find much information online, so I ended up split filter printing (sort of): I used a 00 filter to reduce contrast and then also exposed the paper with no filter. It took several tests to find the right balance of time, and I also burned the lighter areas to pull out more detail.

Finally, the Conclusion
I have loved delving into the world of infrared films and seeing how far I could push the IR look.
While it takes a bit of extra work metering and using a tripod, the results can be stunning. I especially enjoyed creating 10+ minute exposures with my Zero Image Pinhole on a day with clouds in the sky.
The great thing about these film stocks is you can use them without a filter, and only use the IR filter when you want the “wood effect.”
A Final Note: Are These Films Really ‘Infrared?’
You may see the terms “near infrared” referring to these stocks; However, I take the view that any film sensitive to the IR spectrum is an IR film.
Additionally, IR films could never photograph the furthest end of the IR spectrum because the film would be so sensitive to radiation that even our body heat would fog the film.

Thank you so much, Taylor! Taylor is a regular contributor here at Shoot It With Film, and you can check out her other articles here, such as My Foray Into Large Format Photography.
You can also check out Taylor’s work on Instagram.
Leave your thoughts and questions about infrared black and white film below in the comments!


Blog Comments
Mark Meheriuk
March 13, 2023 at 11:13 am
Rollei Retro 400S also extends as far as 760nm as does their Infrared 200-400. I’ve tested both with a 760nm filter with great results.
Taylor Blanchard
March 13, 2023 at 3:54 pm
Thank you Mark! I still need to shoot other films in the Rollei lineup. I appreciate it – I think I also may need to get a 760nm filter.