
Written by Jennifer Stamps
Traveling and flying with film can be stressful, but it really doesn’t have to be.
I’ve been all over the world with my film and cameras and have learned a few things over the years. Here are some of my tips for airplane travel with film…


Check or Carry-On Your Film?
First thing’s first…Is it best to check your film and gear for the flight or carry-on?
Carry-on…always.
The x-ray machines for checked luggage will destroy your film. So don’t even think about putting film in your checked luggage.
As for your camera – I personally don’t put anything of value in my checked luggage. Even though my film cameras aren’t very expensive, they hold a great deal of value to me, so I always put my camera in my carry-on.
Also, if you check your camera, any film inside of the camera will be damaged by the x-ray machine.

Side Note About Carrying Your Gear
I have an Evecase camera backpack I often travel with. If I don’t travel with a camera backpack, I put the camera in a padded case and put it in my purse.
Find Evecase camera backpacks and padded camera inserts on Amazon.
Carry-on sized protective cases are also a great option.

X-Ray or Hand-check
Now that we know we need to bring our camera and film as a carry on, what about the security check x-ray machine?
This is where you’ll likely get the most varying information.
X-Ray Bags
Some people say buy an x-ray bag to put it in. I don’t recommend these. These bags make it impossible for the x-ray to penetrate the bag.
Meaning the TSA agent viewing it won’t be able to see through it.
If they are paying attention, they’ll likely ask you to take everything out or make you go through extra hand checking.
Best to just avoid those bags all together.

Hand Checking Low ISO Film
Others will say you have to hand check ALL of your film.
There is nothing wrong with this, but, in my opinion, it’s unnecessary and adds time and stress to your travel day (especially during high travel season).
It has been my experience that all film 800 ISO and below is completely safe in the x-ray machines for your carry on bags.
I’ve even had several rolls go through numerous x-rays with no signs of fogging.
If you choose to hand-check, be patient. Let the TSA agent know from the start that you have film and would prefer it be hand-checked. Be prepared to wait.
*Note: Kodak made an announcement in 2020 that the new CT scanners found at some airports will damage unprocessed film of any ISO, and they recommend to have all film hand-checked. So keep an eye out for the new CT scanners!

Hand Checking High ISO Film
But what about faster ISO film?
If you have film 1600 or higher, get it hand-checked. TSA agents should know that the x-ray machines are not suitable for film that fast.
Some airports still advertise that film 800 and slower is ok; meaning anything faster should definitely be hand-checked.
Just be friendly, crack a joke about being a hipster or old school, let TSA know you realize this is out of the ordinary, and ask for a hand-check. Remember, you catch more flies with honey than you do vinegar.

Keeping Track of Film on Vacation
While on your vacation, how do you keep track of your film?
I have a bag I keep all my film in – exposed and unexposed. On each finished roll, I write down the date or main attraction I shot (this is especially helpful if it’s a road trip, sometimes the cities mesh together).
I also write it down in a little moleskin notebook I keep in the same bag of film.
This just helps me when deciding what rolls to develop first, or if I can’t remember which day I shot the roll.

Keeping It Minimal: One Camera, One Roll
About a year ago, I made a rule: only bring one camera on vacation and one roll of film per day…even when I only have a medium format camera with me, which is usually what I travel with.
That means I give myself 12 exposures each day.
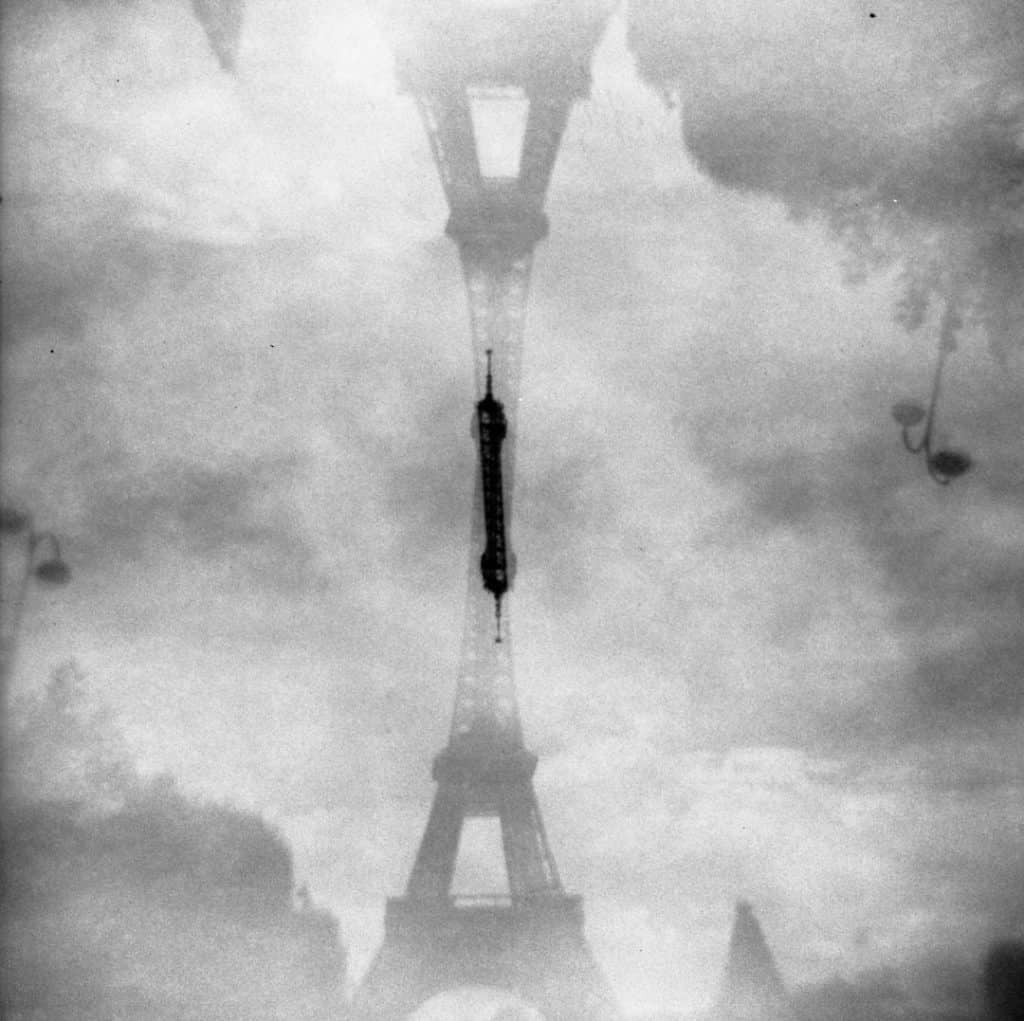
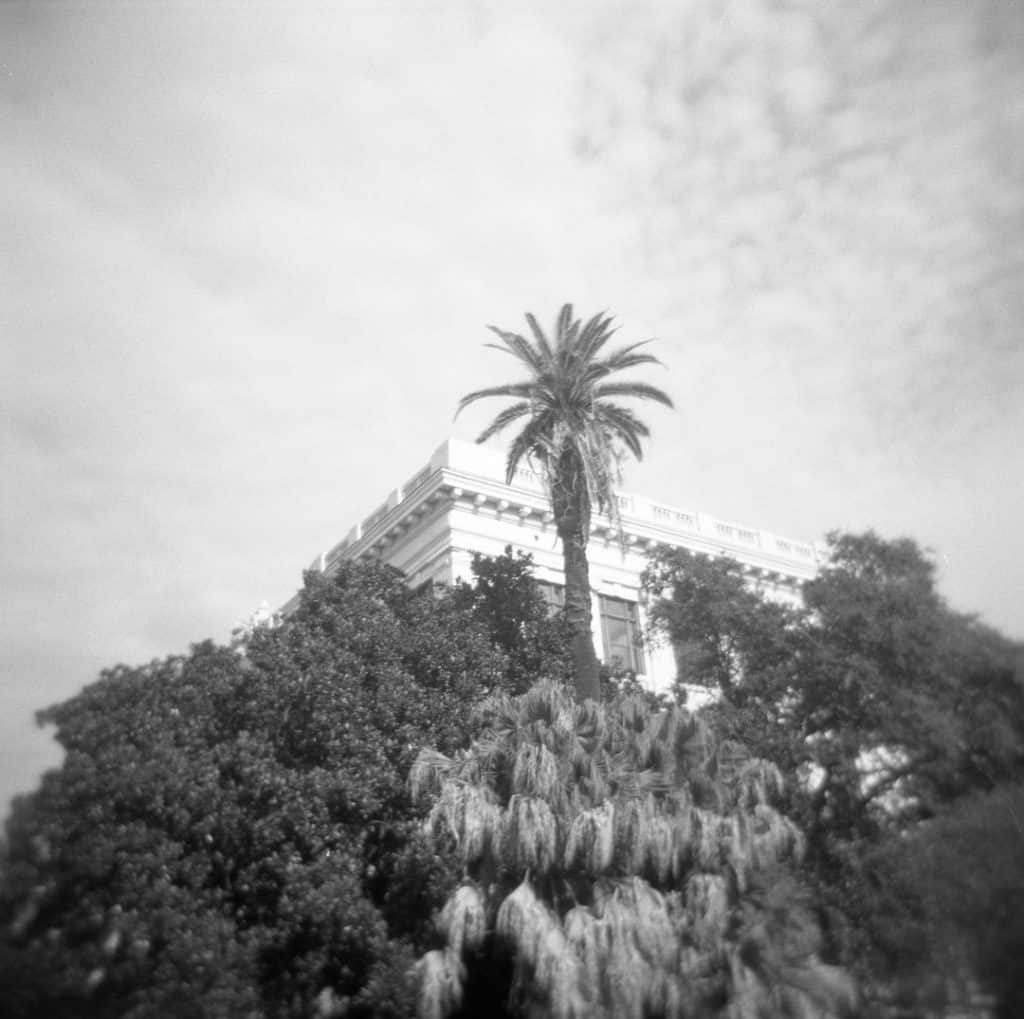
It was our trip to France and Spain last year when I tried it for the first time. It was one of the best photography decisions I’d ever made. I’ve never been more in the moment on vacation while shooting.
And in the end, I wasn’t bogged down with 500+ images. Nope. I had 14 rolls with 12 exposures each.
I found it to be the perfect mix of documenting my amazing vacation and living my amazing vacation.
Oh, and the camera I brought? My Holga. Because why not?
Want to know more about the Holga? Read my 5 Tips for Shooting with a Holga 120N here.
Traveling Home with Exposed Film
Ok, you just had an amazing vacation and you’re headed back with all of your exposed film.
What now?
Same rules apply. All of them.
Carry on all your film and gear and hand-check all film faster than 1600. And before heading back to the airport, check ten times to make sure you don’t have your film in your checked bags.
Travel season is upon us. There are some magical vacations planned. I hope you’ve found my tips to be useful. Can’t wait to see what you shoot!

Thank you so much, Jennifer! Jen is a regular contributor here at Shoot It With Film, and you can check out her other articles here, like Intro to Scanning Your Own Negatives and Black & White Film Soup. You can also check out more of Jennifer’s work on her website and Instagram.
Leave your questions about traveling and flying with film below in the comments!


Leave a Comment
Shoot It With Film on Instagram


Blog Comments
Amanda
June 5, 2022 at 7:42 pm
Hi, I noticed that you mentioned you’ve had several rolls of film go through x-rays with no fogging/damage but most of the pictures posted in the article seem to have some blurring around the edges. Is that related to being scanned by the carry-on x-rays or something else? I’m new to film cameras and wanted to take one on a trip I’m taking to Japan but I’m nervous the film won’t turn out nice. Thanks!
shootitwithfilm
June 5, 2022 at 9:05 pm
Hi Amanda! Great question! The light leaks and blurry edges in the images are because they were shot with a Holga camera. So they’re not related to the x-ray machines.