
Written by Jennifer Stamps
I went into this project thinking that film soup was an art. Experiment, go crazy, use your imagination.
And while that definitely is the case, I learned that there is science involved.
I made three attempts at black and white film soup and got three very different results. The key? Heat! You need heat.
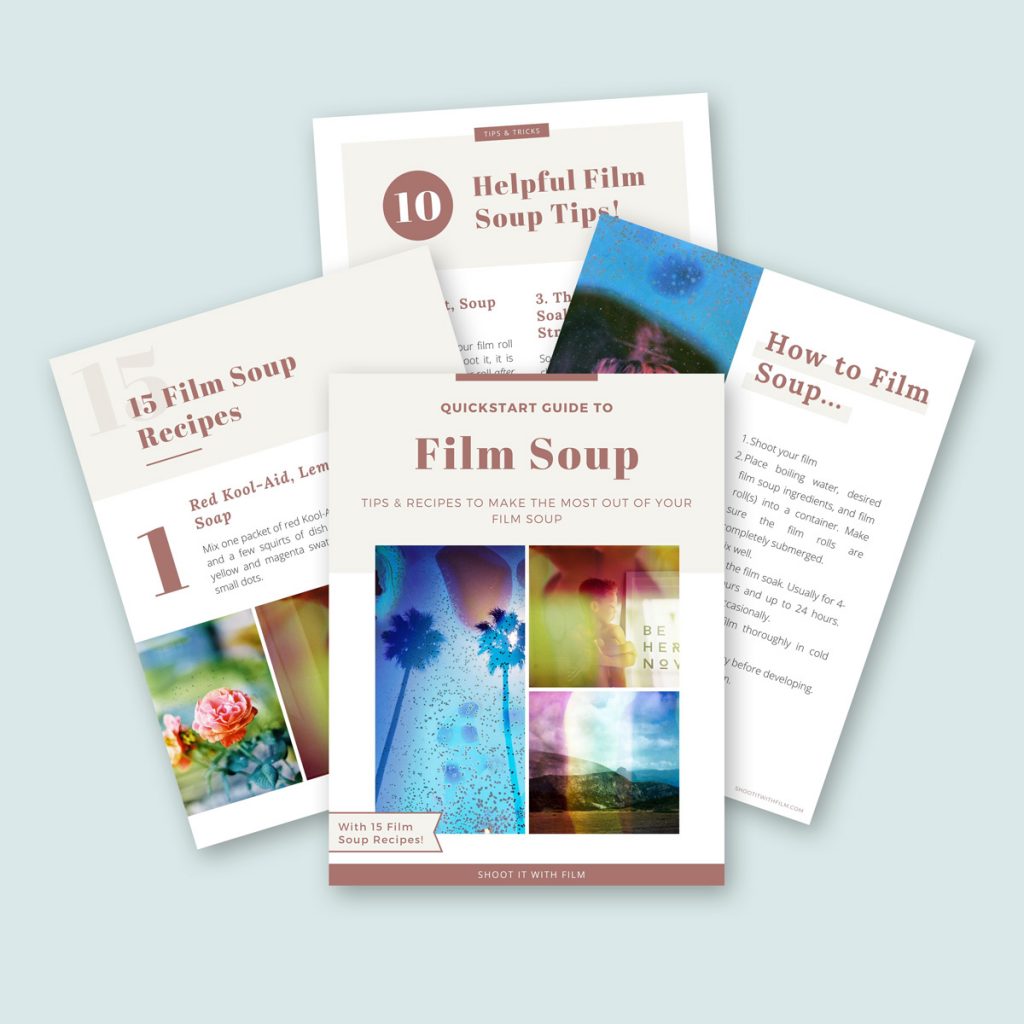
*If you’re new to film soup, you can read all about it in this Shoot It With Film film soup tutorial.
First Attempt at Black and White Film Soup
My first attempt is when I really learned the importance of heat.
I shot a roll of black and white 35mm film and loaded it in the developing tank as I normally would.
But before I developed, I poured hot coffee in the canister for about an hour. Hot coffee…but drinkable coffee.
The results? Lacking. You can see a few little spots of imperfection, but overall, it really doesn’t look like I did anything to the film.


Second B&W Film Soup Attempt
So, for my second attempt, I went nuts.
I shot a roll of film. Instead of loading it in the developing tank for developing, I left the roll in tact and boiled it!
I boiled it for 15 minutes in water, red wine, and hand soap. Then, after boiling, I put it in a mug of the boiling mix for an additional hour.
I took the roll out and put it in a cup of rice to dry for a few days. Then let it sit on the counter for 3 weeks to continue drying.
When it came time to develop, the roll of film was STICKY. Mostly dry, but really sticky. It was challenging getting it in the developing reel. Green, sticky residue was left all over my hands when I was done loading it.
The results? Insane! I literally destroyed the film. The emulsion was rubbing off.
My guess…too much time boiling (and the soap didn’t help). But I got results. And they are pretty gnarly.


Third B&W Film Soup Attempt
The third time, I wanted to develop a roll of 120 b&w film, since I mostly shoot 120 these days.
I loaded it in the developing tank, but, before developing, I poured boiling water with lemon juice and olive juice in the tank. I agitated it. And let it simmer for 5 minutes.
Careful with this one…the developing tank gets VERY hot with the boiling mix in it (especially if you’re using stainless steel like me).
The results with this one are way more subtle than the second try, but at least they are noticeable. Lots of dots all over the film.


Final Thoughts
So, an art or science? It’s an artistic science.
You need some acidic and you need high heat, but from there? Just have fun.
Add food coloring, salt, baking soda, tequila. Heck, boil it in a margarita?
But bottom line: take notes (so you know what you liked and what worked) and have fun!
Sending Film Soup to a Lab
Note: if you’re going to send this to a lab, you need to check with them first. Lots of labs will not develop souped film.
Or, you can try developing yourself. Follow these awesome guides on Shoot It With Film for developing black and white and color film!
Thank you so much, Jennifer! Jennifer is a regular contributor here at Shoot It With Film, and you can check out her other articles here, such as Develop B&W Film with Coffee! A Caffenol Developing Tutorial and Olympus OM-1 35mm Film Camera Review. You can also check out more of Jennifer’s work on her website and Instagram.
Leave your questions about film soup below in the comments!


Leave a Comment
Shoot It With Film on Instagram


Blog Comments
Gaetano
August 4, 2024 at 8:31 pm
Hi Jennifer,
great results!
I’d like to ask, regarding the second attempt, was the roll 120?
Did you remove the film from the canister to let it dry?
What about the amount of water/hand soap/wine (dilution)?
Congratulations again,
Gaetano.
Jen Stamps
August 13, 2024 at 7:38 am
Hi Gaetano – Thanks for the questions. The second attempt was a roll of 35mm. I did not remove it from the canister to let it dry. I just let it dry in a cup of rice. As for the ration… I didn’t keep track. But in my experience, it was the rolling boil of water that did the most damage. I’m not sure the soap and wine did much at all to be honest.
Happy experimenting!
Jen