
Written by Amy Elizabeth
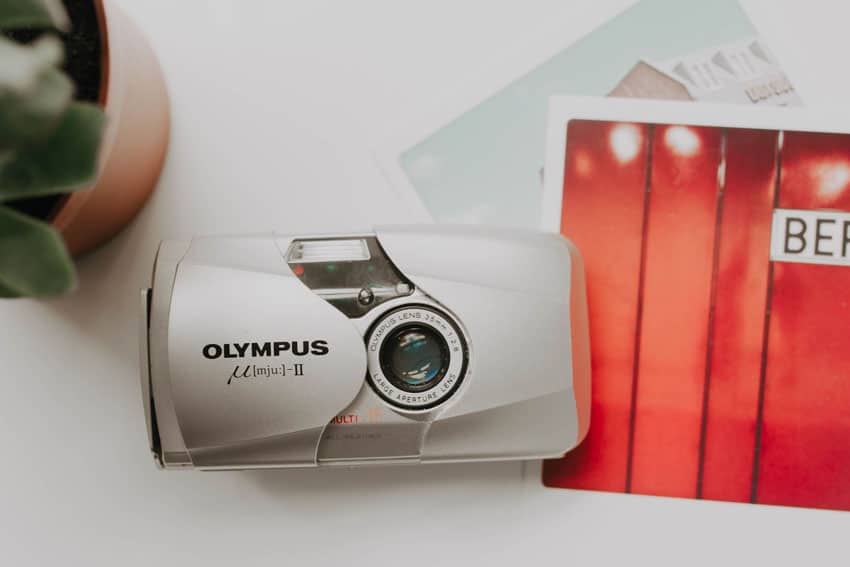
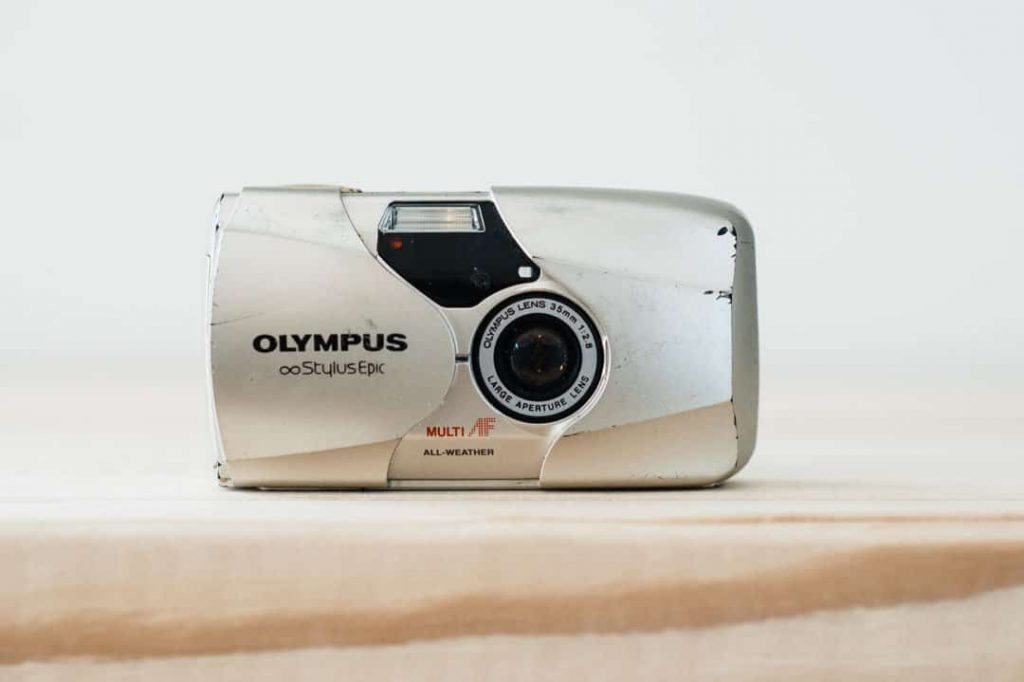
I am the proud owner of two point and shoot film cameras, an Olympus Stylus Epic (also known as the Mju II in Europe) and the Yashica T4 Super.
The Yashica T4 Super was a hand-me-down from my father-in-law, and I still can’t believe my luck that he happened to have this sweet camera in his stash (and that he gifted it to me!).
The Olympus I bought from a local seller (natcam.com) back before the point-and-shoot “rage” began, so I got it for the modest price of $60. (You can read my more detailed review of the Olympus Stylus Epic here.)

These cameras are perfect for those on-the-fly shots and my kiddos appreciate them because they know when I’m using a point-and-shoot I won’t be telling them to stand still while I fiddle with my settings and focus.
These things are literally point-it-at-your-subject-and-take-their-photo cameras.
The Biggest Drawback of Point and Shoot Cameras
Clearly, I love my point and shoot cameras, but they have one glaring limitation: many of them don’t allow you to choose your own ISO.
How am I supposed to overexpose my Fujis a stop when I can’t change any settings?
Or, you know how I LOVE to push film? Well, I can’t change anything to allow me to do that! And to me, this has always been the biggest drawback with these automatic cameras.
Related: 5 Best Point and Shoot Film Cameras!


Using the DX Code to Change ISO
After researching online for far too long, it dawned on me that I could alter the DX code on my film roll to trick my automatic camera into thinking I was shooting film with a different ISO.

What is DX Coding?
DX coding is the markings on a roll of film that tell a camera the film’s speed (ISO) and how many exposures are on the roll.
You can see the DX code in the image below, where the top row shows the film’s speed, and the bottom row shows the number of exposures and the film’s exposure latitude.

Hacking the DX Code
Once I realized I might be able to manually adjust the DX coding myself, I looked through my film stash, recorded what the different DX codes looked like, and used a blade and some gaffer tape to try altering the codes on a few rolls of film.
And guess what? It worked!
Keep scrolling to the end of the article, and you can see a video of the process!
I was able to test the DX code hack with my Nikon N80. The N80 has an automatic ISO function that can read the DX code of the film and shows me what it is on the display panel on the top of the camera.

DX Coding Chart
The top row coding (by “top,” I mean when the film is turned to line up with my drawings) affects the ISO, the bottom left tells the camera the number of exposures, and the bottom right tells the camera the exposure tolerance.
Since only the top row changes ISO settings, we will only discuss altering that row in this article.
This is why you’ll see the bottom rows grayed out, because you can ignore those and only fiddle with the top rows.

By imagining the rows divided into rectangles, you can see the current code of your film and use a blade and gaffer or electrical tape to change the code to your desired ISO from the chart.
Any rectangle in the chart that is white represents the exposed metal, so if it’s covered up by black, you will need to scrape off the black portion with some kind of blade.
Conversely, if a square is black in the chart that means you will need to make sure it’s covered on your film roll with gaffer or electrical tape so no connection is made between the film and the camera.
When following the chart, you can change the ISO of your film to whichever ISO your heart desires!

You can also check out my IGTV video talking about DX coding and showing you how I change the code.


Thank you so much, Amy! Amy is a regular contributor here at Shoot It With Film, and you can check out her other articles here, including tutorials on how to develop film at home and how to create light leaks!
To see more of Amy’s work, be sure to visit her on her website and Instagram! Amy also shares tips and tutorials for shooting film over on her IGTV channel. Go check it out!
Leave your questions about DX code hacking below in the comments!


Leave a Comment
Shoot It With Film on Instagram


Blog Comments
Sofie Schauser
March 16, 2021 at 2:14 pm
I accidentally changed the ISO in the middle of af film. So now i have a film that has shots taken with 200 ISO, and 400 ISO. How do I develop the film without messing up the pictures?
– Sofie
Amy Berge
March 16, 2021 at 9:12 pm
Hi Sofie!
What is the ISO of the film? If it’s 400, I would develop normally. If it’s 200, I would push one stop!
Sofie Schauser
March 17, 2021 at 12:45 pm
The ISO is 200, but it’s a DX-coded film. So what exactly does ‘push one stop’ mean? Should I develop it as a 200 ISO film or as a 400 ISO film?
Amy Berge
March 17, 2021 at 3:56 pm
If part of the film was shot at 400 ISO, that means it was underexposed a stop. Often when this happens, people prefer to develop longer to increase the blacks and whites so the image doesn’t end up as muddy as it would be if it was developed normally. (Developing it longer is called “pushing it”.) Make sure you send your film to a lab that pushes film and let them know you want it pushed one stop. That should help compensate a bit for the underexposure. It will increase the contrasts and can create some color shifts, but hopefully the images won’t be muddy, which makes them more difficult to recover.
Stefano CANTIANI
April 15, 2021 at 2:25 am
Hello,
Thank you for your inspiring blog.
I really like the shots you have done with superia400 rated 100 and pushed +1, i am not sure to understand, you metered it at 100 and then developed normal c41+ more time (3’15″”+30″)?
Thanks
Stefano
Pete
June 12, 2021 at 3:55 am
Hi. Thanks for posting this tip.
If I a bulk rolling film onto plastic 35mm refillable canisters, would taping metallic tape onto the canister work to trick the DX coding?
Amy Berge
June 12, 2021 at 5:53 pm
You know, I haven’t tried it, but I assume it would work! As long as the correct contacts are made, I don’t think it matters how it’s done.
Matt Talas
September 9, 2021 at 3:08 pm
For people who send film to a lab, how do you set it back to the original box speed to avoid push pull charges if you want the processing done at box speed? If we reverse hack the canister, will the lab complain? It would not surprise me if they charged an extra service fee anyway because of the hacked canister.
Amy Berge
September 9, 2021 at 11:06 pm
Hi Matt!
Your lab will be none-the-wiser as to your hacked speed unless you ask them to push or pull the film! They will always assume to develop normally!
I hope that helps!
Shauna
December 31, 2021 at 12:58 pm
How can I change DX Code on a Kodak professional 400. It looks different than Fuji film?
Amy Berge
January 2, 2022 at 1:00 pm
DX codes are universal so that each camera can read it the same way. So you can use the chart for Kodak too!