
Written by Lars Kemnitz
Many photographers dream of making a photo book. But what seems simple at first often turns into a long and demanding process.
I know that all too well. After several attempts, I finally succeeded in creating a book I’m proud of: Mallorca: Off-Season, published in a small self-financed edition.
In this piece, I’d like to share insights and lessons that might help you turn your own vision into a beautiful book.
Find Mallorca: Off-Season at larskemnitz.com.

Starting with a Strong Idea
Every great photo book begins with a solid idea. Regardless of your genre—be it portraits, documentary, landscape, or street photography—your project needs a clear focus. A good photo book tells a cohesive visual story, and that requires a unifying thread.
For me, the spark came during a trip to Mallorca in late November. I decided to shoot entirely in black-and-white using film Ferrania’s P33, a stock with deep cinematic roots (directors like Pier Paolo Pasolini and Federico Fellini used the predecessor Ferrania P30 in their films). With my camera loaded, I wandered through towns like C’an Picafort, Alcúdia, Pollença, and Sóller, seeing the island with fresh eyes. Although I had been there as a child, I remembered nothing—so everything felt new.
Even before I saw the scans, I sensed the images had potential. This instinct was the starting point, and from there, the idea of a book naturally evolved.


From Idea to Concept
Having a clear idea is just the beginning, you must refine it into a solid concept. In my case, the concept was defined by consistency: all images were monochrome, taken during a short time frame, with the same camera and film.
The aesthetic was unified, and I focused on visual language—especially the play between light and shadow, which became a theme in itself.
Selecting the images meant choosing those with personal meaning and visual strength. As I curated, I also thought about format. Should the photo book be portrait or landscape? Pocket-sized or coffee-table? Hardcover or zine? These decisions shape how the viewer experiences your work.
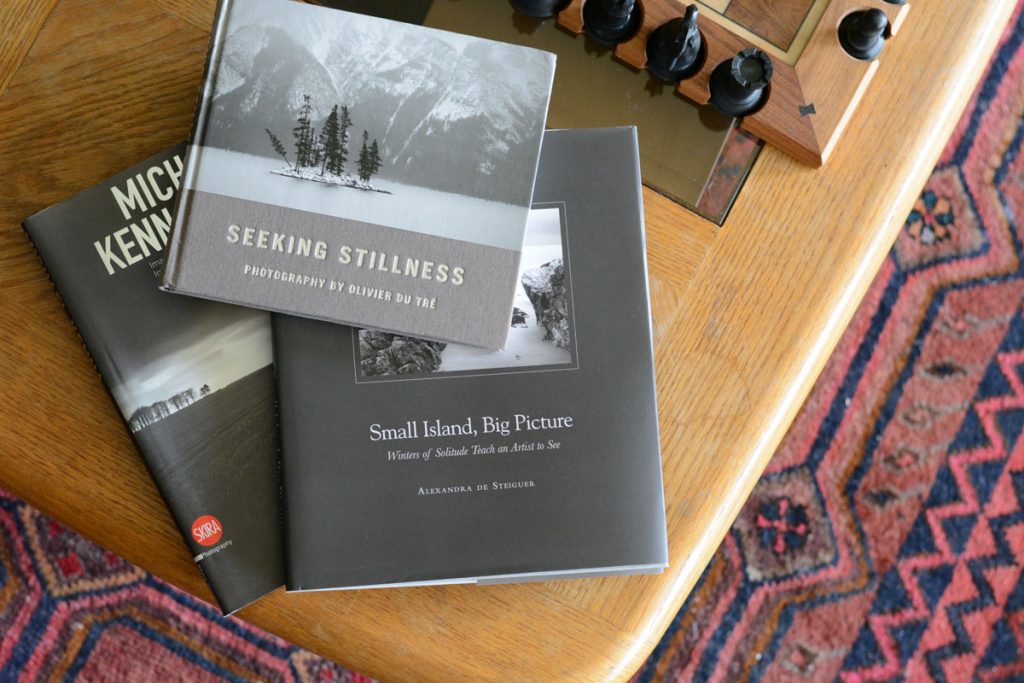
Collecting other photographers’ books helped me decide: I wanted uncoated paper for its texture and softness, and a sturdy hardcover—compact, but with presence.
If you’re aiming for a publisher, a clear concept helps pitch your project. If you’re self-publishing, it’s still essential—because every creative decision flows from that central vision.


Production: Finding the Right Printer
Even with strong images and a well-developed concept, production can make or break a book. I initially tried online printing services offering small-run hardcover books at low prices. Unfortunately, the results were disappointing—poor paper and underwhelming print quality.
This time, I turned to a trusted local printer who had previously done excellent work on my holiday cards. They offered hardcovers with high standards and fair prices. I ordered paper samples and made choices based on touch, not just specs—something I recommend to anyone making a book. Paper is a tactile medium, and you need to see how your images look on different stocks.
I opted for a thread-bound hardcover for durability, and added a touch of elegance with typography in rosé gold foil on the cover. While it added to the cost, this detail gave the book a unique, luxurious feel that I wouldn’t want to miss.
Take time to choose your printer before starting the layout. Their specs—like bleed, margin, and file format—will guide your design.


Designing the Layout
Once you’ve finalized your photos, chosen your printer, and clarified your concept, it’s time to design the book. I highly recommend using professional layout software like Adobe InDesign. It’s the industry standard for a reason—intuitive, reliable, and fully compatible with print requirements.
There are several layout strategies to consider:
- Single image per page or per spread: clean, minimal, gives each photo weight.
- Paired images: allows for visual dialogue.
- Full-bleed images: high-impact, immersive.
- Mixed layouts: adds energy and rhythm, but requires a careful eye.
White space is an important design element, not empty space. Like a gallery wall or a matte frame, it helps the images breathe. Consider pacing and sequence as you would with an exhibition. Lay out all your images physically if needed, and think in terms of spreads, not just individual pages. How each spread relates to the next is vital.
I worked with a range of defined image sizes and positions to maintain variety without chaos. That structure helped keep the book coherent.


Selling and Promoting Your Book
Unless a publisher is handling marketing and sales, promoting and marketing your photo book is on you.
Start with pricing: research similar books in specialized online shops and set a fair, competitive price that covers your costs.
Next, create strong promotional assets. Good product photography is essential—shoot your book in flattering light (natural or daylight-balanced LED), use a proper camera, and showcase different angles. These images may be someone’s first impression of your work, so make them count.
Write a concise, compelling intro text for your book, including key specs: size, page count, binding, printing method, edition size, and price. Presentation also matters—when shipping your book, choose quality packaging and add a personal touch like a handwritten postcard. It leaves a lasting impression.
Use Instagram and other image-centric platforms to promote. Reels, carousels, and stories help show the book in use. You can also ask friends or satisfied customers to share their own posts. Word-of-mouth matters. Advertising your posts can be an option for reaching an audience beyond your social media bubble; just make sure you define your target group clearly.
Additionally, reach out to photo book stores, online analog photography magazines, and local retailers. Some will ask for commissions or fees, but they offer valuable exposure.


Related: 5 Inspiring Books for Photographers
Final Thoughts
Making a photo book isn’t easy. It involves artistic clarity, technical know-how, and patience. But it’s one of the most rewarding ways to present your work—a tangible, lasting format you can hold in your hands.
My journey began years before the book took shape. The actual production happened quickly, but the thinking, collecting inspiration, and learning took much longer. In the end, that made the result all the more meaningful.
I hope my experience encourages you to pursue your own book project. Take your time, trust your vision—and keep creating.


Thank you so much, Lars! You can find more of Lars’s work on his website and Instagram.
Leave your questions about creating a photo book below, and you can check out Lars’s Mallorca: Off-Season photo book here.

Leave a Comment
Shoot It With Film on Instagram


Blog Comments
Peter Buckley
April 18, 2025 at 11:23 pm
I really enjoyed reading THE PLEASURES AND CHALLENGES OF MAKING A PHOTO BOOK BY LARS KEMNITZ.
Although I have never considered making a book of any of my work, it’s always pleasing to see how others have followed this path and have produced an amazing book. Well done Lars and well done you guys too.
Dsn
January 3, 2026 at 11:01 am
These are good tips. What would you recommend for my concept of a personal photobook I can add more pages too? It would be a photographic memoir book. Thanks in advance, Lars.
Dan
Lars Kemnitz
January 5, 2026 at 8:41 am
To Dan: Oh, that’s a very general question. As I don’t know your project in detail it’s really difficult to give advice here. Of course, you can make a good of as many pages as you want to – just keep in mind to include only the images that work best for the concept. It’s easy to keep adding pages. But in the end it’s often worth questioning if image x or y really belongs or not. More is not better. I’m not sure if this is of any help for you. As said in the beginning, it all depends on your specific project.