Written by Jen Golay
When I decided to learn how to really shoot film (as opposed to how I grew up shooting film in a point-and-shoot camera), I knew I wanted to start with black and white film.
In hindsight, that was probably a recipe for disaster, but I thought this was what “real” photographers did, since I knew that was what was taught in most high school and college photography classes.
I later learned that while color film is much easier and more forgiving of mistakes, it has a complicated development process; while black and white film has a bit of a learning curve, it is much easier to develop at home and print in a darkroom.
About six months into my film photography journey, I signed up for my first darkroom class, and that is where I really learned to shoot, develop, and print black and white film.
I want to share some of the most important things I learned about shooting black and white film in class and through my own experiences.


1. Look for Light
Recognizing and understanding light is imperative for all types of photography, but it is especially important for black and white film because what you’re really recording on film is light and shadows.
You will need to know how to recognize and/or control good light. And there is no one type of light that is the best.


You’ll need to understand how light renders on film and how to expose for it.
It is imperative that you look for and consider the direction of the light—backlight, side light, direct light, harsh light, diffused light.
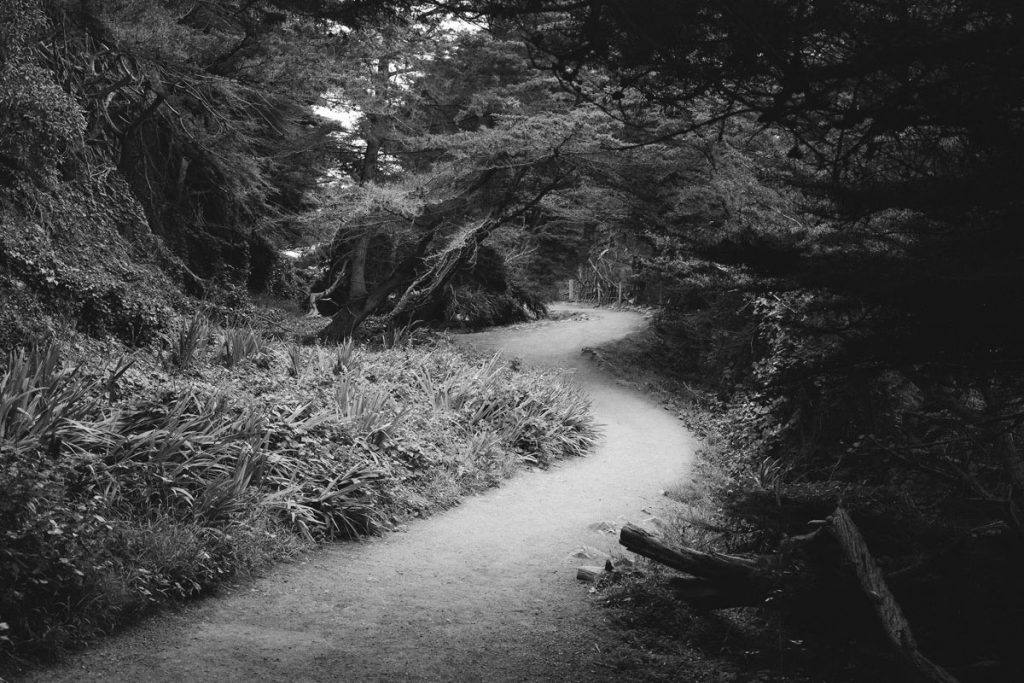
Because you are removing color from the equation in your image, you’ll need to pay attention to how the light creates contrast, texture, and emotion.


2. Look for Contrast and Texture
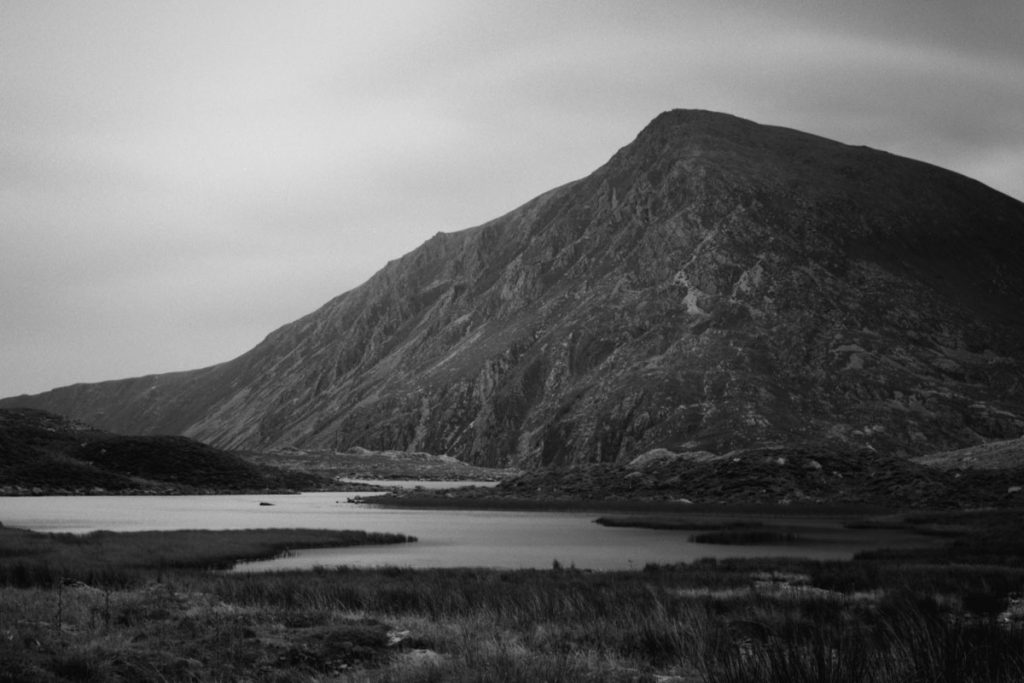
Without color to draw the viewer’s attention, you’ll need to pay close attention to other elements of photography to create interest. Contrast and texture are good ways to do this.
Again, light will play a big part in creating contrast and texture.
You may find something like a building with contrast already obvious, but you may also use light and shadows to create contrast where it may not actually exist.
Texture works in a similar way. You may find texture in something like tree bark, but you can use directional light to create or enhance texture.


3. Look for Emotions
Black and white portraits are some of my favorite types of portraits. Not only are they classic and timeless, but I believe that they elicit and focus on more emotions and feelings.
Without the distraction of color, the viewer is drawn to the humanity of the subject, and the expression or feelings of the subject are brought to the fore.


Even in images without a human subject, emotions and feelings elicited in the viewer quickly become the focus of images in black and white.
Emotion and feeling in black and white images will rely on light and the use of light to create those feelings.


4. Know Your Film
There are many varieties of black and white film for you to choose from when you decide to start shooting black and white images.
Each film stock has its own characteristics, and you’ll need to know and understand them before you choose your film. These characteristics can affect your final images and how you expose and process your film.
You’ll want to check what kind of contrast the film has, how much grain—because without color, grain in black and white film is much more noticeable.
Is the film panchromatic (it is sensitive to light from across the entire visible spectrum and renders tones similar to how we see) or orthochromatic (it is sensitive to green, blue, and violet light and is unable to capture reds, which will appear black)? There are some black and white films that actually require C-41 development chemicals.
What does this stock look like pushed? Pulled? How does it handle over- or under-exposure?


Some of these questions can be answered by the film stock’s data sheet, which will give you information on its base, exposure indexes, contrast, processing, and other information. And some of these questions you’ll have to discover your preferences for by shooting and processing your film.
My favorite brand of black and white film is Ilford. Ilford is a company that produces only black and white film, and they have been doing so since the late 19th and early 20th century.
Ilford offers the largest selection of black and white film in today’s market. Each stock has its own characteristics, light and exposure requirements, and development recommendations. Their website will help you choose the right film for your needs, and you can also check out our guide to Ilford b&w film stocks here. One of their most popular stocks is Ilford HP5.
Peta Pixel has a great guide to all ISO 400 black and white films available right now, and B&H Photo has a nice guide to the major brands currently available.
If you’re ready to shoot your first roll of black and white film, I would recommend Kodak Tri-X 400. It’s a fairly fast film with a moderate grain, and it’s got a little more exposure latitude than most black and white films.
You can also find all of our articles about black and white film stocks here.


5. Know How to Meter and Expose your Film
Just like color film stocks, different black and white film stocks will require you to know how to meter and expose the film to get the results you desire.
Generally speaking, when shooting black and white film, the rule of thumb is to expose for the shadows and develop for the highlights, which is great advice—especially if you’re processing and printing your own film.
Even when you’re not processing your own film, it’s still a good rule of thumb, and it will produce nicely exposed images with detail in the shadows as well as most highlights.


However, if you want more contrast in your images or you want to use light to create mood and feeling, you’ll need to know how to expose for highlights as well. And you’ll need to know what instructions to give to your lab for development and scanning.

To get a high-contrast, moody image, meter the brightest part of the frame and choose your exposure based on that. Don’t be afraid of letting some of the shadows go black. Be sure to let your lab know that you have exposed for the highlight so that when they scan your film, they don’t try to bring up the shadows.

Generally speaking, when you expose black and white film for the shadows, you don’t have to give the lab any extra instructions unless the scene is already high in contrast and you want to make sure you retain detail in the highlights.
You should also note that black and white film can be less forgiving if you accidentally over- or under-expose your film, so you’ll want to take care when metering.
If you are using you in-camera meter, you might want to get a gray card to help you get a generally good exposure. Using a gray card will produce an image that was metered for the midtones.
To use a gray card and your in-camera meter or a spot meter, place the gray card in the same light as your subject. Fill the frame of your camera or meter with the gray card and take a reading or zero out your in-camera meter.


Bonus Tip—Learn the Zone System
I remember the first time I saw an Ansel Adams image. I was blown away by the detail, the tones, and the contrast in his final print. Adams used the Zone System to meter, develop, and print his images.
At first, the Zone System seems a little intimidating, but once you master the basics, you’ll always have beautifully exposed images.

The Zone System divides all of the tones (the lightness or darkness) in your frame from 0 (white, no detail) to X (black, no detail). Zone V is associated with middle gray. Each zone is equivalent to a stop.
You can assign any tone in the scene you want to photograph to Zone V with the understanding that all of the rest of the tones in your scene will shift in respect to that. Using the Zone System helps you to see the world in tones, and once you do, you’ll be able to use the Zone System to perfect the tones in your black and white images.
Learn more about using the Zone System here.


Final Thoughts
Creating beautiful and classic images with black and white film is quite different from using color negative films. It will require you to look at the world just a little bit differently, paying a little more attention to light, contrast and texture, and emotions.
You’ll learn to see the world in tones of lightness and darkness. And you’ll become more precise with your metering.
There are many wonderful black and white film stocks to choose from, and each has its own unique characteristics. Choose one to load into your camera and go out and get to know it.
Have you tried black and white film?
What’s your favorite black and white film stock.


Thank you so much, Jen! Jen is a regular contributor here at Shoot It With Film, and you can check out her other articles here, including 3 Reasons to Try a Photography Workshop and 5 Best Handheld Light Meters for Film Photography.
You can also check out more of Jen’s work on Instagram.
Leave your questions about shooting black and white film photography below in the comments!


Blog Comments
Alex
December 8, 2023 at 6:36 am
I just wanted to complement you on a gorgeous post with excellent information and beautiful photographs.
Jen Golay
December 11, 2023 at 12:00 pm
Hi Alex! Thank you so much for your lovely compliment! It is much appreciated!
Curtis Heikkinen
December 8, 2023 at 10:31 am
Simply a superb article with fantastic images. I wish I could shoot more black and white film but I have a hard time getting it processed. I have a nearby lab that does color film quickly but does out lab for black and white, which takes weeks sometimes. The biggest hurdle I’ve had with black and white film is that I am still seeing the world in color through my viewfinder. I constantly have to remind myself that just because what I see looks good in color doesn’t often mean it will look good in a black and white image. In digital you can shoot in a black and white mode. You can get an idea of what an image will look like in monochrome. No such thing with a film camera. Switching between color and black and white film compounds the issue, at least for me. Again, great work on this article. I’m sure I will be referring to it often..
Jen Golay
December 11, 2023 at 12:05 pm
Hi Curtis! I’m so glad you enjoyed the article! I know exactly what you’re saying about learning to see the world in black and white. I used to use my iPhone and one of the included BW filters to kind of preview what a scene might look like in BW. Another commenter here also recommends using a medium green filter to help you see tones. Let us know if you give either one a try and how it goes.
Lachezar
December 8, 2023 at 12:08 pm
Really good article and beautiful photographs. So much to learn…
Jen Golay
December 11, 2023 at 12:07 pm
Thank you, Lachezar! I’m glad you enjoyed the article!
Tim H
December 9, 2023 at 3:23 pm
Nice article, Jen. My fav BW film is probably Tri-X, I used to love Plus-X Pan but, alas, it’s no longer available. Many other BW shooters have said that FP4+ is quite a close substitute for Plus-X, and so I’ve got some loaded up and ready to try.
Also, something I came across years ago, in one of Ansel Adams’ books, is the following. To help you learn to see tones as distinguished from color, get a medium-green filter and carry it around with you as you are on a photo shoot — and even when you’re not shooting. Look at the world and everything in it thru this filter. The idea is, because it passes light near the center of the visible spectrum, and makes everything look like different shades and intensities of green, it will help you recognize how different colors will map into different tonalities as seen by the camera. I think this helps visualize how your camera and BW film will “see” the scene.
Anyway, thanks for the fine article.
Jen Golay
December 11, 2023 at 12:09 pm
Hi Tim! What a great tip! I used to use my iPhone and a BW filter when I was learning to see the world in BW. Either way, it definitely takes some practice!????
Tim H
December 11, 2023 at 12:20 pm
Indeed it does !