
Written by John Adams III
Have you ever seen those wiggly “3D” film photos on Instagram and thought to yourself, “How did they do that?”
The effect is easier than you think – the only catch is that it requires a specific type of film camera and a little Photoshop magic.


What is a Stereoscopic Camera?
Stereoscopic, or stereo, cameras are outfitted with two or more lenses allowing the user to capture different angles of a scene simultaneously.
They were originally intended to make 3D prints (think holographic Pokémon or baseball cards) but have found a new usefulness in the digital age.
Find 3D film cameras on eBay and fine vintage stereo cameras on eBay.

How Does a 3D Film Camera Work?
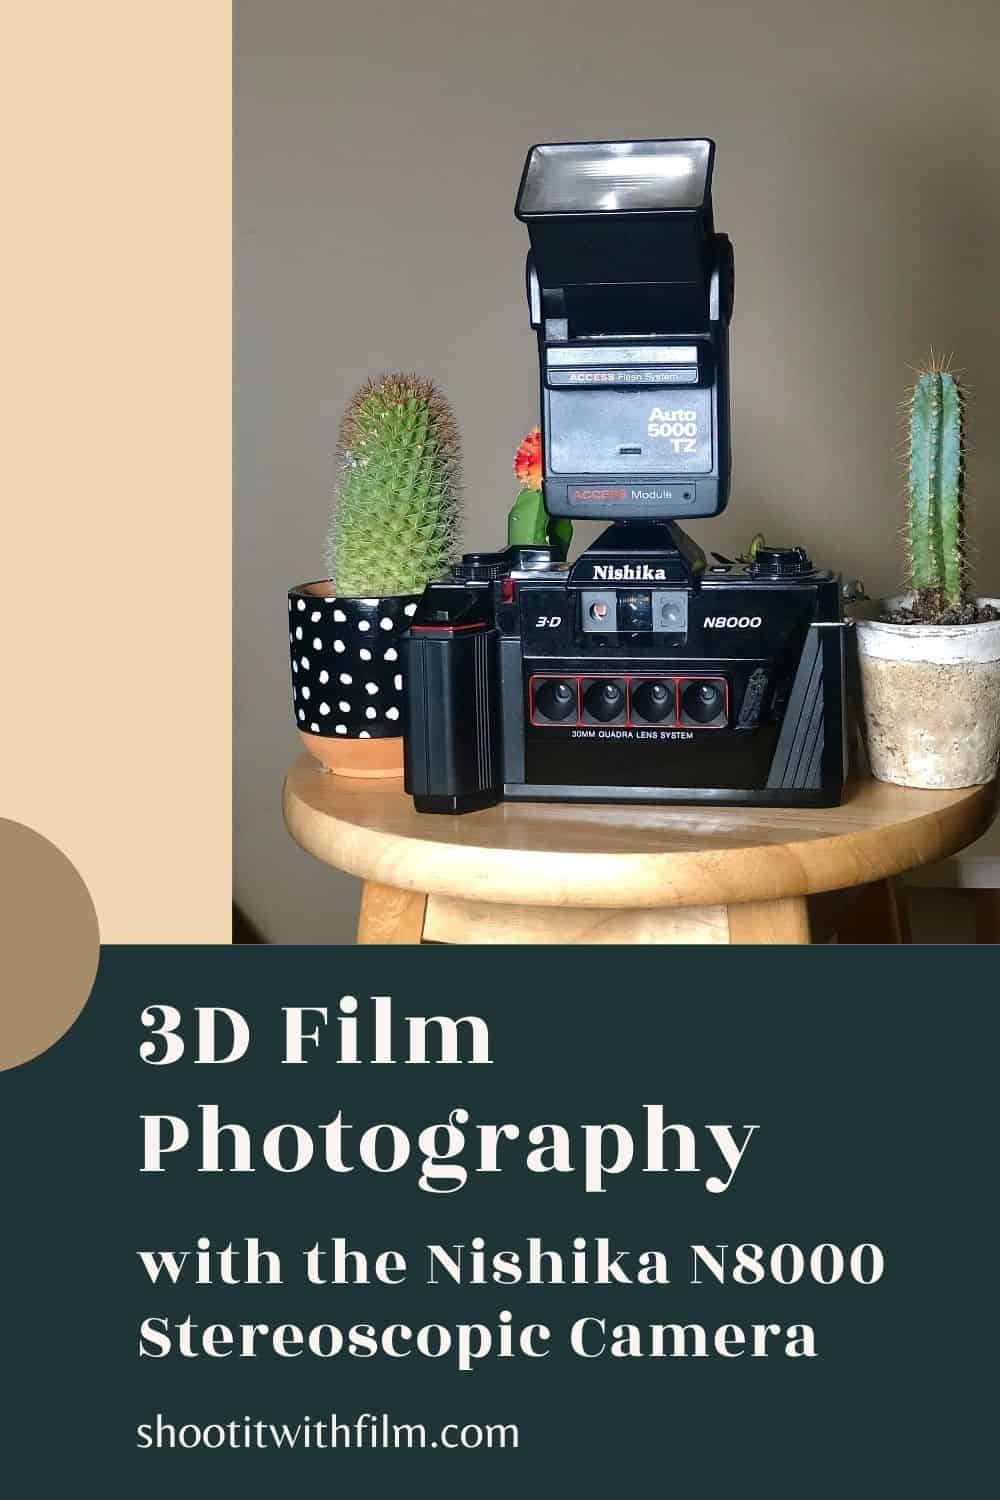
I own the Nishika N8000 film camera (find on eBay), but the process for taking a 3D image will be similar no matter what stereo camera you decide to use.
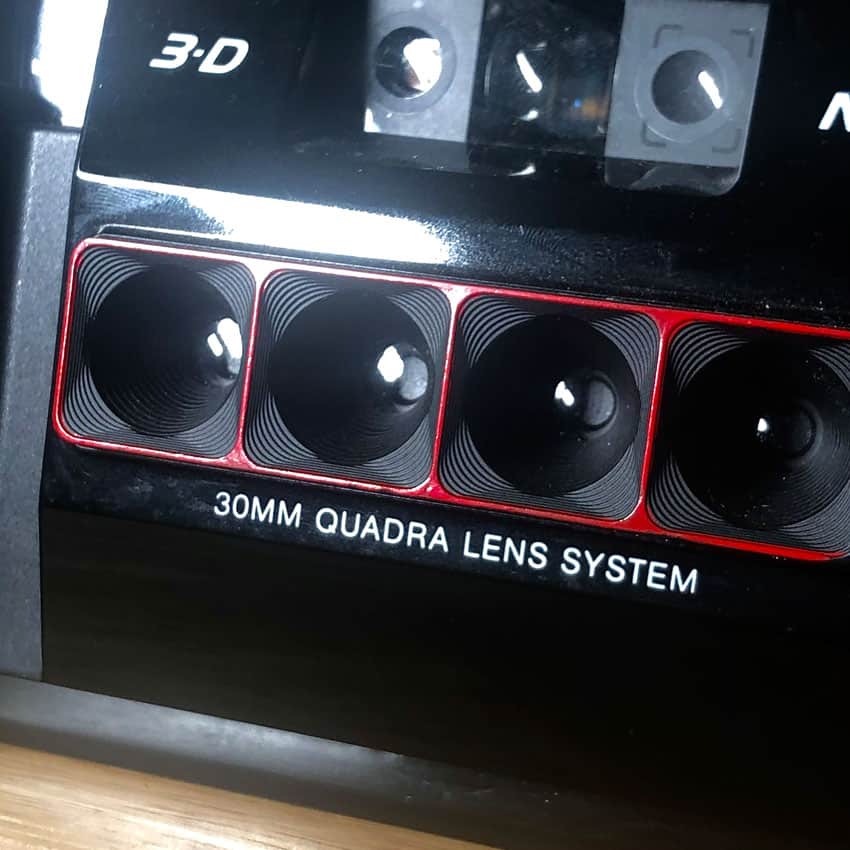
The Nishika has four lenses; when the shutter is released, each lens captures the scene at the same time but at slightly different angles.

On the negative, you’ll see four half frame photos shot over two frames of film. This means that in any given roll of 35mm film, you can expect 18 exposures from a 36 exposure roll and 14 exposures from a 28 exposure roll.


This multi-lens technology functions the same way our own eyes do in perceiving the world in a three dimensional way!


Shooting with 3D Cameras
These cameras were not made for the professional market and are, to put it bluntly, very cheaply made.
On the Nishika N8000 specifically, you have to be careful advancing the film as the plastic winding mechanism doesn’t always grip the film correctly. This can result in accidental double exposures or even a torn negative.
I’ve had similar problems with the ImageFX 3D camera (find on eBay). When I owned that camera, the flash stopped working AND it ripped one of my rolls almost in half.
So, just know what you’re getting into before buying a cameras 3D film photography Fun effect, but maybe not the most reliable cameras out there.
I’ve found that I achieve the most quality results when using 200 or 400 speed film coupled with a flash. The use of a flash helps isolate the foreground subject of your photo from the background, thus accentuating the 3D effect.


Bringing Your 3D Film Photography to Life with Animation
So, you’ve gone out with your friends and shot some 3D film photography. Once your film has been processed and you have some scans to work with, you can begin creating an animated GIF out of your image.
There are different methods to animating your images, but most generally follow the same steps. With the method outlined below, you’ll need a few things:
- Adobe Lightroom (or similar photo editing software, or no software at all if you choose not to edit your scans) (Find the Adobe Lightroom and Photoshop Photography Bundle on Amazon)
- Adobe Photoshop
- A little bit of patience
Step 1: Editing Your Film Scans and Bringing Them into Photoshop
I begin by editing my film in Lightroom, as I normally would.
Once finished, right click the photograph and select Edit in Photoshop CC which will shoot your color corrected film scan over to Photoshop.

Click to enlarge
Step 2: Stacking Your Frames
Once in Photoshop, I like to begin by stacking all four half frames on top of each other.
To do this, you’ll want to utilize the Marquee tool to select each individual photo in your scan.
(I scan all four half frames together into one file, which I find makes my life easier. If you have four separate files, simply drag them into Photoshop and skip this step.)

Click to enlarge
First, double click your background layer to unlock it. It will ask you to rename the layer – for the purposes of this tutorial, I left the layer titled Layer 0.
Use the Marquee tool to select the last frame (I begin on the right and work my way to left), hit Ctrl+C to copy it, and then Ctrl+V to paste it onto a new layer.
Then switch to the Move tool (shortcut V).
With the new frame on the new layer selected (Layer 1), hold Shift and drag the selection on top of the first frame on the far left (It doesn’t have to be perfectly aligned at this point.)

Click to enlarge
Repeat this for the second and third frames: highlighting your selection on the base layer with the Marquee tool, copying and pasting to a new layer, and then stacking the selection on the left.

Click to enlarge

Click to enlarge
At the end of this step, you should have four layers each containing a selection of each separate frame.

Click to enlarge
You’ll then want to select the Crop tool and crop everything down to one frame.

Click to enlarge
Step 3: Align Your Layers
In the next step, we are going to align all four layers.
In your Layers panel, drag the bottom layer (Layer 0) to the top. This will be the layer used as the basis to align the other layers with.

Begin by dragging Layer 1 to the very top, above Layer 0, and hide the bottom two layers.

Drop the opacity of the Layer 1 to around 50% and zoom in. I like to align the photos at a common point like the subject’s eye, or another small area on the main subject.
Select the Move tool (shortcut V), and drag the topmost layer until you see that the layers are aligned.
If you find it hard to tell if the layers are aligned or not, adjust the opacity accordingly or zoom in closer.
The layers will initially be unaligned like this:

Click to enlarge
And you want the aligned result to look similar to this:

Click to enlarge
Once the Layer 1 is aligned, reset the opacity back to 100% and drag it underneath Layer 0. Hide this layer, select Layer 2 and drag it to the top.

Click to enlarge
Repeat the alignment process with Layer 2 by dropping the opacity, zooming in, selecting the Move tool, and aligning Layer 2 and Layer 0 at the same point you used for Layer 1.
Repeat the process for Layer 3.
The layers should be in this order when you are finished
Layer order top to bottom:
- Layer 0
- Layer 1
- Layer 2
- Layer 3

Step 4: Animate
Time to animate and create your 3D image!
Go to Window>Timeline to open up the Timeline Window. Ensure it is set on Create Frame Animation (not Create Video Timeline).

Click to enlarge
Turn off the visibility on Layers 1, 2, and 3. With the topmost layer selected (Layer 0) and only that layer visible, click Create Frame Animation in the center of the window.
You will see one frame of your topmost layer appear in the window.
Congratulations, you’ve just created the first frame of your animation!

Click to enlarge
Select the next layer, Layer 1, deselect and turn off visibility on all other layers, and then click Duplicate Selected Frames. The button is a square with a plus symbol inside, and it is located below your animation frames.

Click to enlarge
Repeat the process with Layers 2 and 3. Turn off visibility on Layer 1, select and make visible Layer 2, click Duplicate Selected Frames. Turn off visibility on Layer 2, select and make visible Layer 3, click Duplicate Selected Frames.
At this point, in the Timeline window, you should have four frames, one corresponding to each Layer.
Step 5: Loop the Animation and Set the Timing
We want the animation to loop continuously, so, in your layer panel, turn off visibility for Layer 3, select and make visible Layer 2, and click Duplicate Selected Frames.
Then again for Layer 1. Turn off visibility for Layer 2, select and make visible Layer 1, and click Duplicate Selected Frames.
You should now have six frames in the Timeline window.

Next, ensure that the timing option in the bottom left of the Timeline window is set to Forever so that the animation will loop continuously.
Select the drop down arrow below Frame 1, and input the time duration for the animation. This part is completely up to you, but I find that 0.17 seconds seems to be a nice spot.
Go as fast or slow as you like!
Make sure you input the same time duration for all six frames.

At this point, you’ve successfully animated your photos!
Select the play button at the bottom of the Timeline window to preview your creation.
If you are getting random spaces of white or unwanted black space in your animation, simply hit the Crop tool (shortcut C), and remove the unwanted areas.
Step 6: Export Your Animation
To export your new creation, go to File>Export>Save For Web (Legacy).

Click to enlarge
Make sure GIF is selected in the window in the top right corner and then click Export!

Click to enlarge
Thank you so much, John! John is a regular contributor here at Shoot It With Film, and you can check out his other articles here, such as a review for the Mamiya RZ67. You can also check out more of John’s work on his website and Instagram.
If you have questions about 3D film photography or the Nishika N8000, leave them below in the comments, and you can pick up a N8000 for yourself on eBay!
Check out all of our film camera reviews here.


Leave a Comment
Shoot It With Film on Instagram


Blog Comments
Amy Berge
December 11, 2020 at 10:42 am
And John Adams has a stereoscopic camera so I bought a stereoscopic camera. But for real, ebay sellers with stereoscopic cameras are going to be reeeeeeaaaal happy today