

Written by Alec Pain (Alastair Place)
If you read my last article – Is Dry Plate the new Wet Plate? – you’ll have discovered that I’m currently in my Dry Plate phase. One where glass and aluminum, and short development times, are helping me to slow down a little.
That said, I’ve just been to Paris and taken twenty rolls of film for Holga Week, so perhaps it’s more about taking pleasure in what’s around you, either taking your time trying to find places to take dry plate photography (largely in the places around me) or being on the move in somewhere totally different and wanting to capture everything.
I did managed one dry plate shot on my trip in Paris and one whilst waiting for my train home after the trip, but finding moments of calm in a new city were far and wide between.
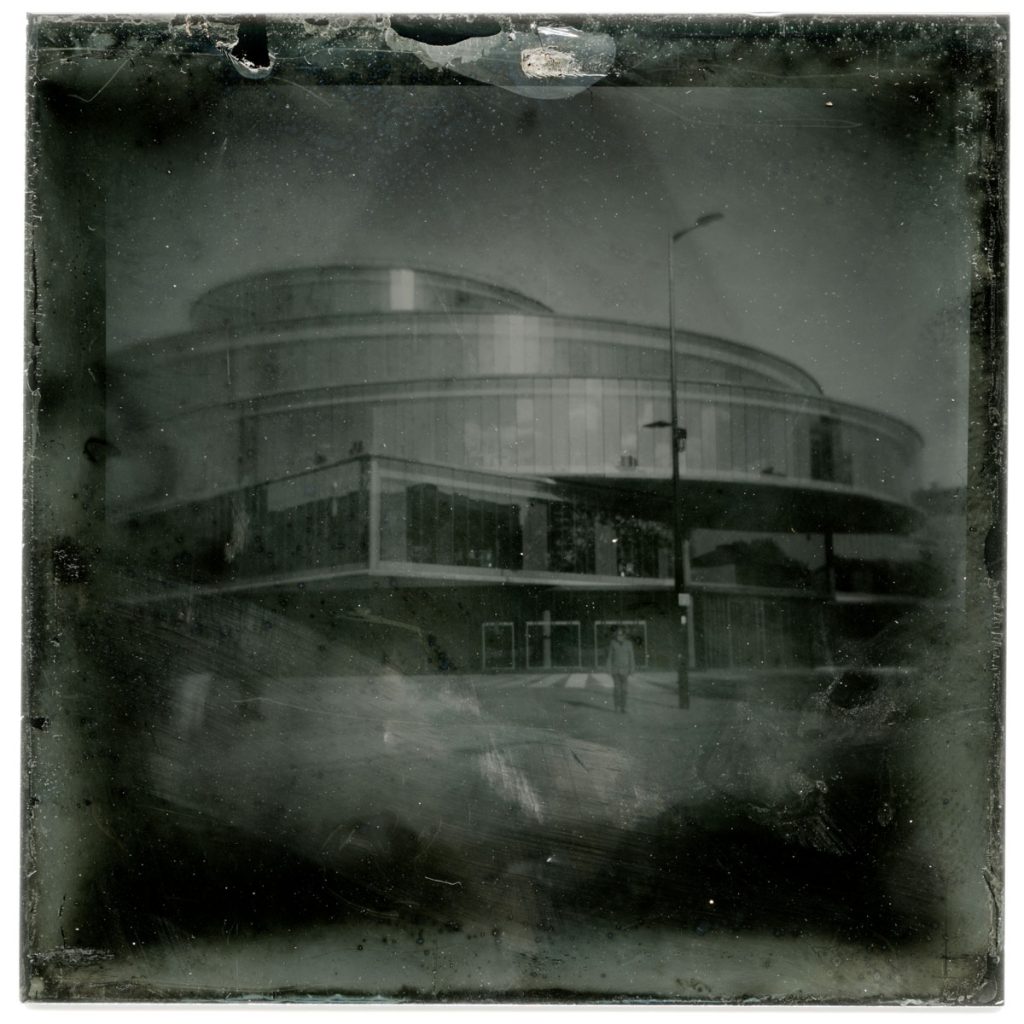
Using Black Glass Dry Plates
My previous article focused on glass negatives using Zebra Dry Plates. Nejc also produces Black Glass Dry Plates and Black Tintypes on which you can produce positive images.
I have to admit that I have found this process much more difficult, and you’ll see from the results that I am partially there, but I’ve got some way to go before I am fully satisfied with the results. Nejc has been very helpful and offered me some great advice via email.
For the purposes of this article and for those who haven’t read my previous article, here’s a list of supplies needed. I used a Speed Graphic 4×5 camera and a Holga or Holgon camera to take my photos.
Dry Plate Photography Supplies
1. Dry Plates
Since my last article, costs have unfortunately gone up due to customs. If only the UK hadn’t decided to leave the EU! – this adds +€14 EU duties and clearance – if you live in the UK.
A pack of 10 4×5 glass plates from Zebra Dry Plates costs €52.21 + €11.50 shipping, ie €63.71, or €6.37 per plate.
A pack of 10 4×5 black tintypes from Zebra Dry Plates costs €52.21 + €11.50 shipping, or €6.37 per plate.
A pack of 16 Custom Sized Zebra Dry Plate Tintypes (63mm x 57mm) for the Holga costs €42.71 + €11.50 shipping ie €54.21, or €3.41 per plate.
2. A Light Meter
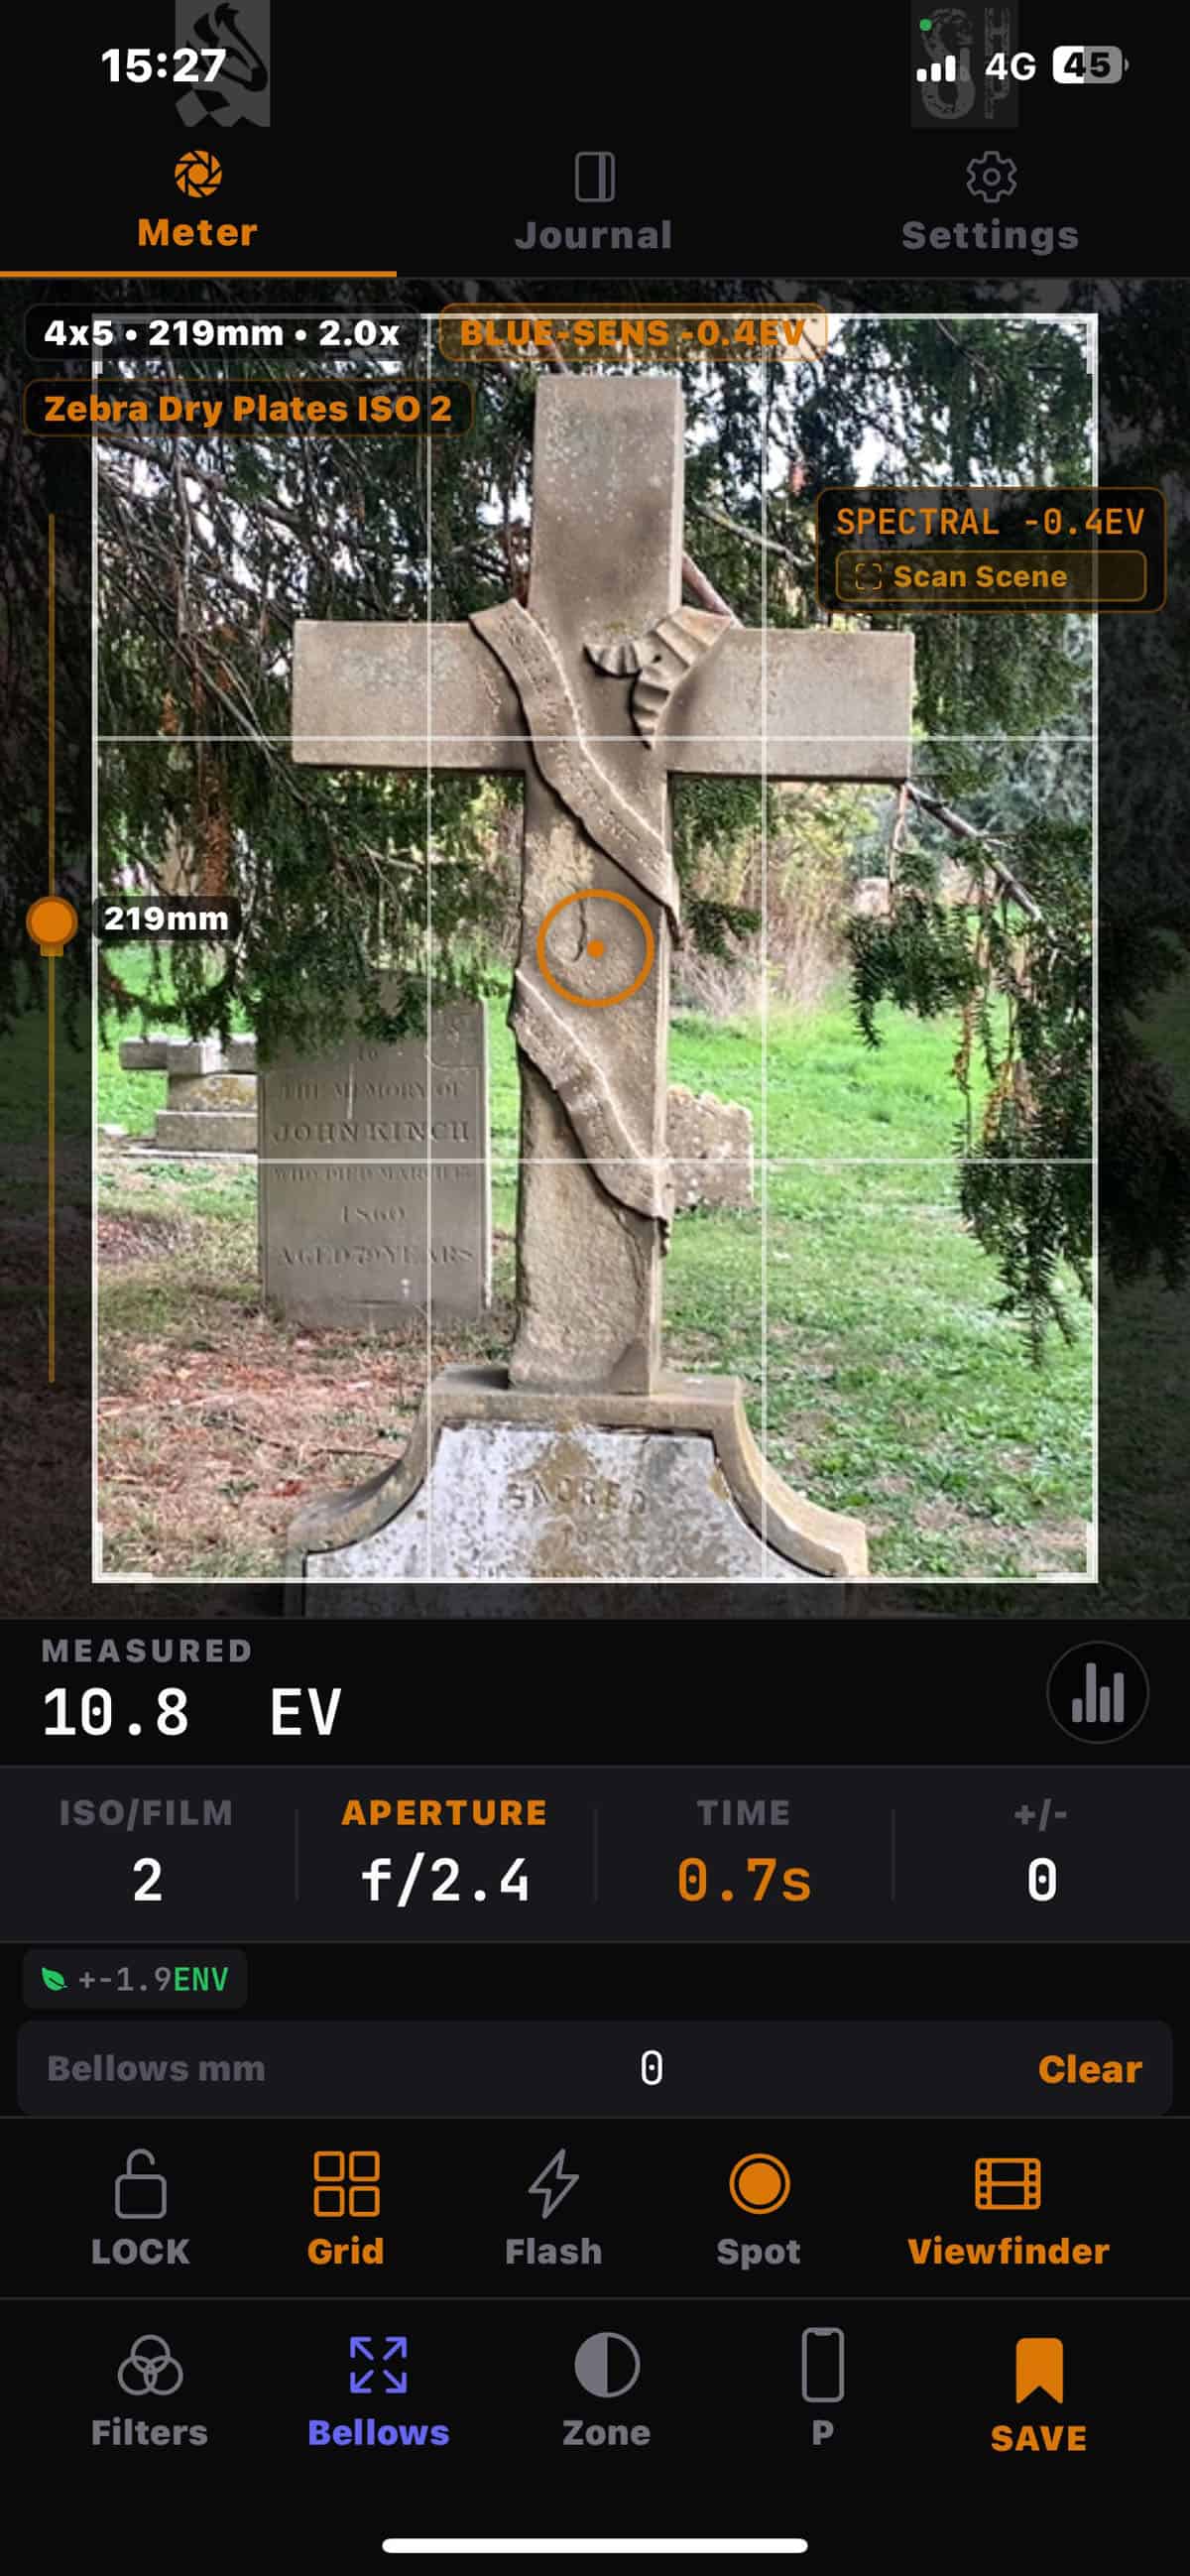
I own a Sekonic L-508 light meter (find on eBay), however for Black Glass and Tintype positives, I got better results from this app developed by Scott Henderson called ProFilm Meter (Apple | Google Play) which Zebra recommends.
3. A Plate Holder
Because of the thickness of the glass you will also need a dry plate holder. I purchased mine from Zebra Dry Plates, and it’s a dual plate holder, ie it takes two glass plates or two black tintypes.
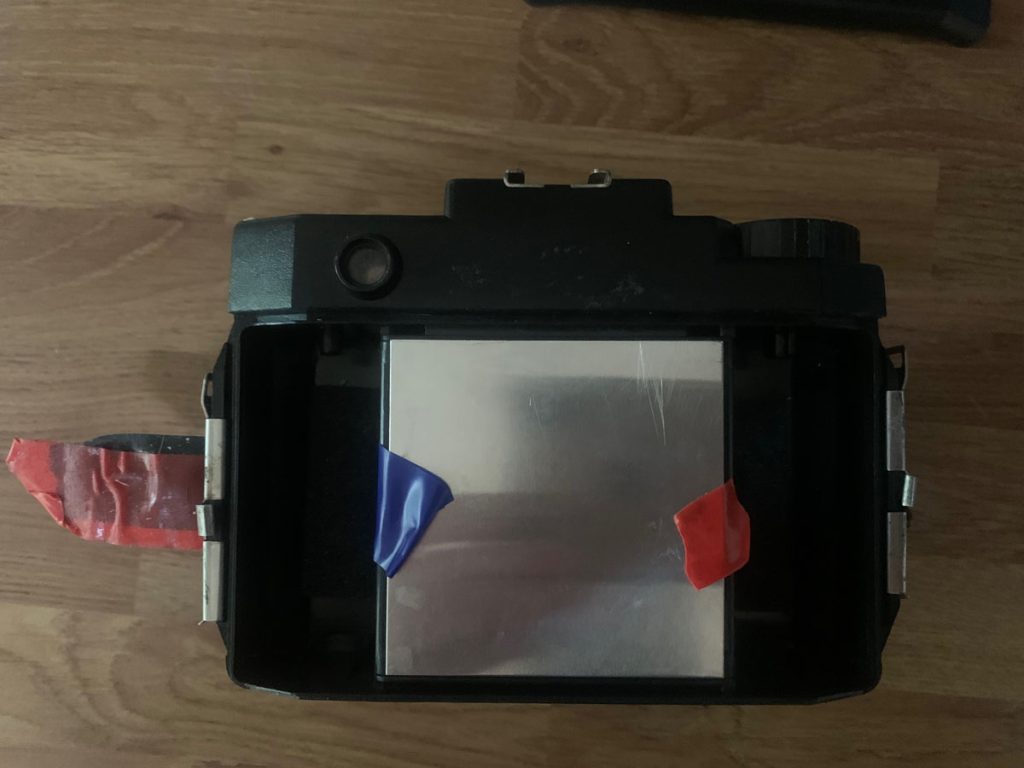
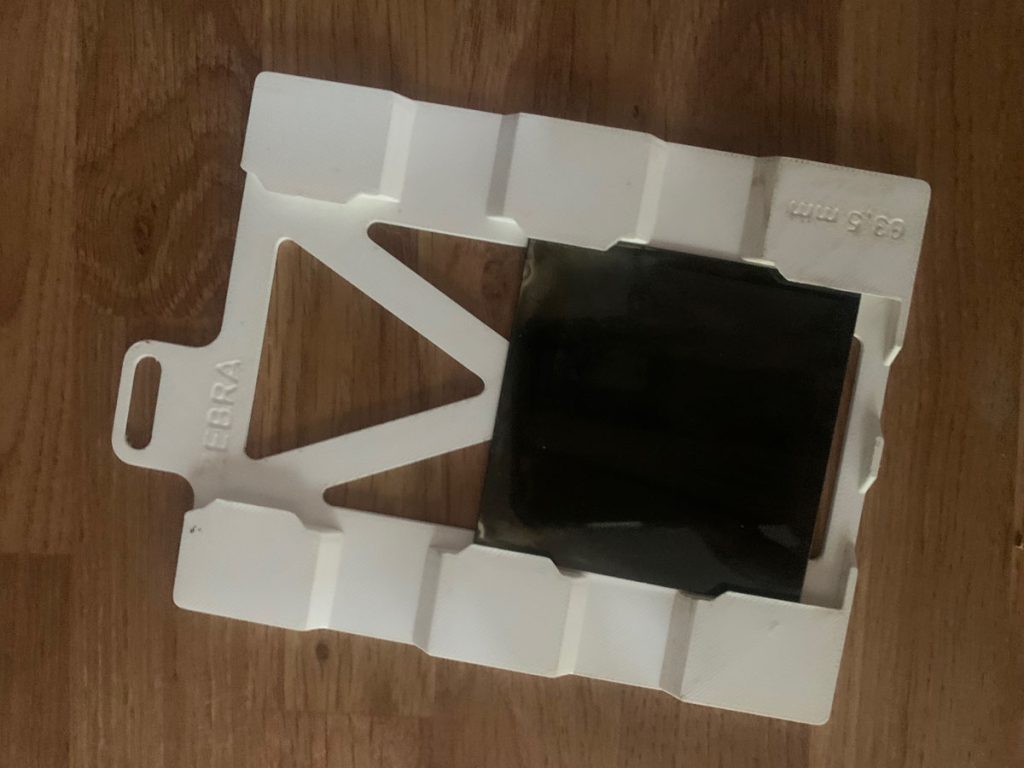
For the Holga, there’s no holder needed. I used the 6×6 mask to “hold” my plates (see picture below. This would be done inside a dark bag or tent, obviously) and a little bit of electrical tape just in case to hold each side.
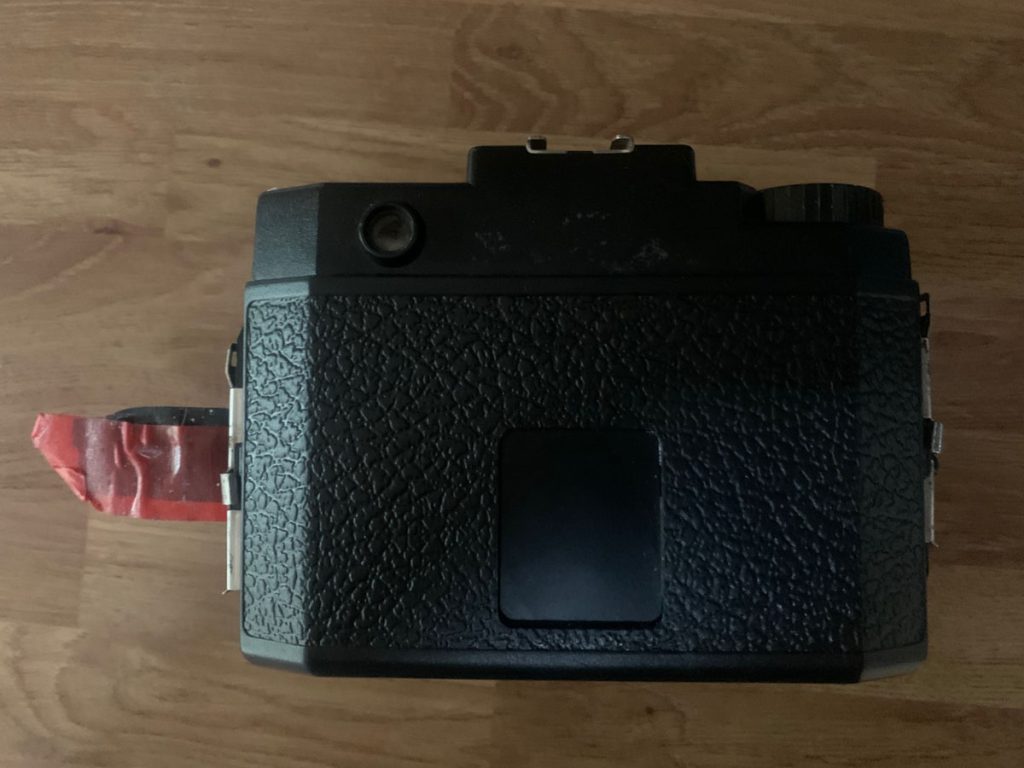
I do however used the back which comes with the 35mm adapter (the HOLGA FA135-120 on eBay), but you could put black tape over this to stop any light leaking onto the tintype:
4. A Daylight Processing Tank, Jaggle, or Darkroom Trays
Zebra has a daylight processing tank which can take three 4×5 plates at a time. You can also buy film adapters (which can process six 4×5 films at a time). Nejc at Zebra also made me three adapters for the 63mm x 57mm tintypes, but I also have a Jagglé, which I used as a tray to develop some of my individual plates or tintypes. I simply dropped the glass plate inside the developing cassette in a dark bag tent.
Alternatively if you have a darkroom, you can use developer trays.
5. Developer
I used 510 Pyro, available from Zone Imaging. For positives, you will also need either a bottle of Potassium Thiocyanate or Ammonium Thiocyanate. Zebra Dry Plates have a new site which enables you to work out quantities for developing here.
6. Fixer
For fixer I used EcoZoneFix Plus, also available from Zone Imaging.
7. A Drying Rack
I bought mine secondhand from eBay.
8. A Scanner
You will likely be able to scan the glass and tintypes
4×5 Black Glass Plates and Tintypes – Exposure
For all of my Black Glass and Tintypes, I used my 4×5 Graflex Speed Graphic with an Aero Ektar lens. I used a mixture of my handheld light meter and the ProFilm Meter App.
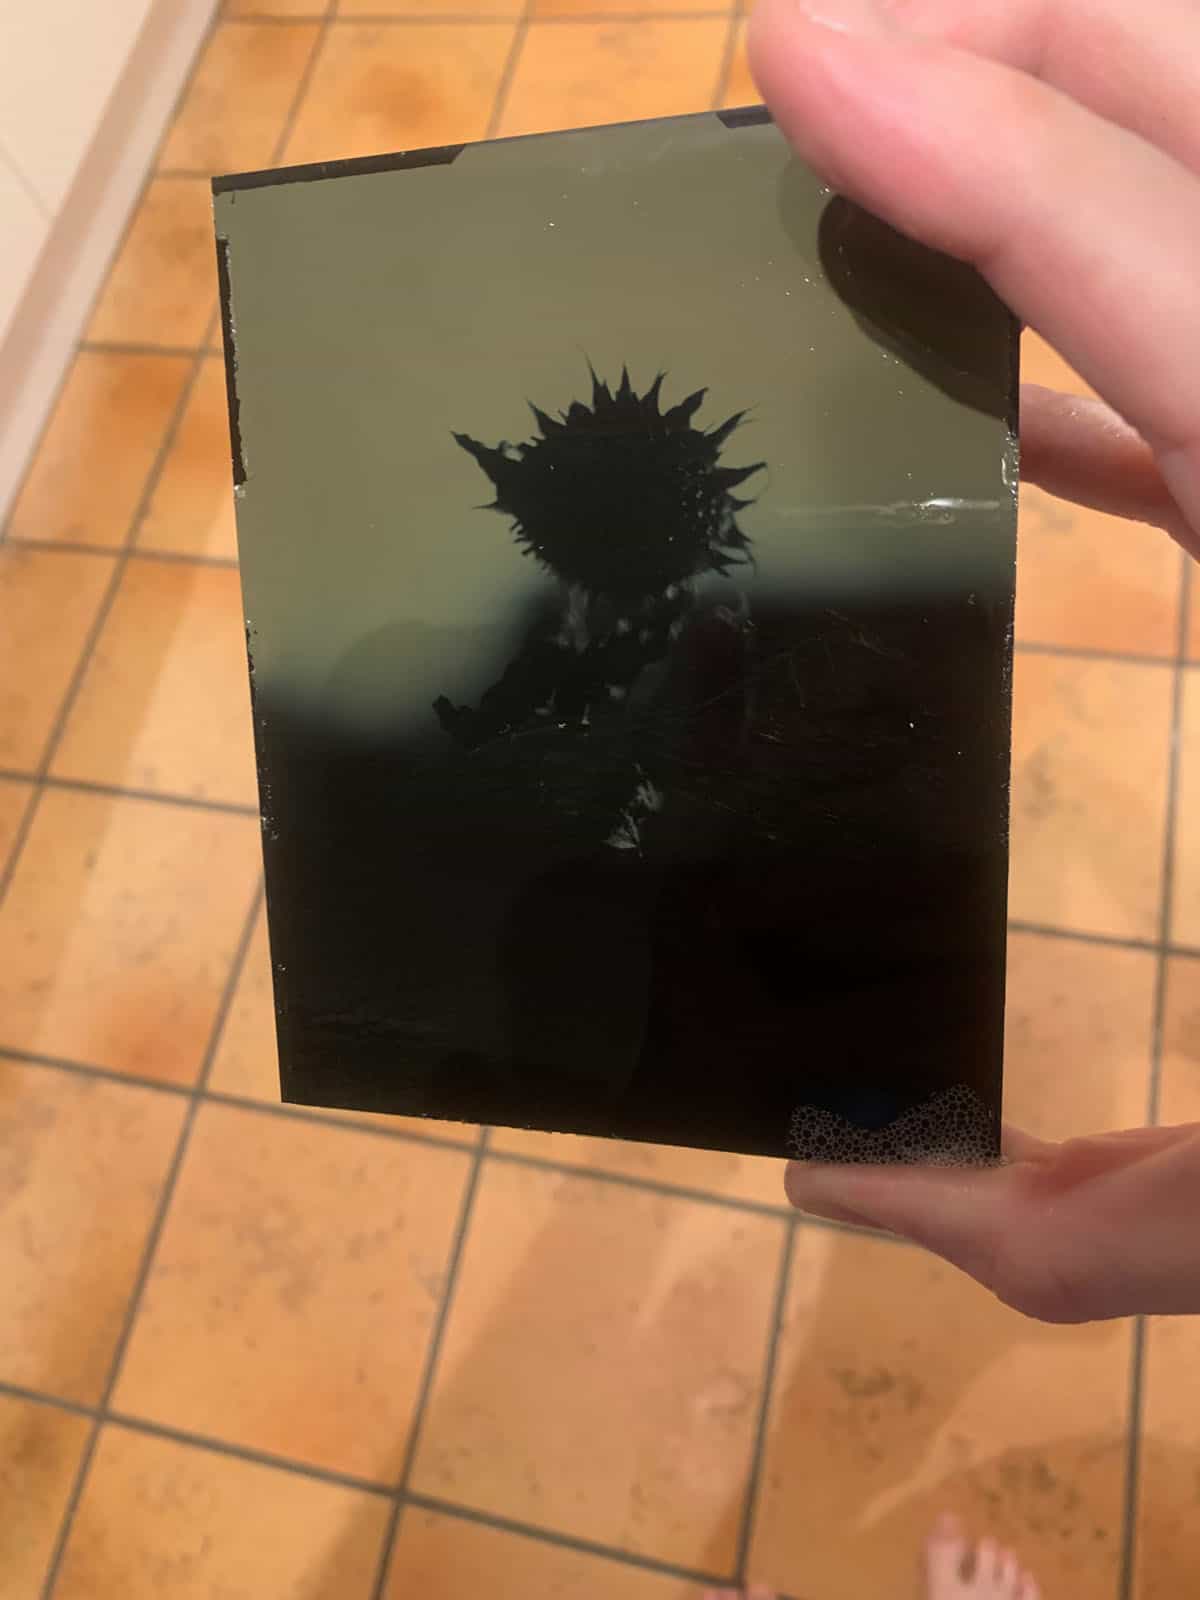
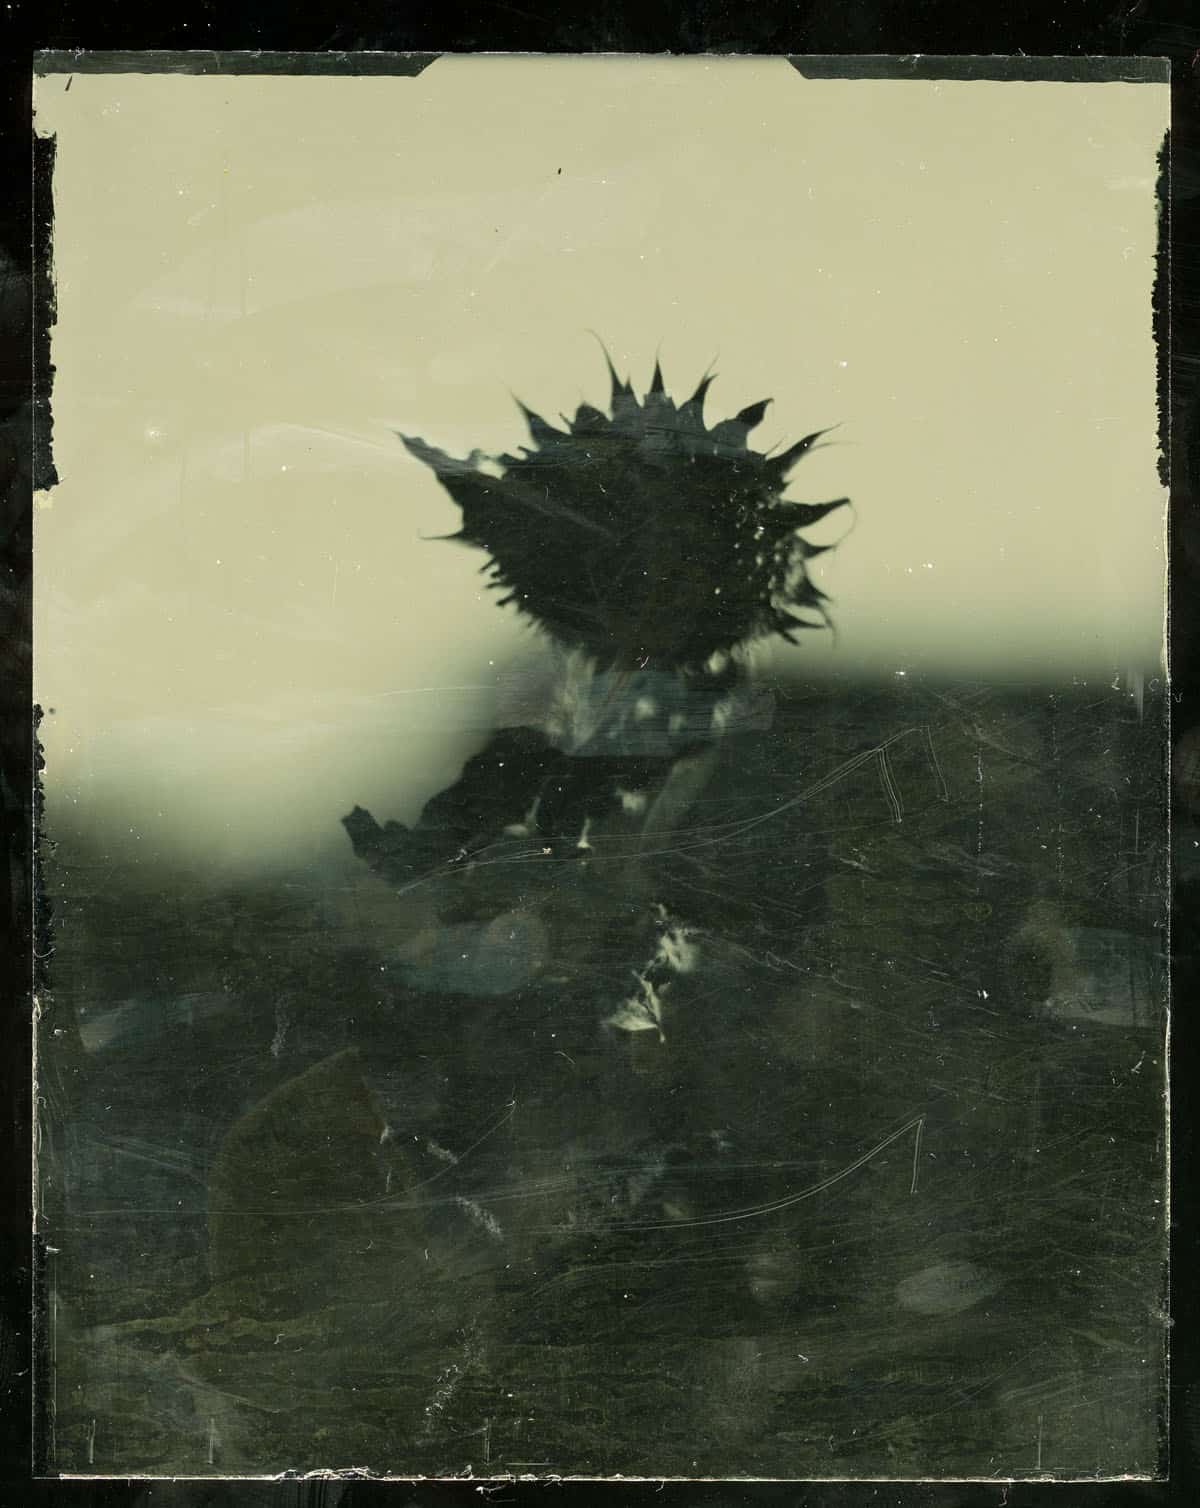
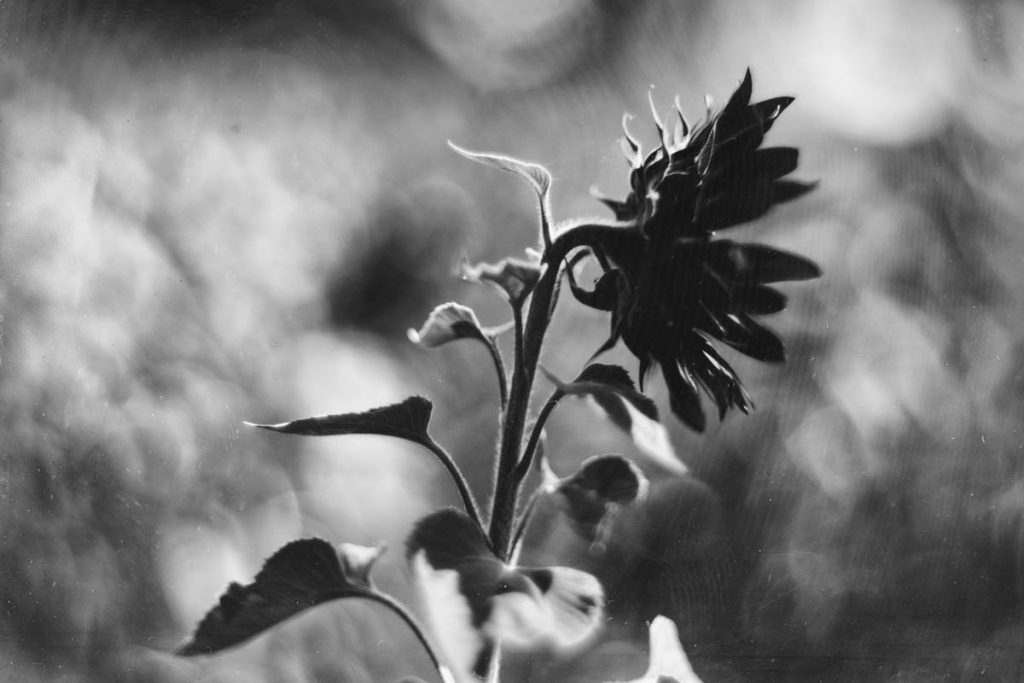
My first image wasn’t particularly successful, but I think it was a good first attempt. For this I used the light meter and measured it at ISO 3, f2.5 and 1/30 second.
Dry plates are susceptible to UV light, and I think I should have added a stop or two as the time was late afternoon to get a little more of the detail of the bottom of the dried out sunflower:
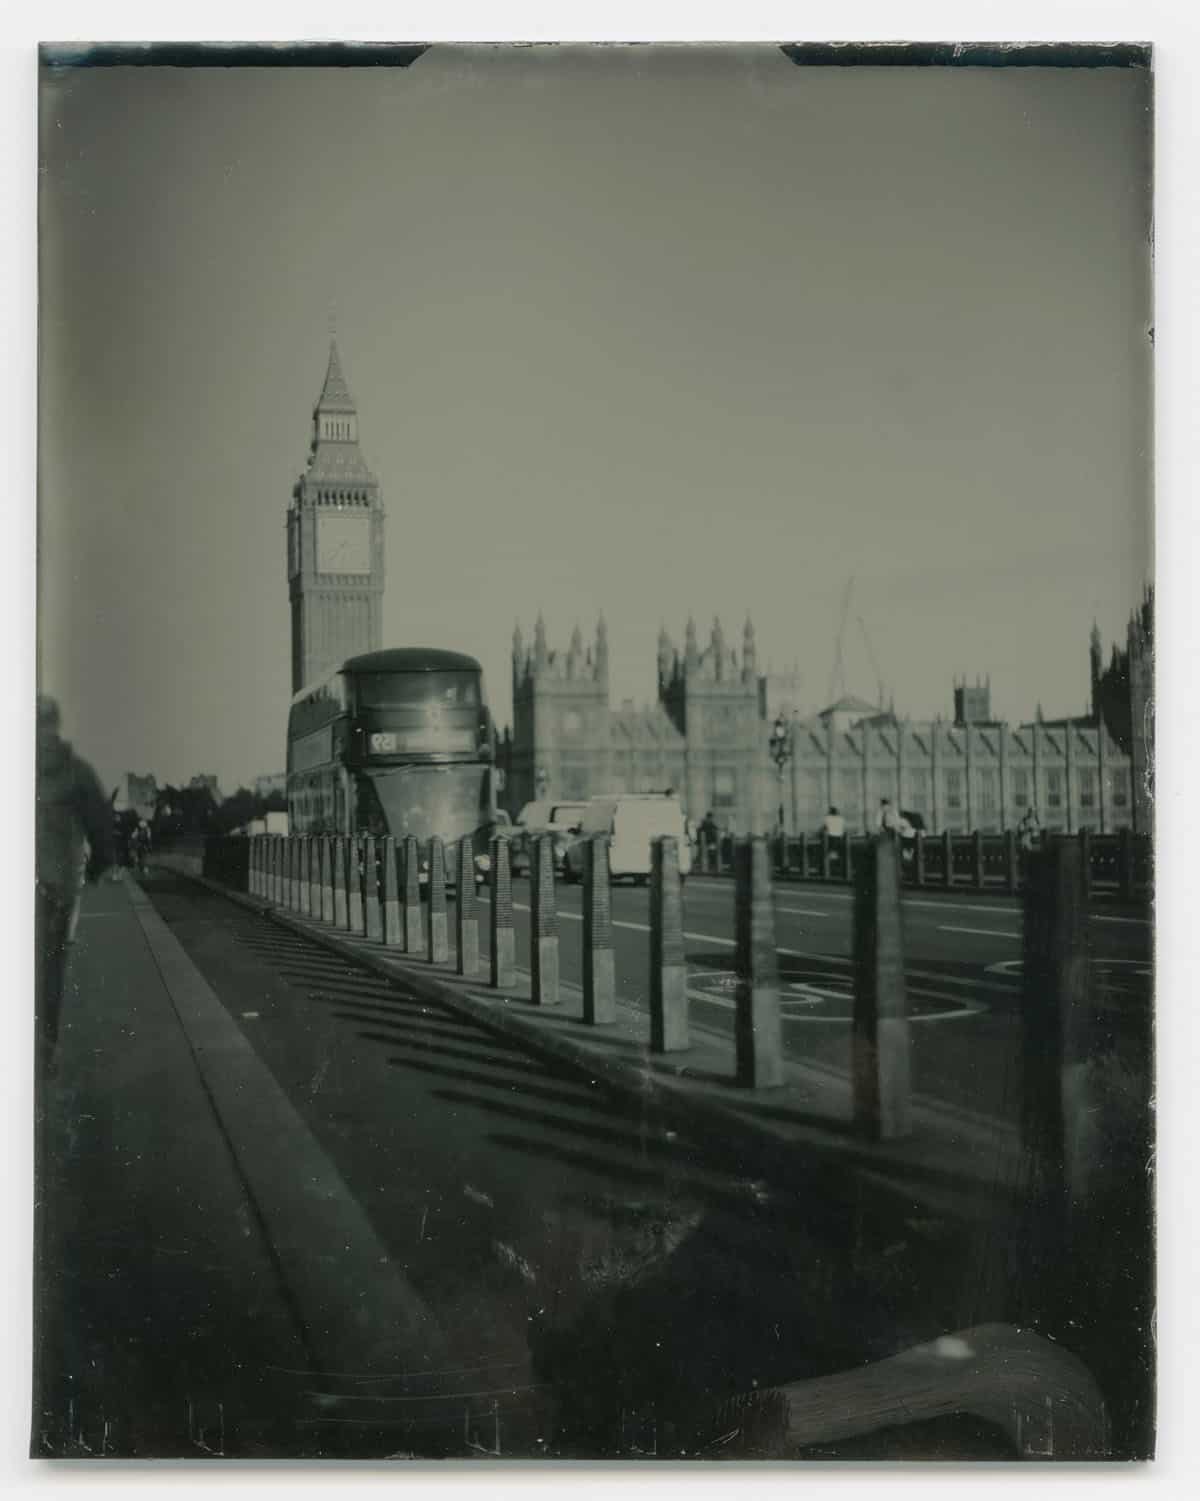
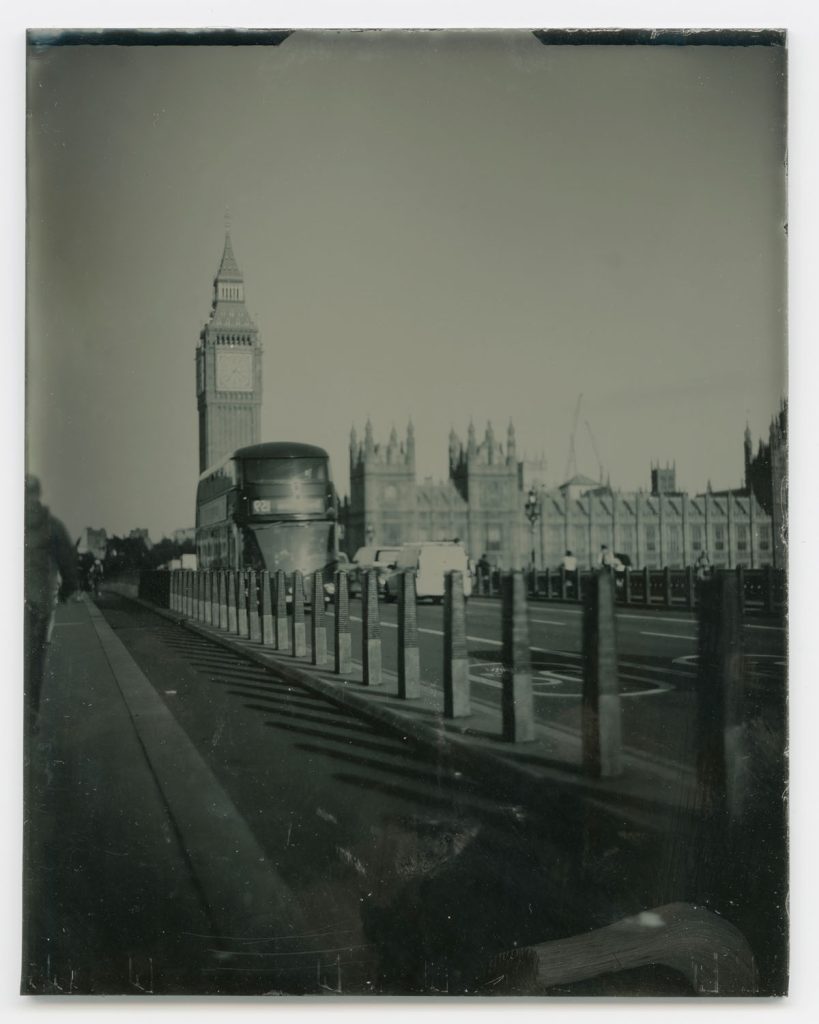
The second shot was taken on a very sunny day back in June on Westminster Bridge in London. Again, I used the light meter and measured it at ISO 3, f2.5 and 1/30 second.
Tintype vs Glass
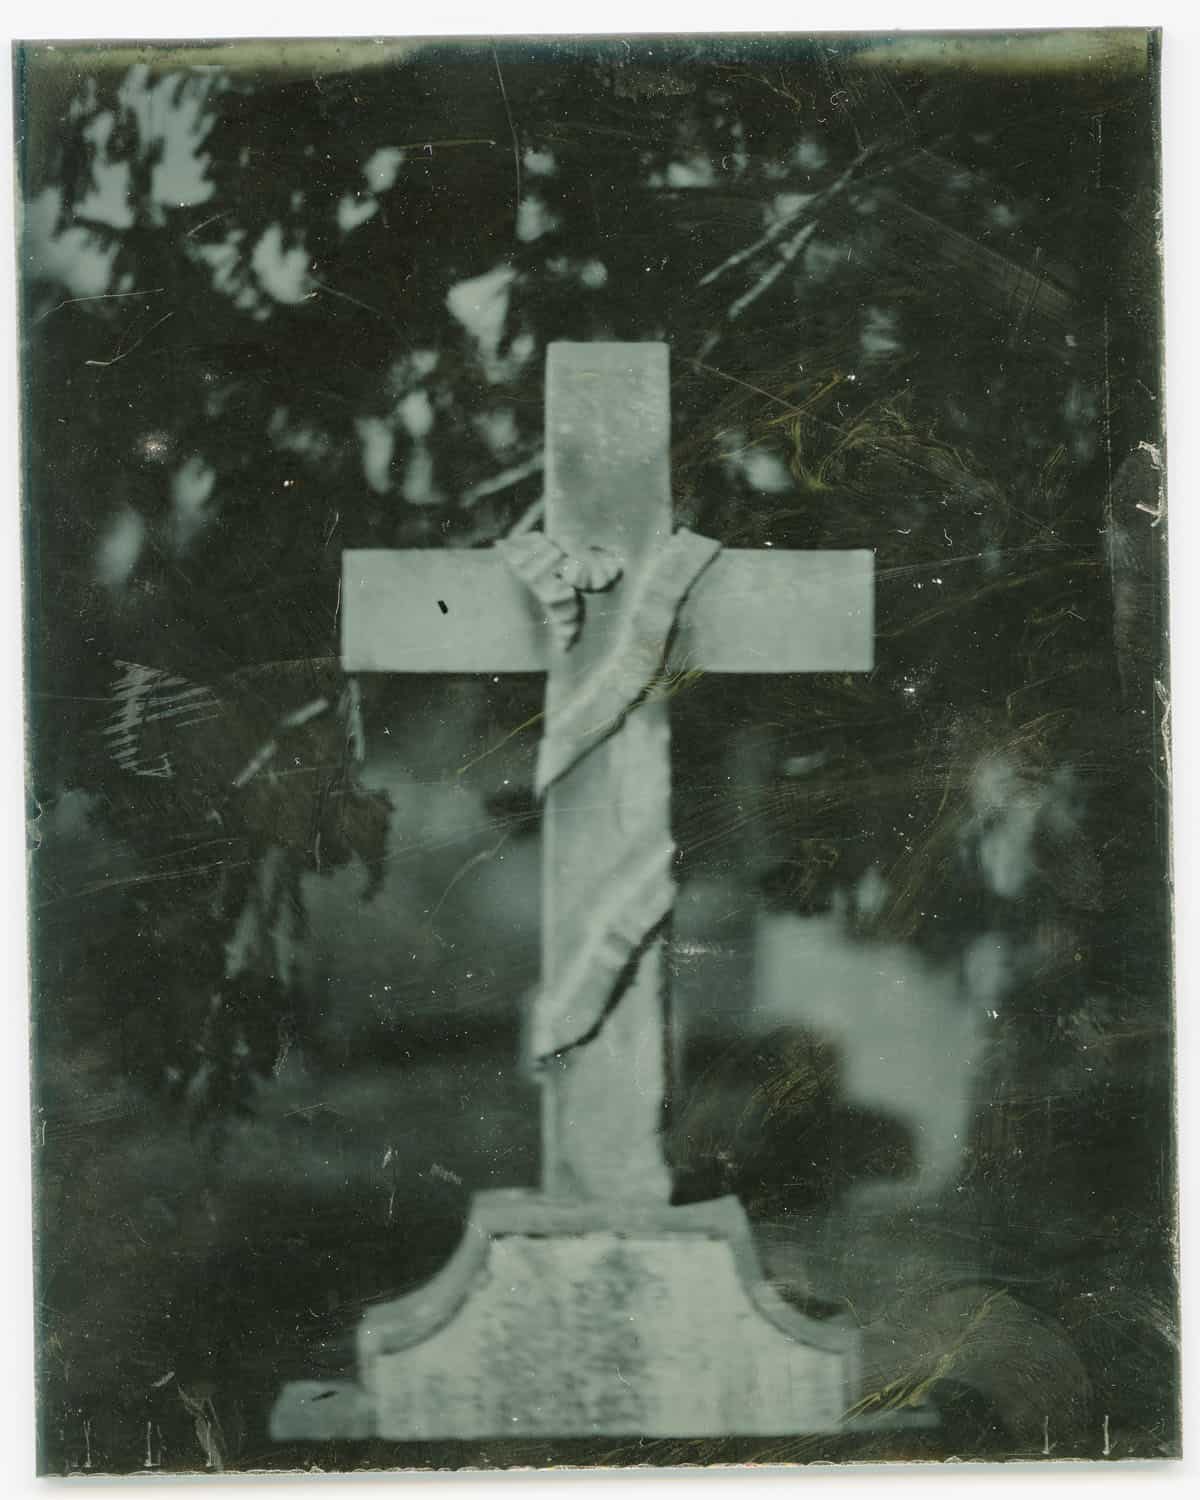
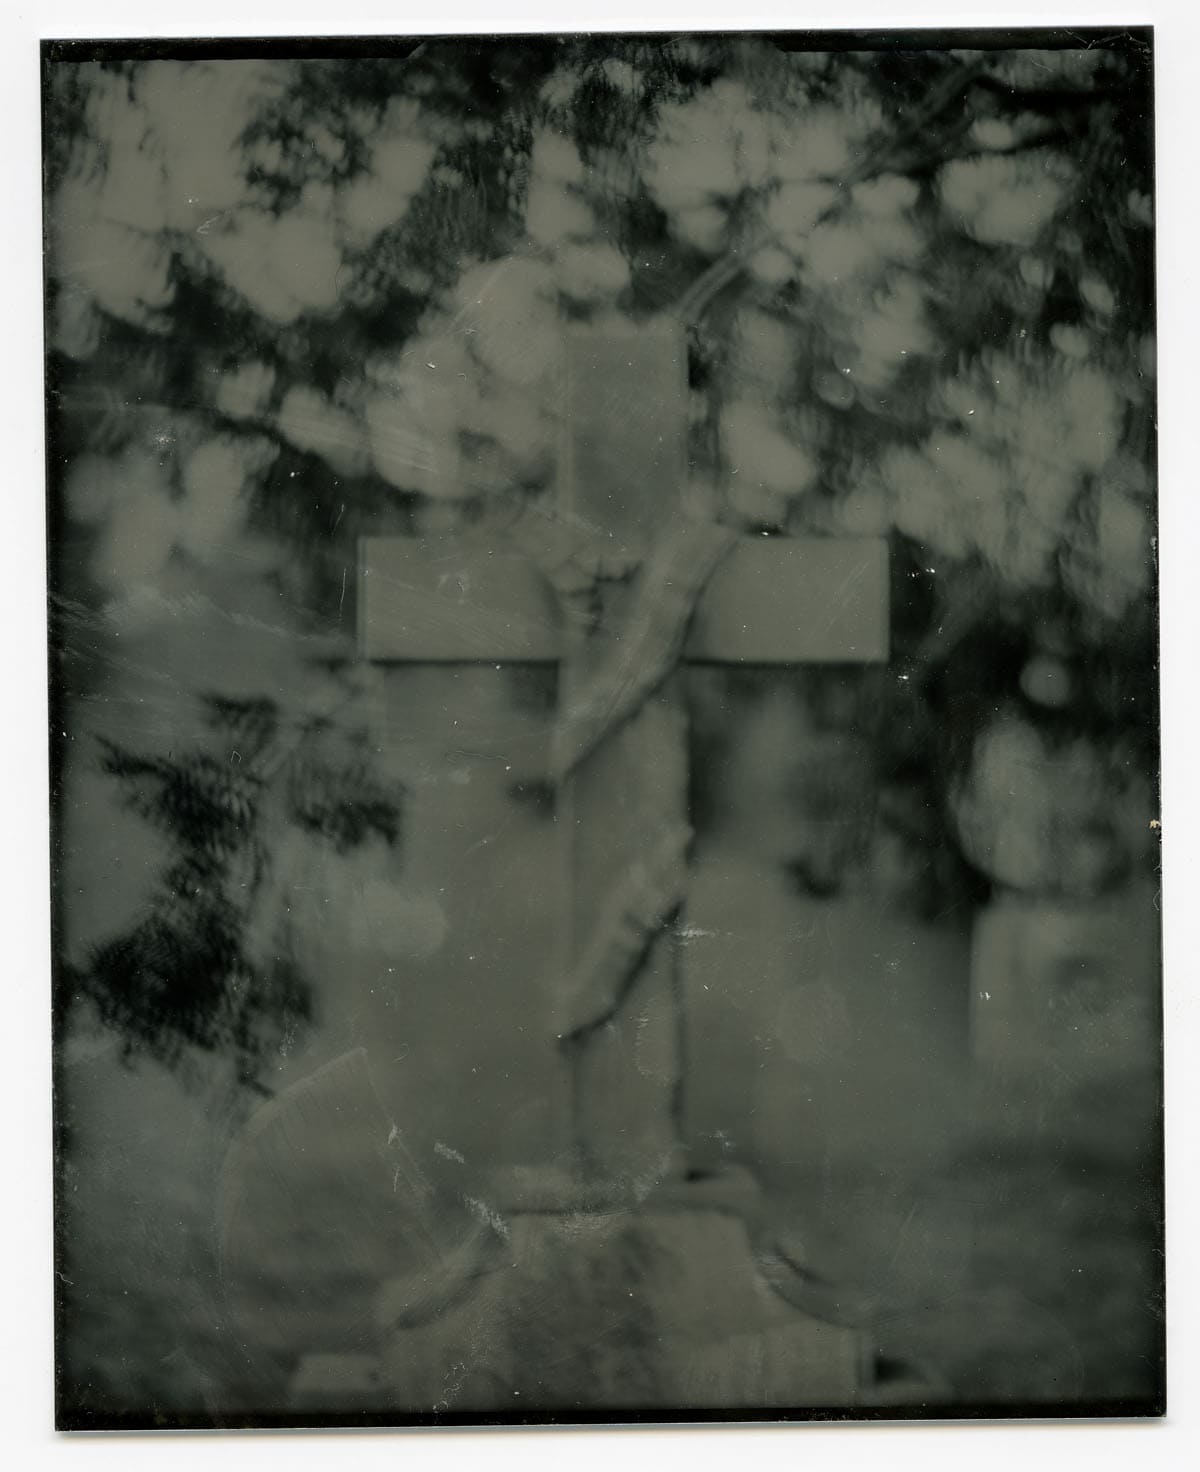
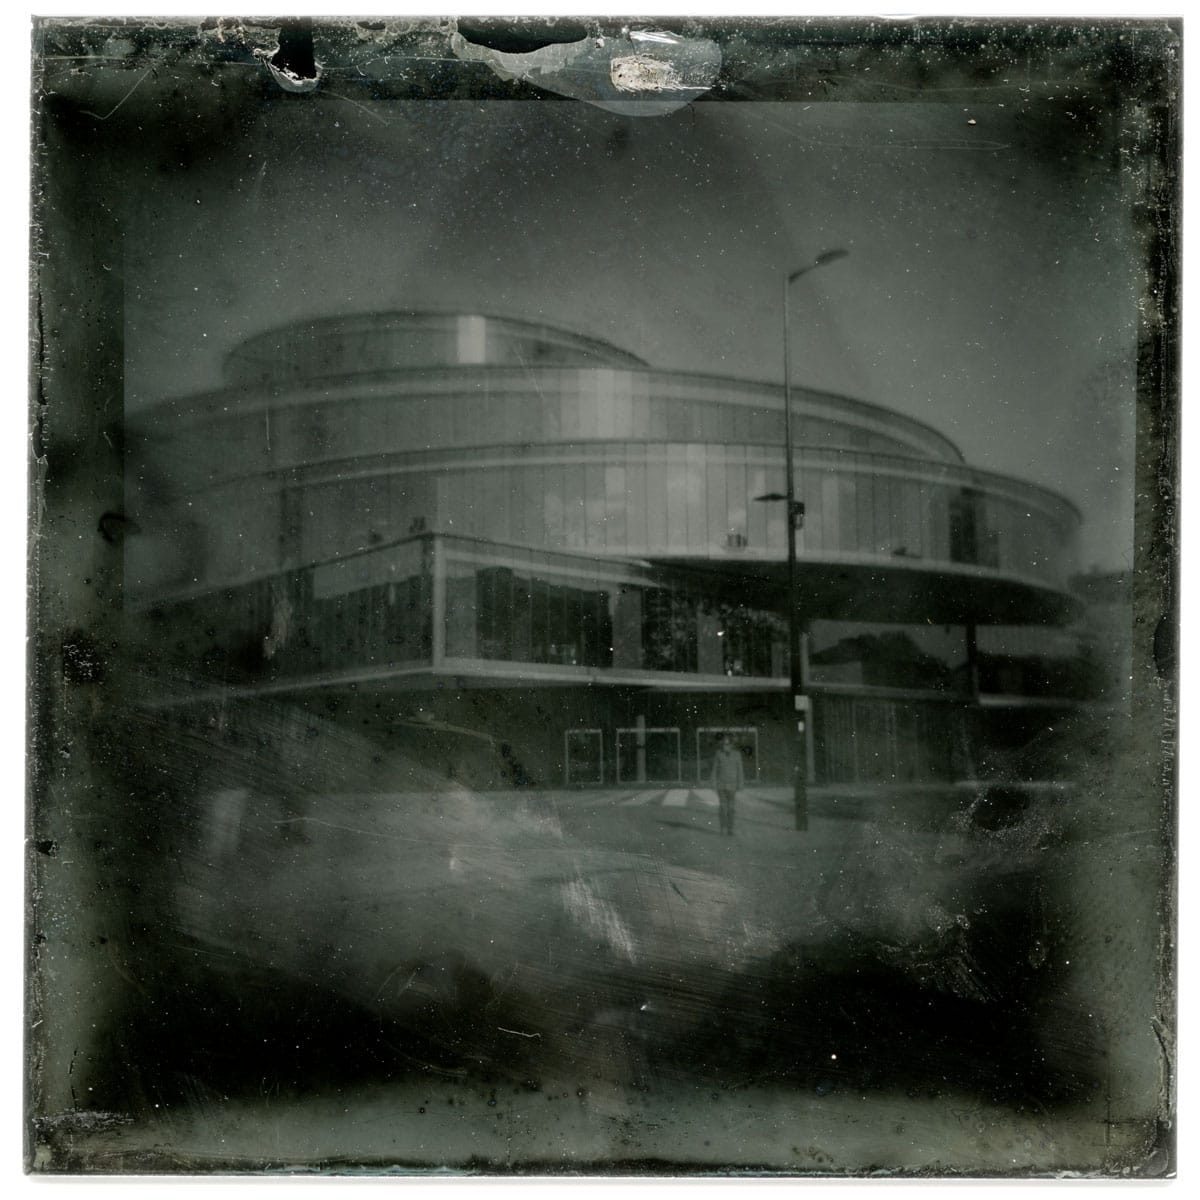
I shot two more (actually three) on black glass and tintype. These were at a local churchyard. I wanted to take two shots to get a comparison for black glass and tintype.
This time I used the ProFilm Meter app. Unfortunately, I didn’t immediately write on the front of the tintype that I had taken an image, and so I didn’t know if I had taken a picture with the glass or tintype!
So, I decided to take another shot as I hadn’t moved the camera. The app was very good, and very easy to use. I would highly recommend it.
Using a Holga with Specially Sized Tintypes
For the Holga, I had 16 Zebra Dry Plate Tintypes cut at (63mm x 57mm). As shown above, simply place the plate on top of a Holga 6×6 holder (in a darkbag or tent) and tape them onto it. You’ll need a tripod. And I guess if going out and shooting, either a darkbag or tent (and somewhere to place the tintype) or load up a couple of Holgas!
It’s not easy to shoot ¼ or 1/8 of a second, most would likely be a 1 second exposure. I do have a Holgon, and this can help with those in between shutter speeds.
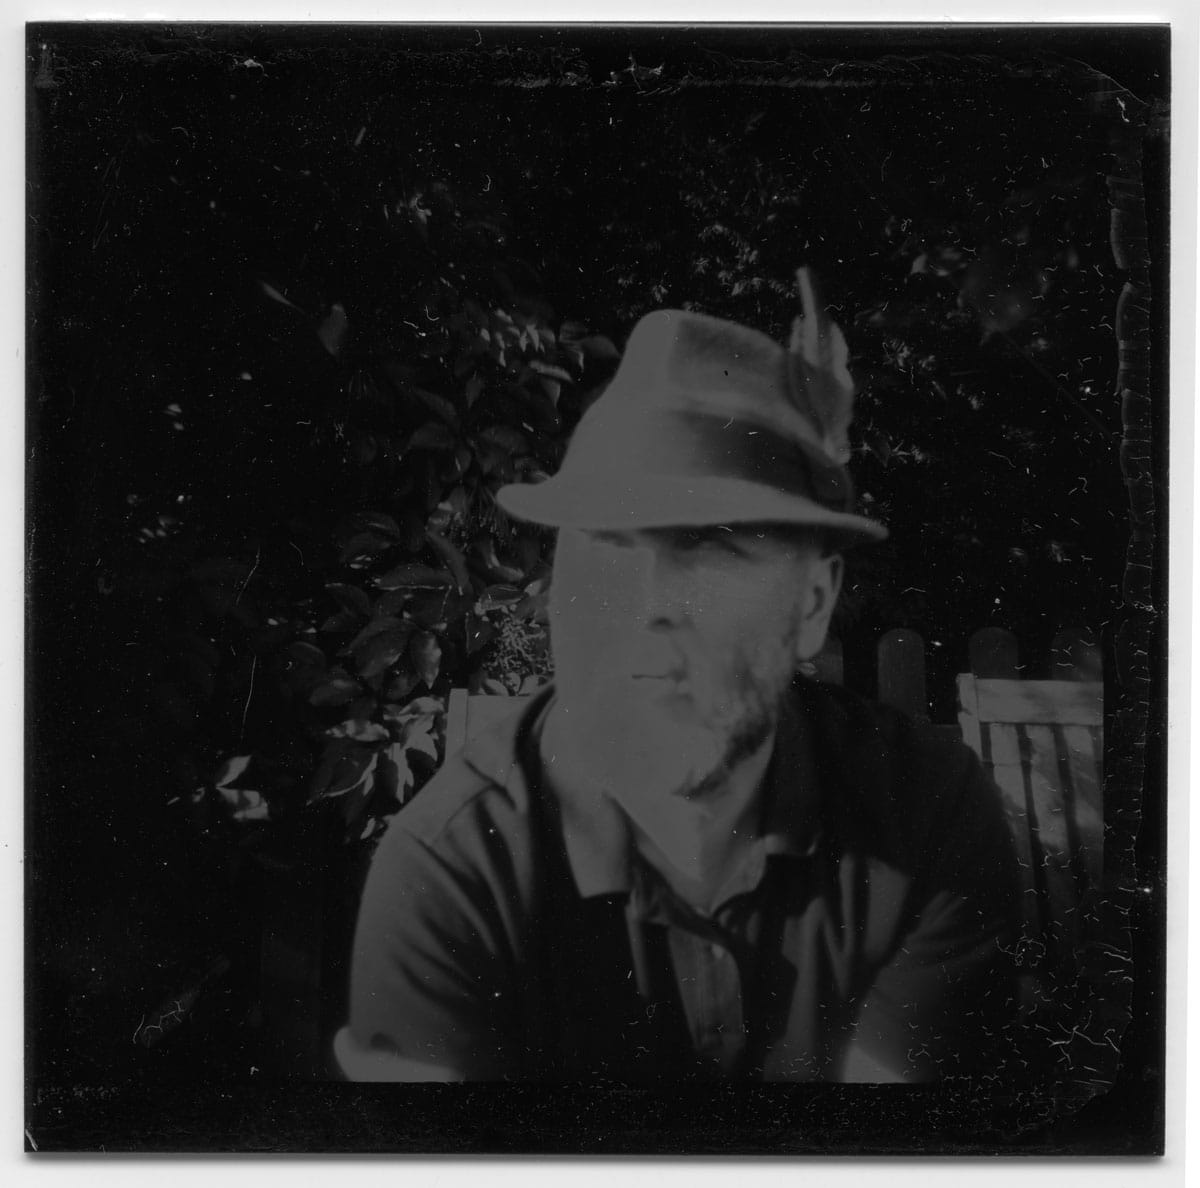
Here’s my first shot, at 1 second in full sun. My face is slightly over exposed but it’s the most successful shot I’ve taken so far!
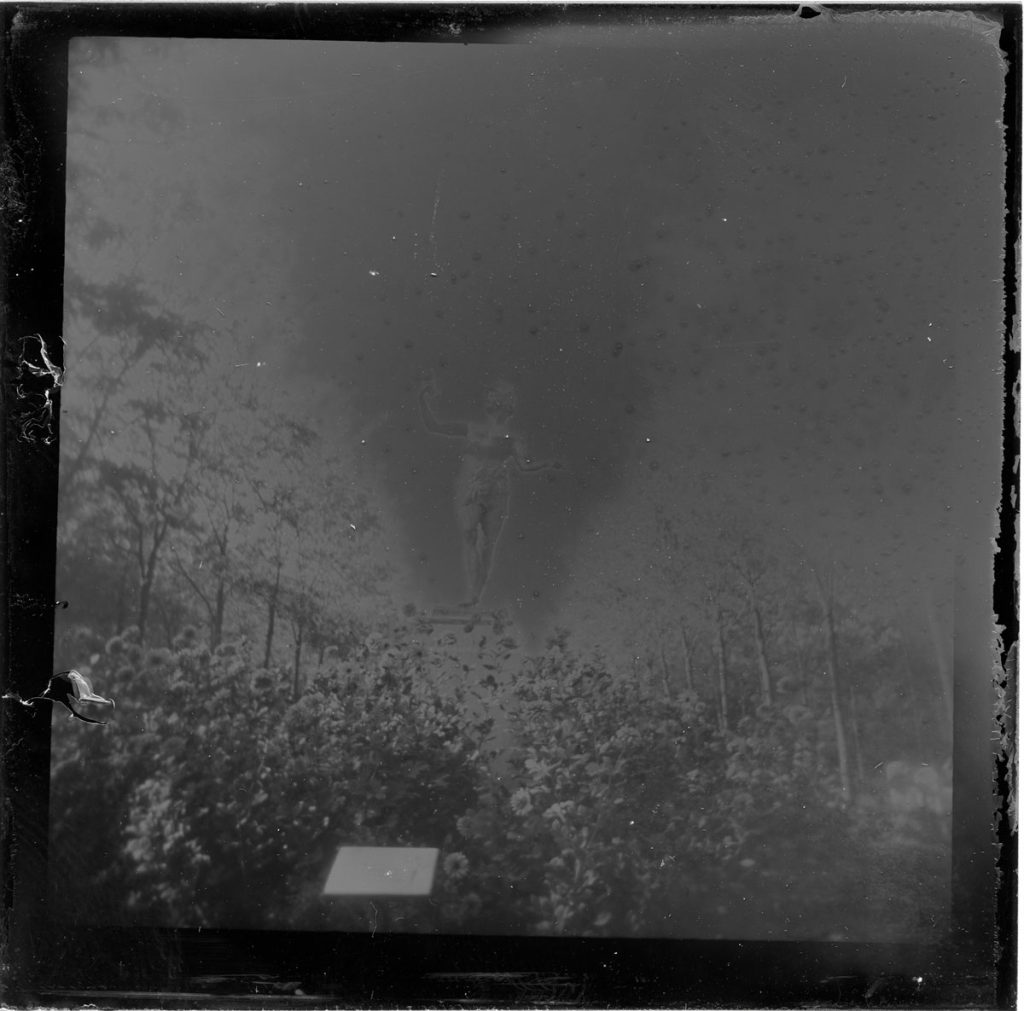
I tried it out in Holga Week and took one in the Luxembourg Gardens. As you can see it wasn’t the most successful!
I wish I’d focused on the flowers. I also used the handheld meter for this and don’t think it is as accurate as the app.
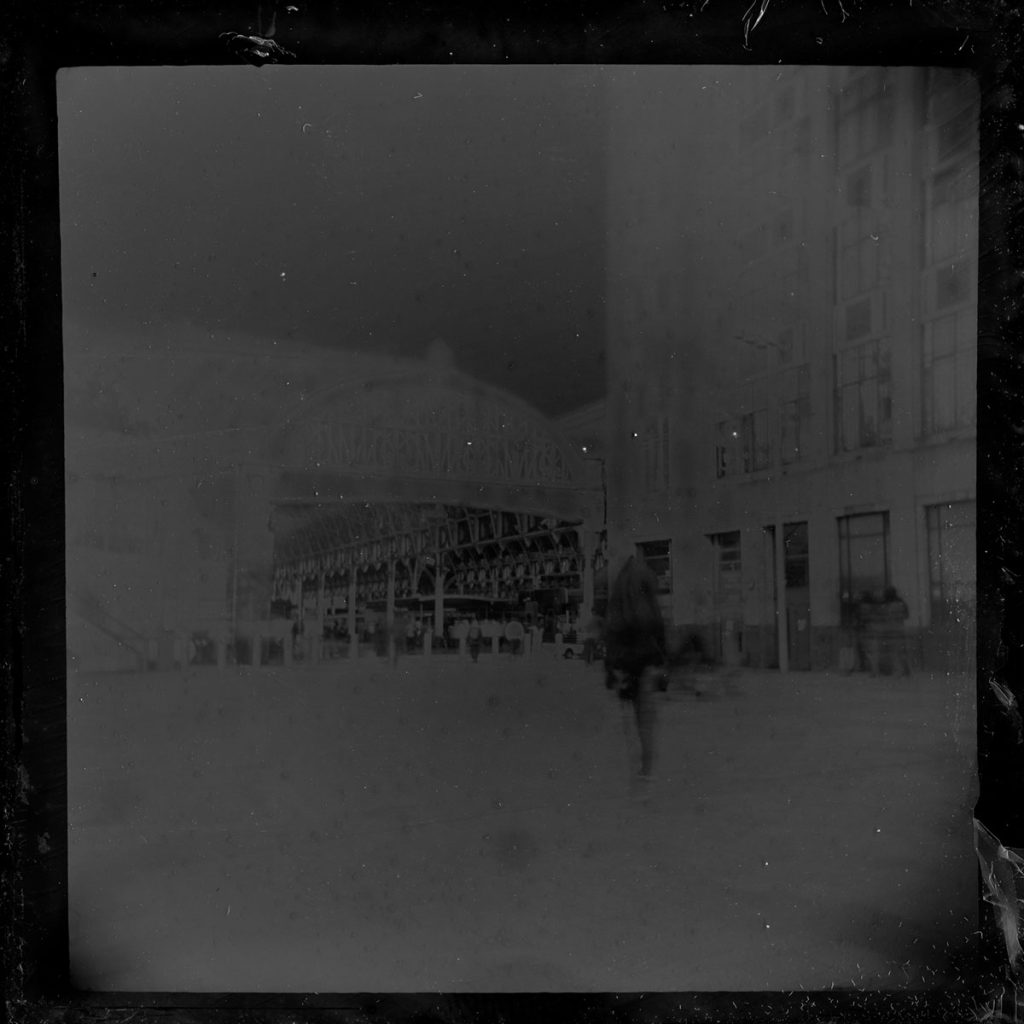
I also took one at Paddington station waiting for my train home.
I significantly underexposed this one, and it took a lot of work on the scanner to get something resembling an image!
I do actually quite like it despite the fact that it’s very lo-fi:
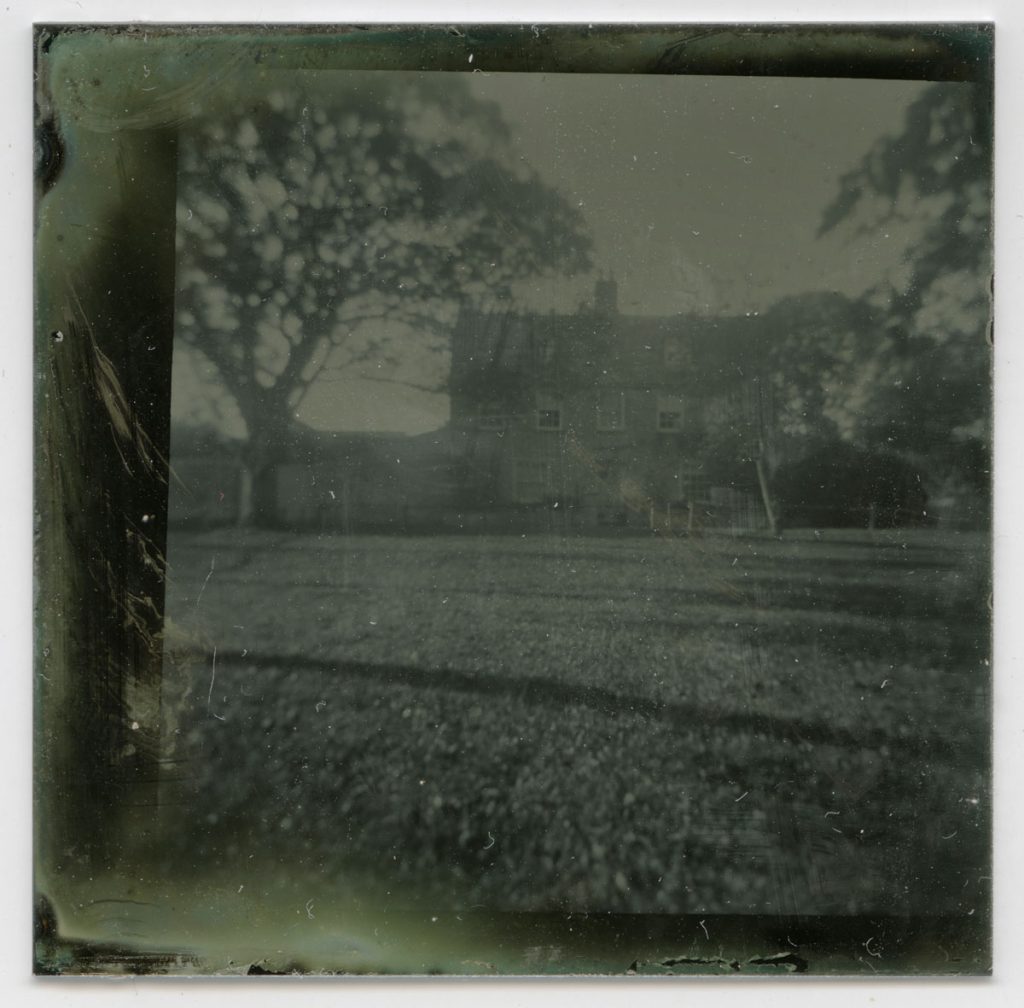
This one, back in Charlbury was slightly more successful:
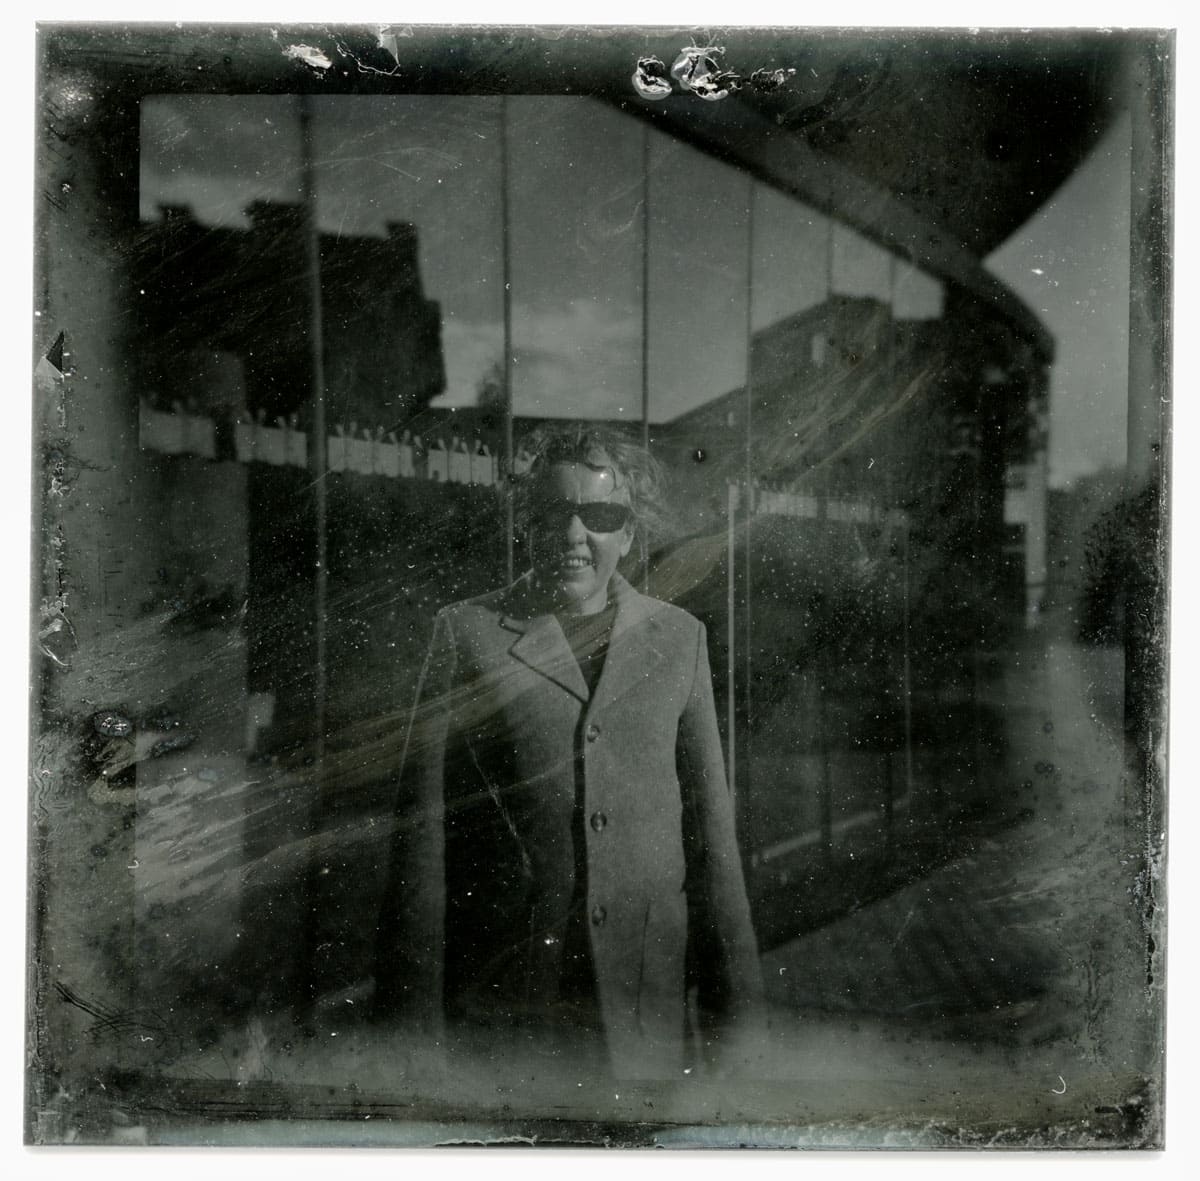
And finally two more in Oxford where I used the Holgon and a Holga – and metered with the ProFilm Meter app. It did seem to give me better exposures:
Developing the Dry Plates
To develop the plates, the method differs only slightly from my glass plates article. As above, there is a very handy development guide on the Zebra Dry Plates site here.
Currently, it doesn’t add the amount of time needed for the Fixer part, but it does include a timer for the development, and you can input the tank’s capacity and it will calculate how much you will need of both developer (I used 510 pyro) and fixer (Potassium Thiocyanate).
I’ll repeat my process here:
1. With Jagglé tray (capacity 200ml/one glass plate or tintype)
199ml Water
1ml 510 pyro
1g Potassium Thiocynate
I simply took out the plate from the holder in a dark bag and then placed it, emulsion side up into the tray and resealed. I gently rocked the holder for the first 30 seconds of development, and, then, rocked it every thirty seconds for five seconds for a total of five minutes.
After emptying the holder, I then washed the plate – this I did by rocking the holder from side to side for 5 seconds then emptied the holder; 10 seconds, then emptied the holder; 20 seconds, then emptied, then 30 seconds then emptied.
I then added the Fixer – Eco Zonefix Plus – for two minutes – I wasn’t sure on agitating it, so I rocked it for five seconds after a minute. I then repeated the washing step before adding a dash of Photo Flo to water and rocked it for 30 seconds. I then placed the glass on a drying rack before waiting 10 hours to scan. If you are using fresh Fixer, then Nejc recommends 4 minutes for the fixer.
2. With Zebra Dry Plates tank (capacity 450ml for 3 glass plates or tintypes)
447ml Water
3ml 510 pyro
1g Potassium Thiocynate
Process as above. Load the holders into the tank and then develop for 5 minutes, wash, fix for 2 minutes (or 4 if fresh), wash, Photo Flo, place on drying rack.
Scanning Dry Plates
Use the reflective part of your scanner to do the scans as these aren’t negatives.
If you would like to see the image as it should be (and numbers or words to read the right way) then you’ll need to flip it.
Conclusion and Next Steps
Whilst I have struggled to get to grips with exposure on the Holga, I’ve had great fun with the tiny tintypes. I’m going to keep going with it as I can see that I’ll eventually get there!
The black glass and tintypes “in real life” do seem a little dull in comparison to say a wet plate, but I do think perhaps this is down to me rather than the plates themselves. I do think it will take me a lot more time to “master” exposure and development, but I’m really happy with what I’ve been able to produce in the seven to eight weeks I’ve had since finishing the glass plates article.
Positive imagery really fascinates me and I’m a glass half full kind of photographer. I’m finding positive in the positive!
Thank you so much, Alec! Alec is a regular contributor here at Shoot It With Film, and be sure to check out his other articles, like A Keyring Camera That’s Not Digital. Try the Baby Holga! and No Tripod? No Problem. Double Exposures with Neon, LED Screens, & Contact Sheets.
You can also check out more of his work on Instagram.
Leave your questions about dry plate photography below in the comments!


Leave a Comment
Shoot It With Film on Instagram


Blog Comments
Alistair Bolt
November 20, 2026 at 1:14 pm
I have a camera that takes quarter plate. I have had various attempts with aluminium tintype plates.
The best results are with clear glass plates, processed as positives. Finished by painting the emulsion site with black acrylic paint. This produces a ‘right way round’ image that’s protected from scratches.