

Written by Alec Pain (Alastair Place)
If you can forgive me the somewhat clickbait nature of the title of this article, I do feel that there has been something of a resurgence in dry plate photography.
Dry plate photography was invented in the 1870s as a way to simplify the wet plate collodion process that came before it. Wet plate had to be used within minutes once a plate was prepared and coated whereas dry plate made use of pre-prepared plates coated with silver bromide emulsion that could be stored and used when needed.
Modern day dry plates can last 1-2 years, and there are a few suppliers of dry plates. I found mine at Zebra Dry Plates, founded by Nejc Urankar in Slovenia. You could also try J Lane Plates (run by Jason Lane in Arkansas) or if you are in Australia, Melbourne Dry Plates.
Wet Plate Photography
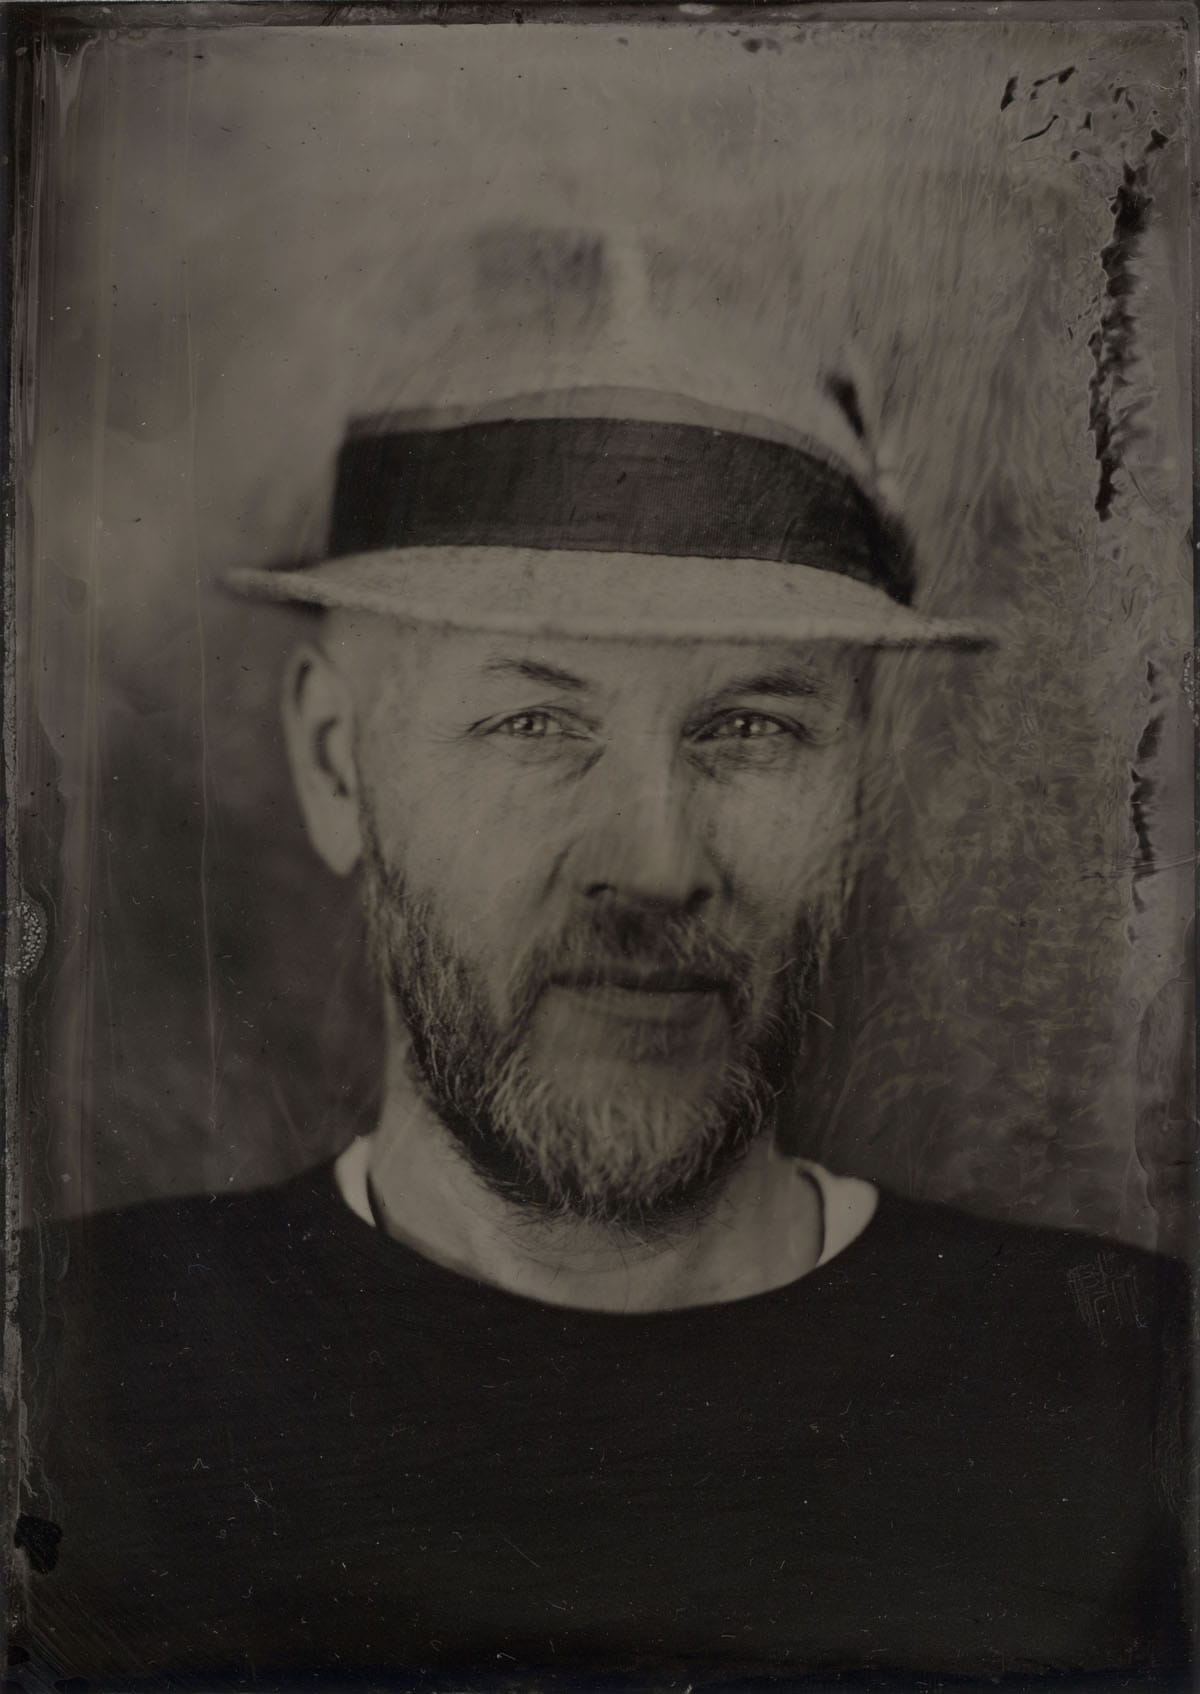
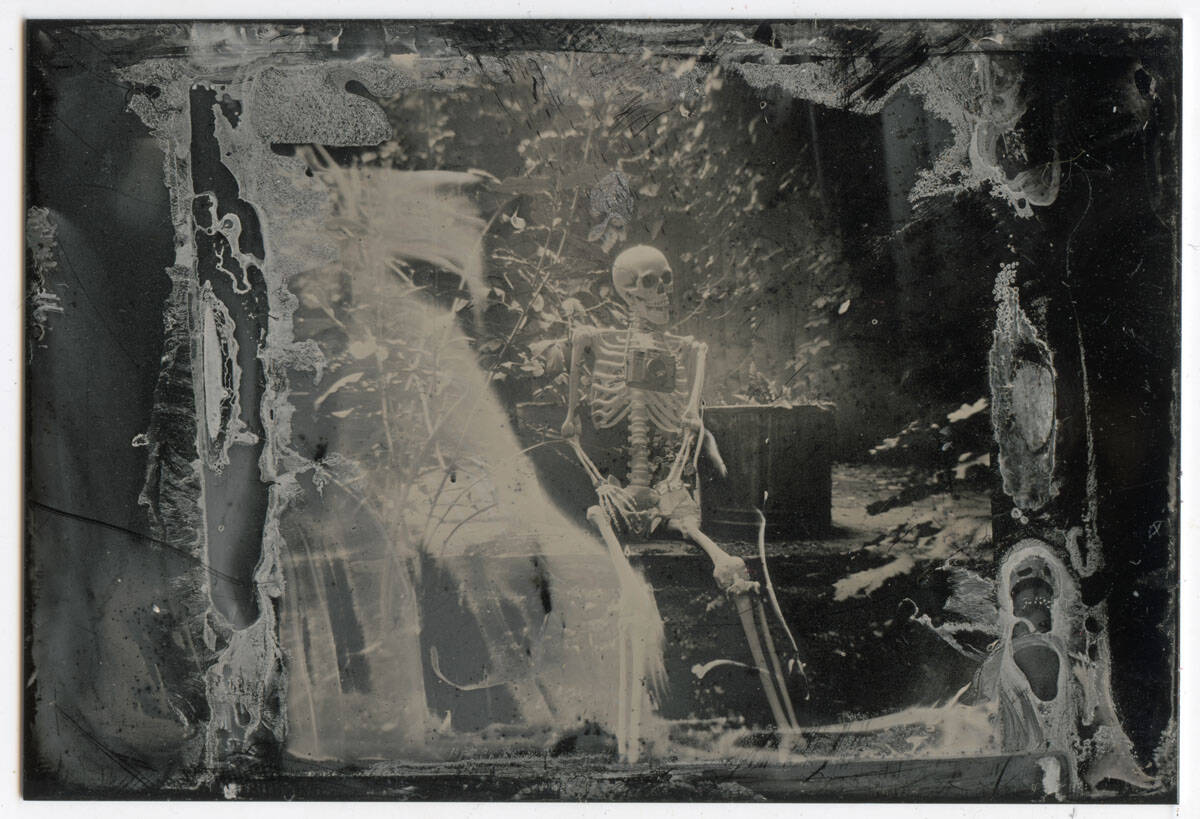
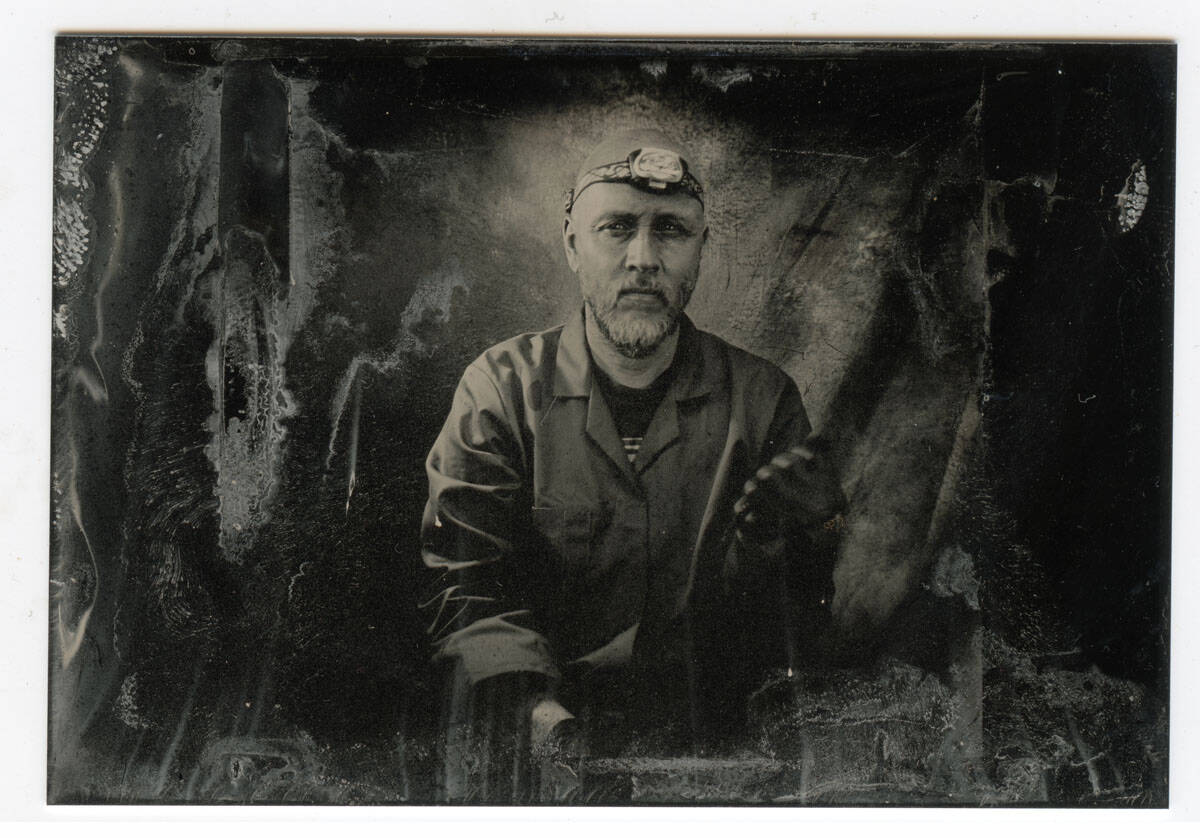
I’ve done a couple of excellent wet plate photography courses with Magda Kuka in London and loved getting to know the process and trying out wet plate – primarily on tintypes. The whole process is slightly more magical (and messier!) than dry plate, with the image appearing before your eyes, but I still haven’t been able to set up a darkroom in my garage.
Having a purpose-built tank and ready coated plates has given me the push to delve into dry plate rather than wet plate. The chemicals for wet plate – I still need to order some collodion and I have silver nitrate sitting on my desk – all of which seems a little too much for me right now.
If you would like to learn more about wet plate, please see Lyssa Merritt’s article here on Shoot It With Film.
Equipment Needed for Dry Plate Photography
Dry Plates
A pack of 10 4×5 glass plates from Zebra Dry Plates costs €39 + €12 shipping, ie €51, or €5.10 per plate (it may be more if you’re in the U.S.). I do think it’s worth the extra cost. You can also order black glass or black tintype plates (€49) or Gold tintypes for (€54.90) plus shipping. I’ll be trying it out on the Black Glass and Black Tintypes for my next article.
A Light Meter
I own a Sekonic L-508 light meter (find on eBay), and I used it to measure the exposure on all of my glass plates. You can also download this app developed by Scott Henderson called ProFilm Meter (Apple | Google Play) which Zebra recommends.
A Plate Holder
Because of the thickness of the glass you will also need a dry plate holder. I purchased mine from Zebra Dry Plates, and it’s a dual plate holder, ie it takes two glass plates.
A Daylight Processing Tank, Jaggle, or Darkroom trays
Zebra has a daylight processing tank which can take three 4×5 plates at a time. You can also buy film adapters (which can process six 4×5 films at a time).
I also have a Jagglé which I used as a tray to develop my first glass plate. I simply dropped the glass plate inside the developing cassette in a dark bag tent.
Alternatively if you have a darkroom, you can use developer trays.
Developer
I used 510 Pyro, available from Zone Imaging.
Fixer
For fixer I used EcoZoneFix Plus, also available from Zone Imaging.
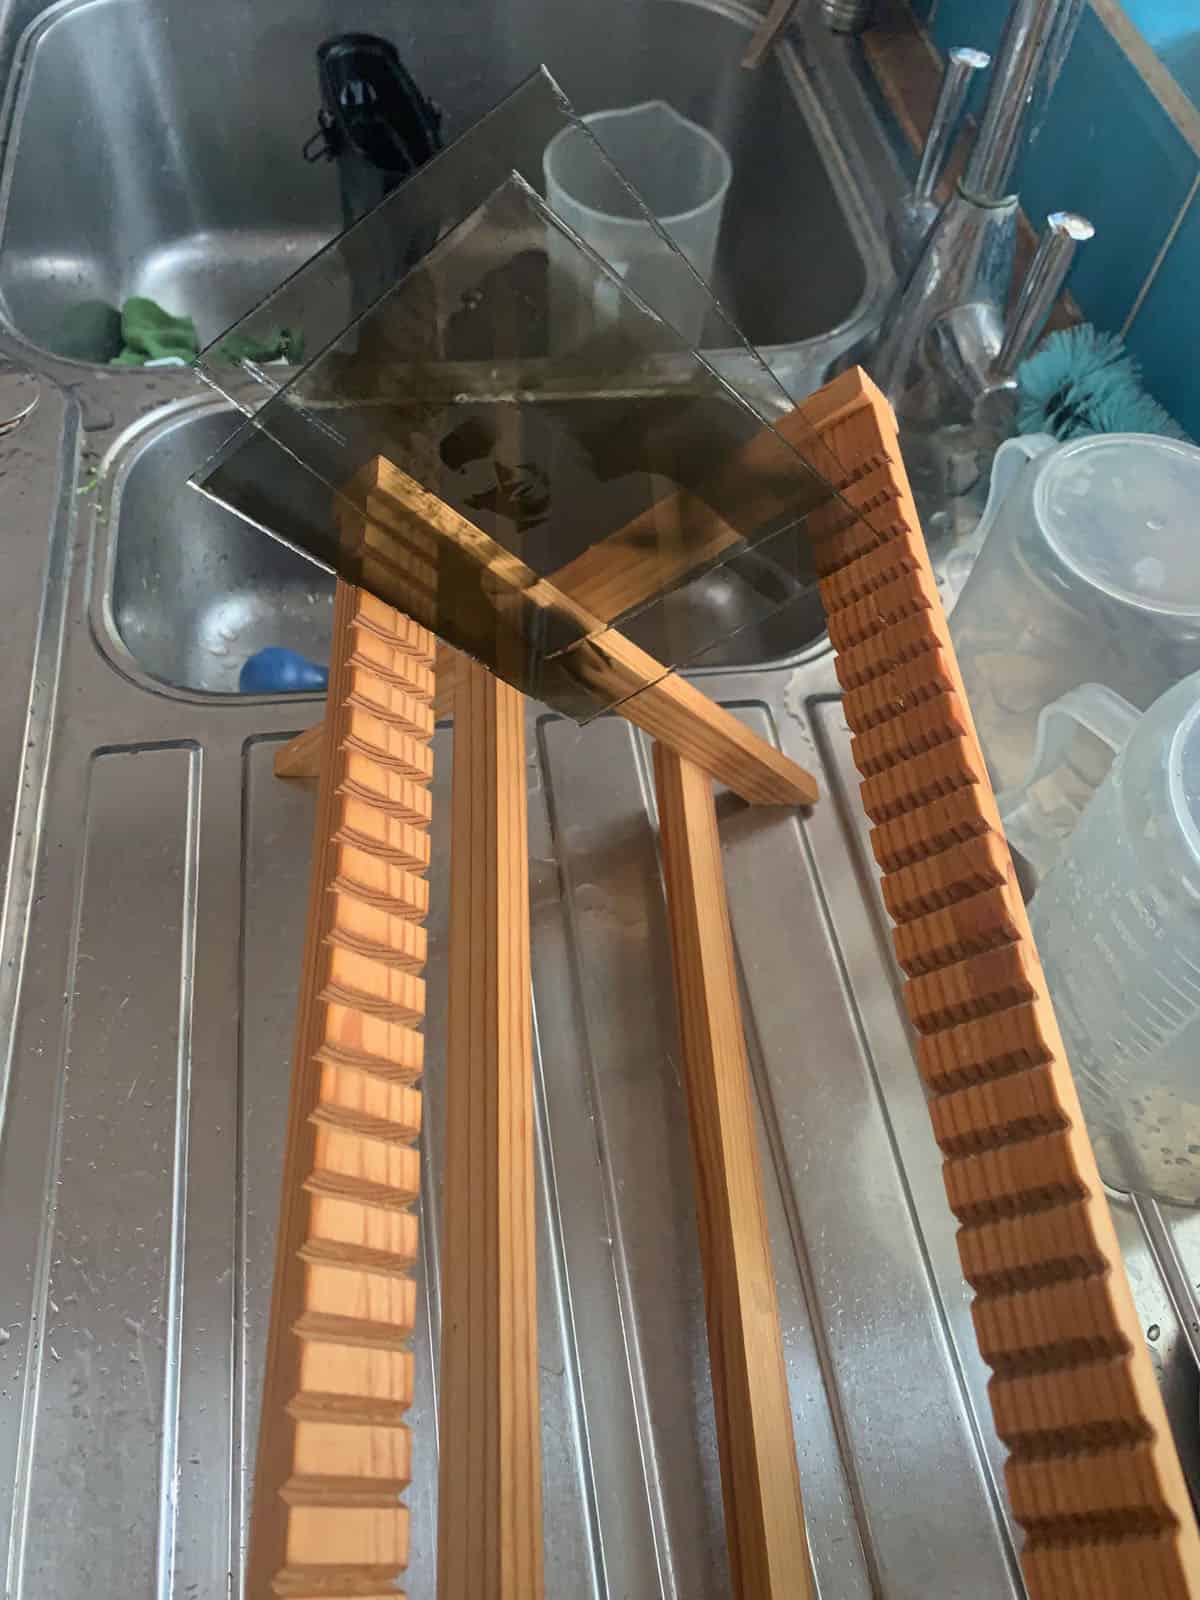
A Drying Rack
I bought mine secondhand from ebay.
A Scanner
I have an Epson V700 scanner which scans 4×5 images – the holder won’t take glass but simply rest the glass on the scanner’s glass. For scanning with the V500, V550 or V600 you would need to scan half the glass and then the other half and stitch the two together.
Related: How to Make Cyanotype Prints
Zebra Dry Plates
I bought my Dry Plates some time ago after Zebra had run a Kickstarter for a Daylight Processing Tank. I was nervous about using them because I was a little overawed about how to expose them properly. I guess it was something to do with the fact that there’s a lot you need to compensate for when taking your pictures. UV light and the time of day; the “latitude and altitude, and [the] quality and strength of the light” as Zebra Dry Plates have it on their website.
Exposure for Dry Plate Photography
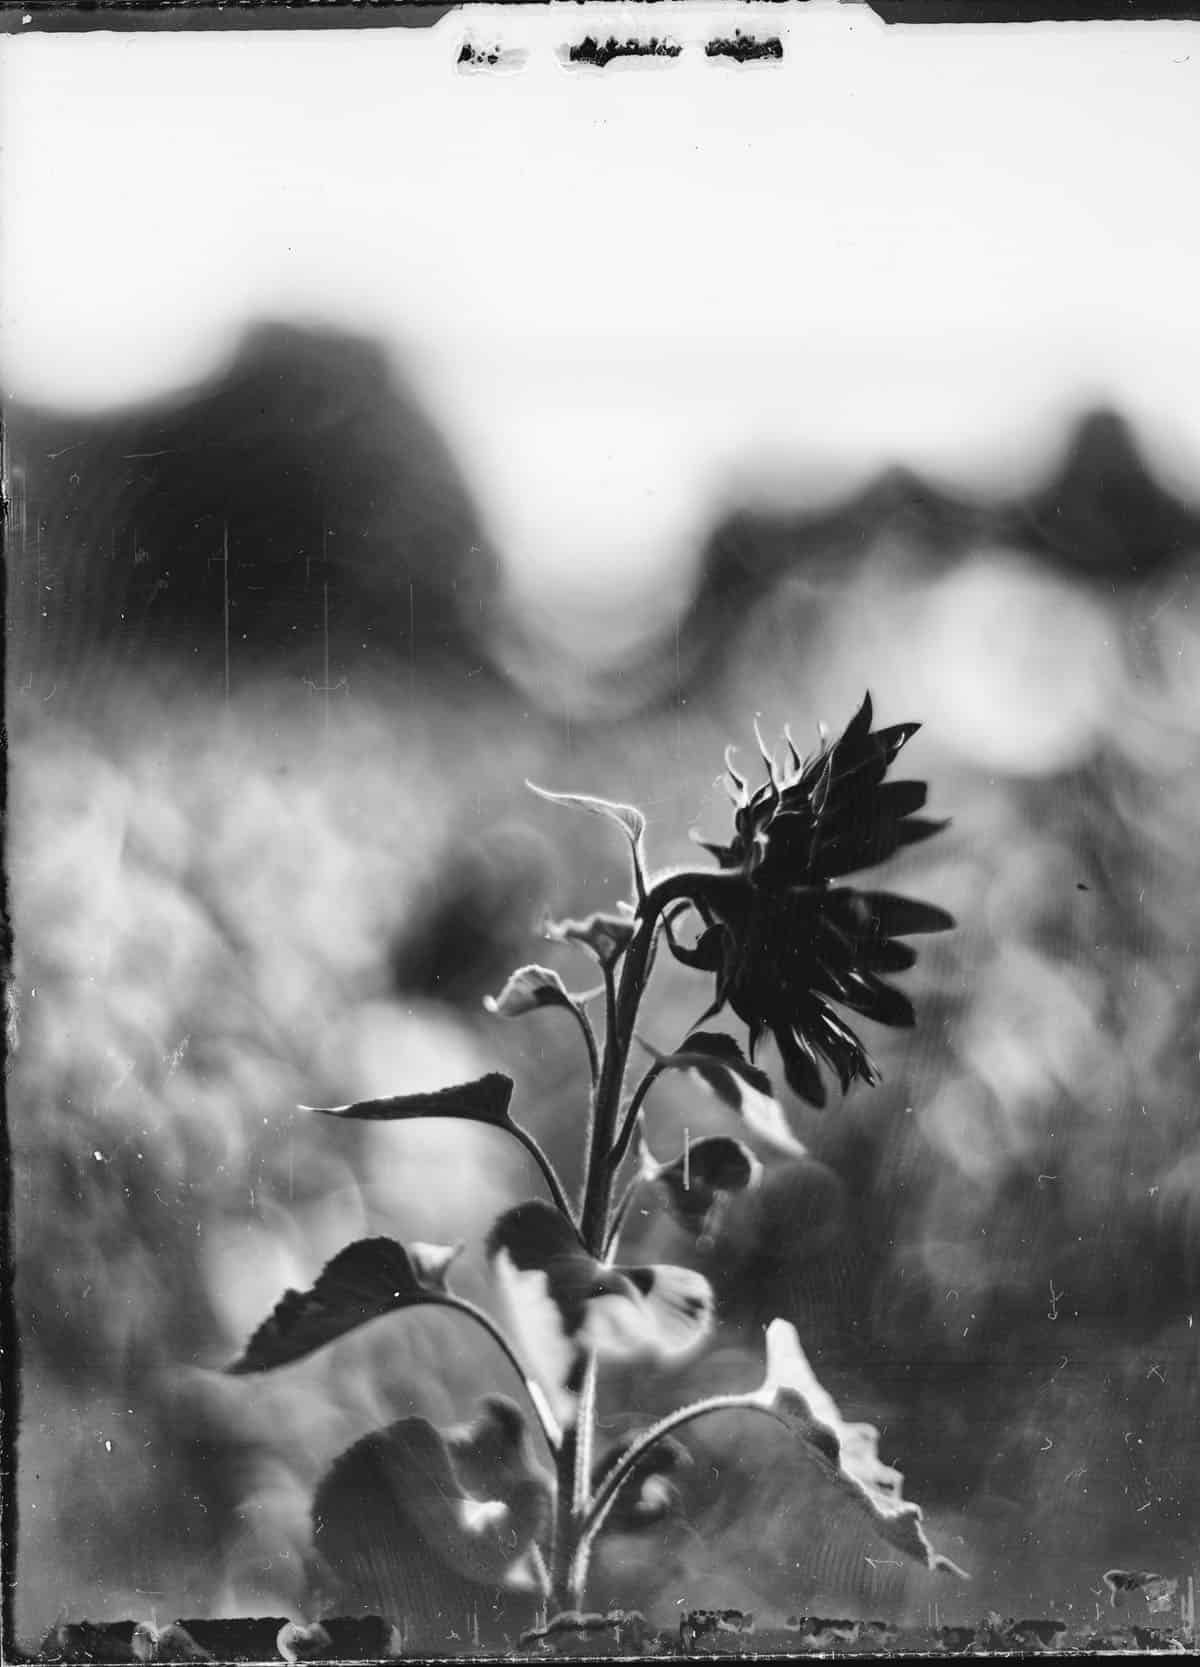
I think I did well to wait until I had a lot of light with which to play. I measured all my shots at ISO 3 (the lowest ISO setting on my light meter), and for the first two, it was an extremely sunny day (around 2pm in early August) and I shot two plates in a sunflower field.
I was using my 4×5 Graflex Speed Graphic with an Aero Ektar lens and wanted to get the most out of it: setting its aperture to f2.5.
For a fuller explanation and some exposure guides – depending on the light and time of day, Zebra has this page here. For more information on the Speed Graphic camera please also see my article here.
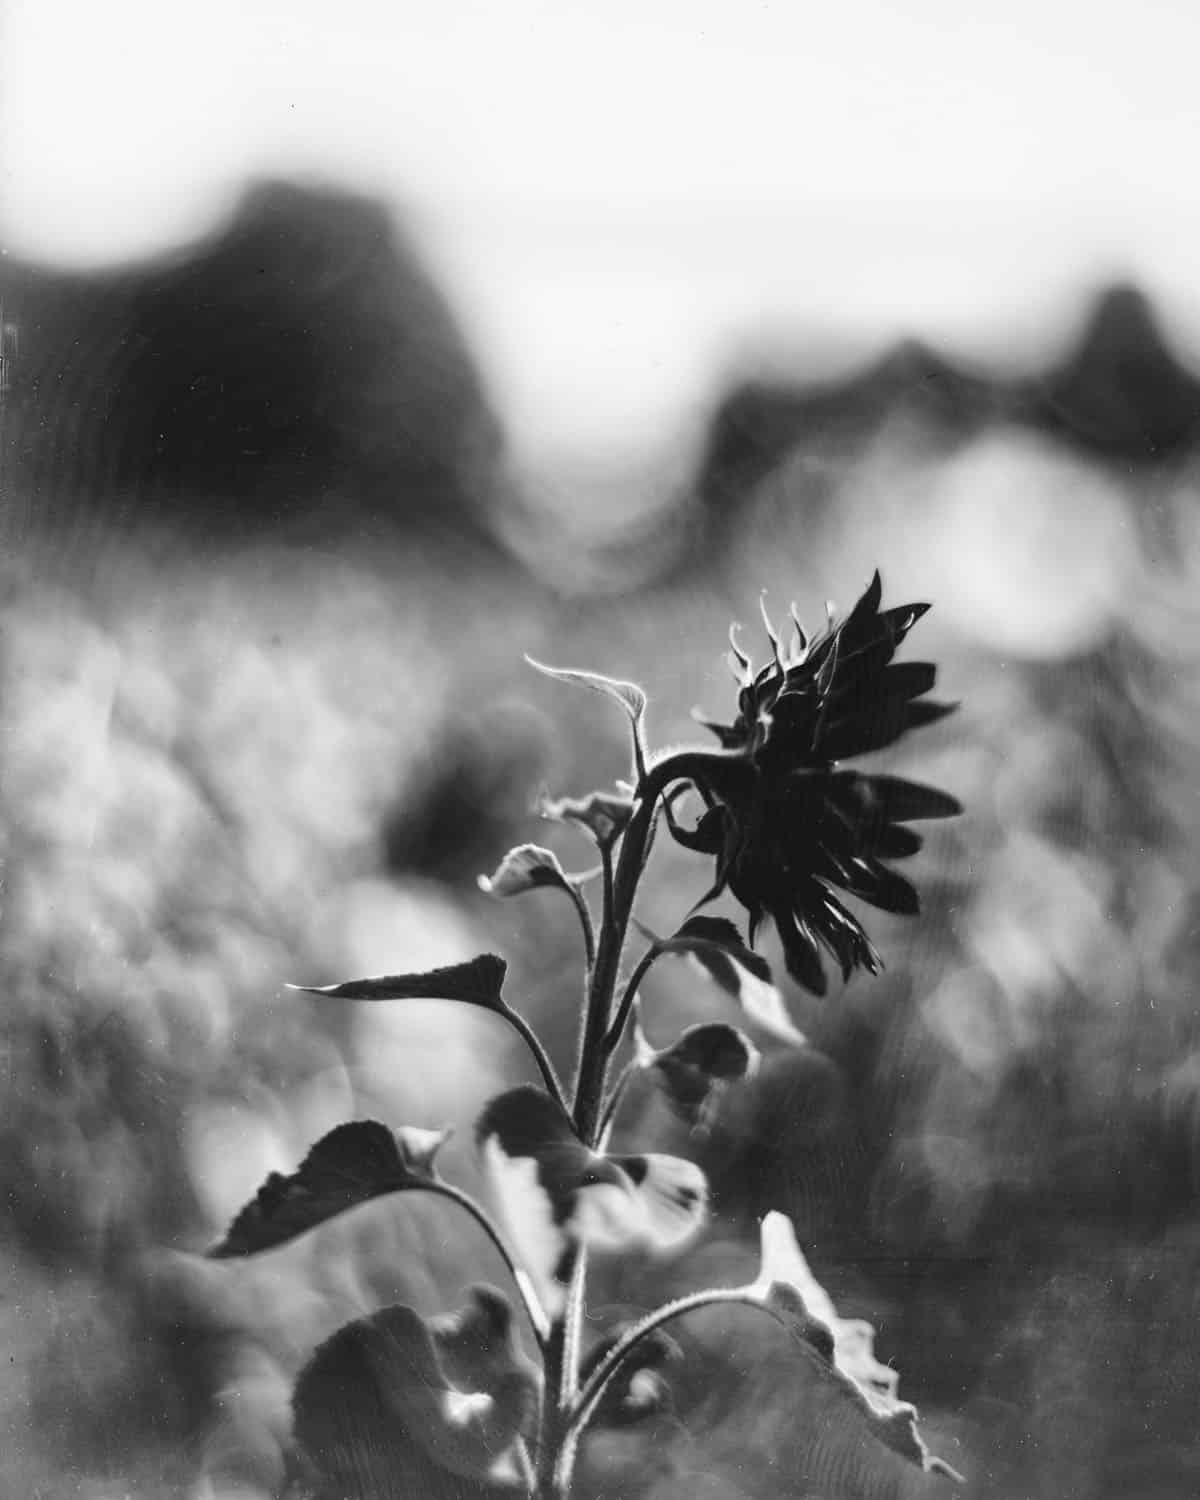
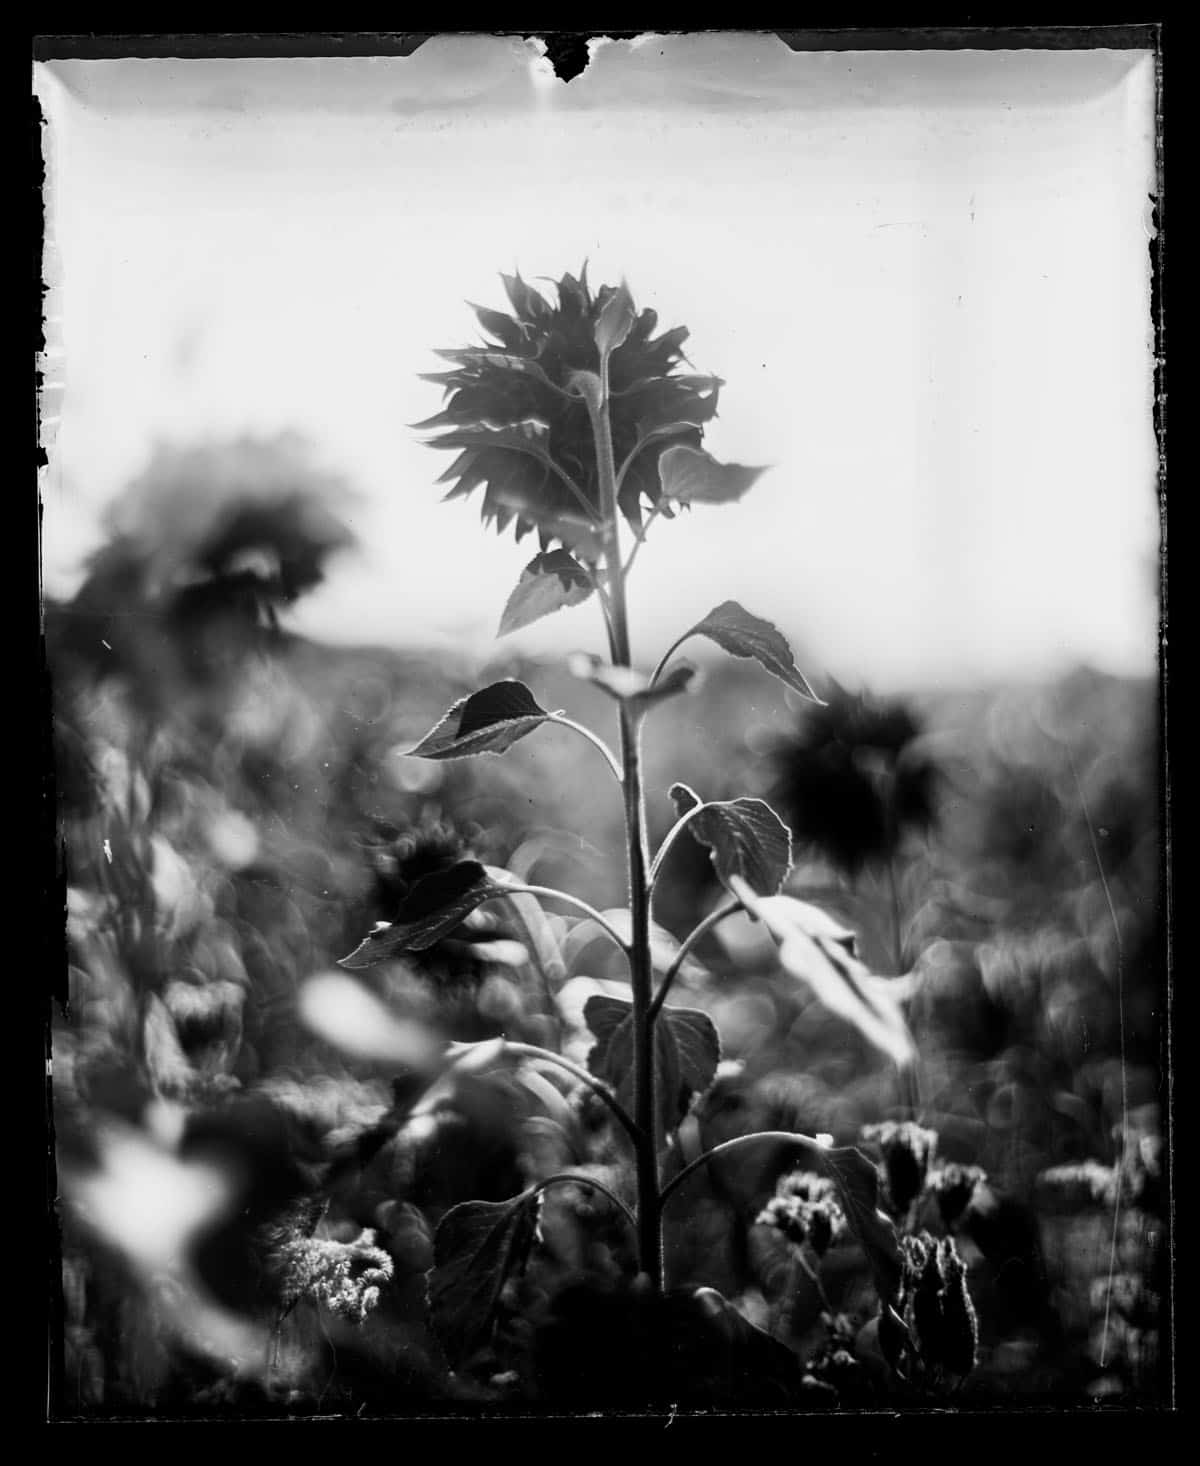
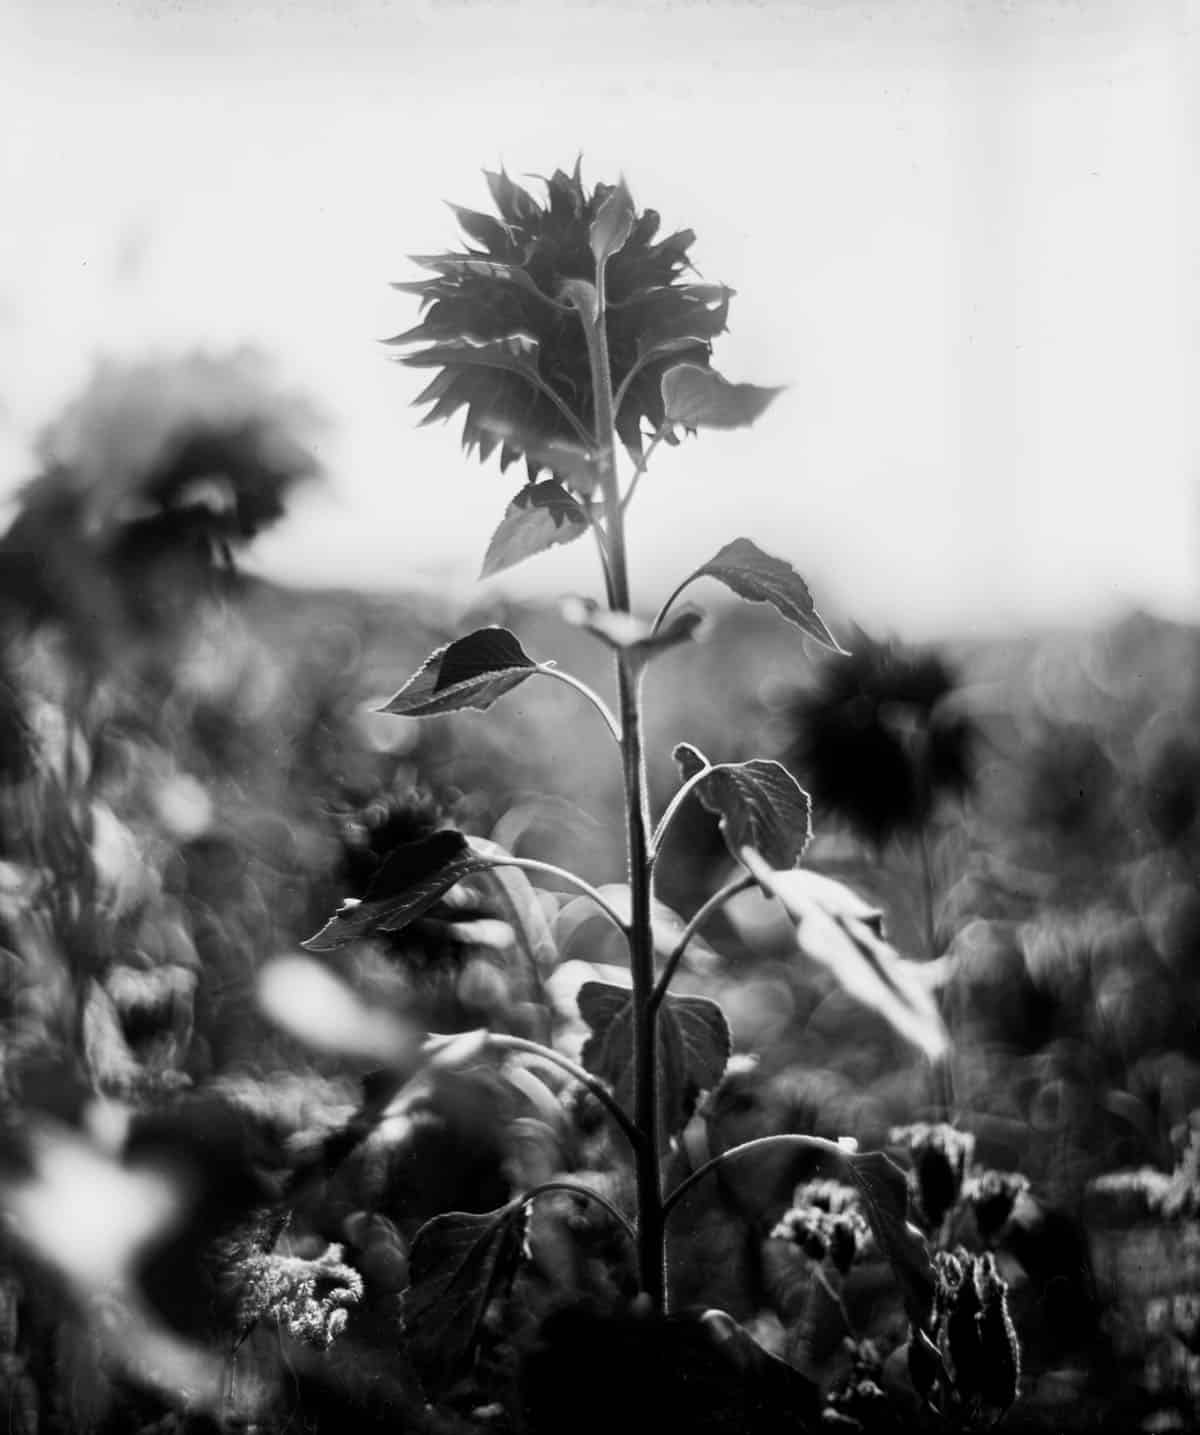
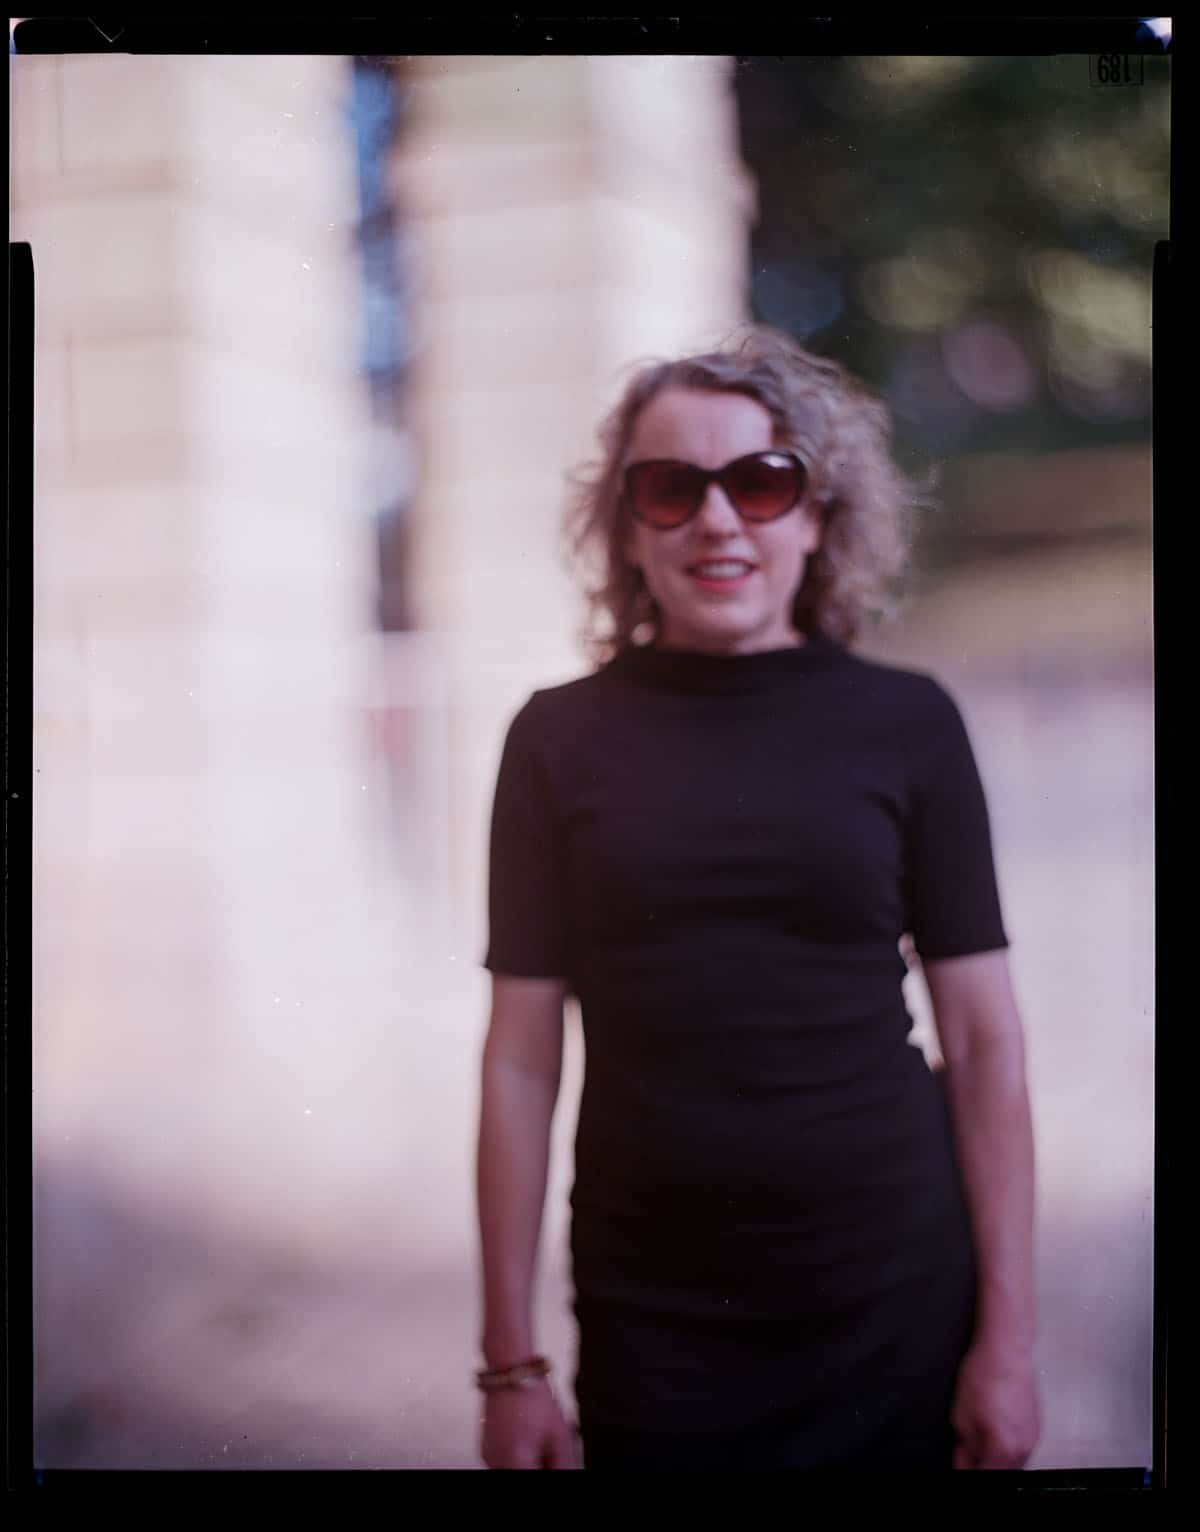
I took two comparison pictures with my camera – one Instax Wide and a second using Catlabs ISO 200 color film:
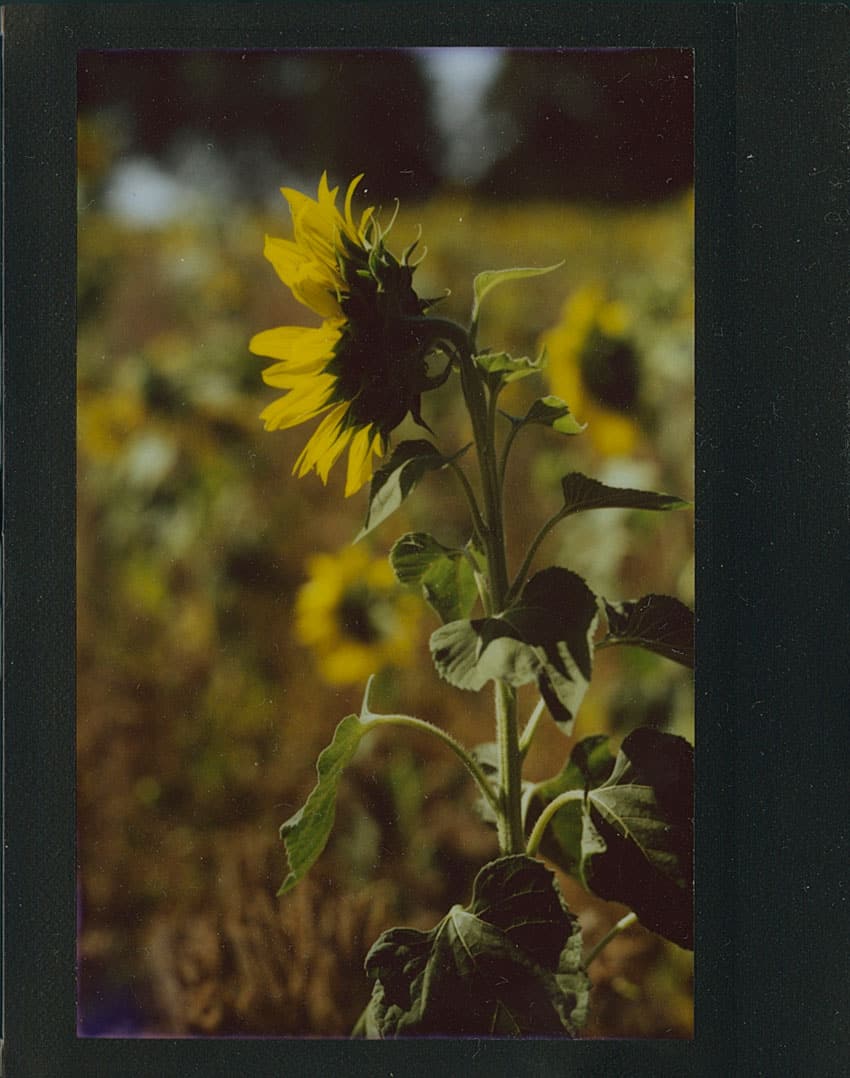
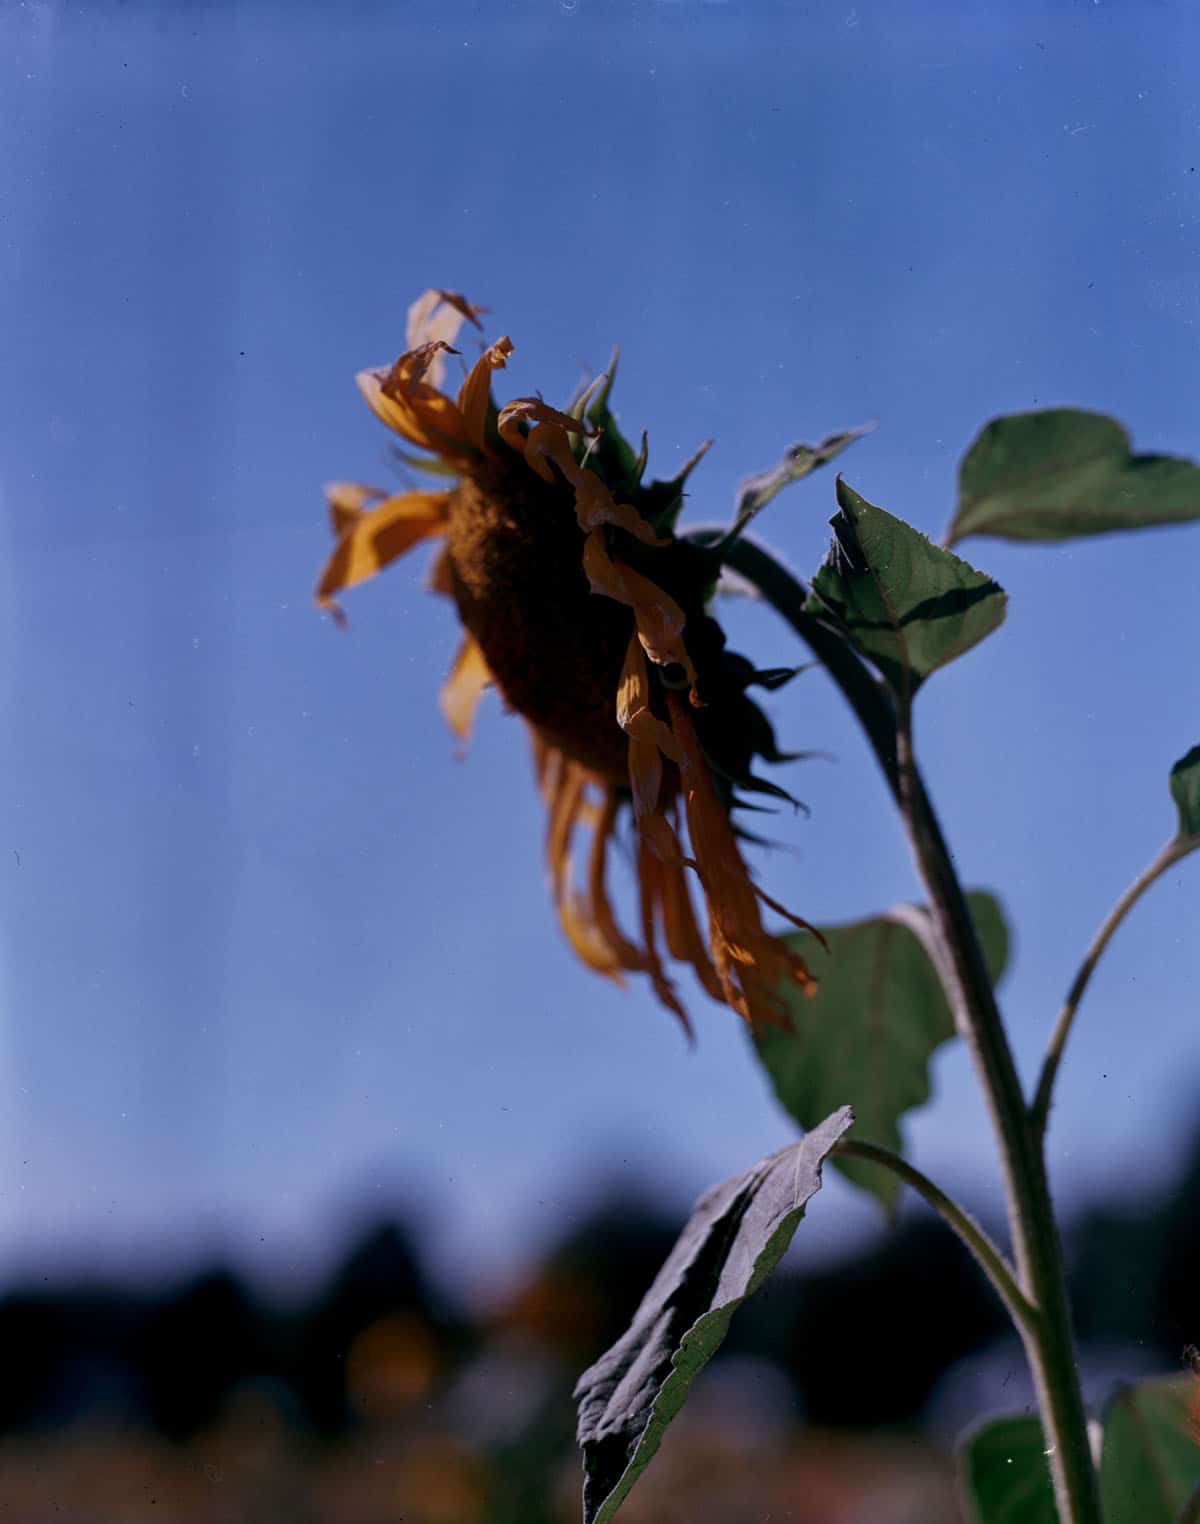
Developing Dry Plates
I have been using 510 Pyro to develop my black and white films, and this can be used to develop the plates. There’s a very handy development guide here.
The process is very simple. I developed my first glass plate using a Jagglé tray. As said above, I simply took out the plate from the holder and then placed it, emulsion side up, into the tray and resealed.
I mixed together 200ml of water and 1.5ml of 510 Pyro and simply poured the solution into the holder.
I gently rocked the holder for the first 30 seconds of development and then rocked it every thirty seconds for five seconds for a total of five minutes.
After emptying the holder, I then washed the plate – this I did by rocking the holder from side to side for 5 seconds then emptied the holder; 10 seconds, then emptied the holder; 20 seconds, then emptied, then 30 seconds then emptied.
I then added the Fixer – Eco Zonefix Plus – for two minutes – I wasn’t sure on agitating it, so I rocked it for five seconds after a minute. I then repeated the washing step before adding a dash of Photo Flo to water and rocked it for 30 seconds.
I then placed the glass on a drying rack before waiting 10 hours to scan.
Scanning Dry Plates
The main issues I have had with scanning glass is moiré and some possible scratches or marks (most likely made by me!) on the glass.
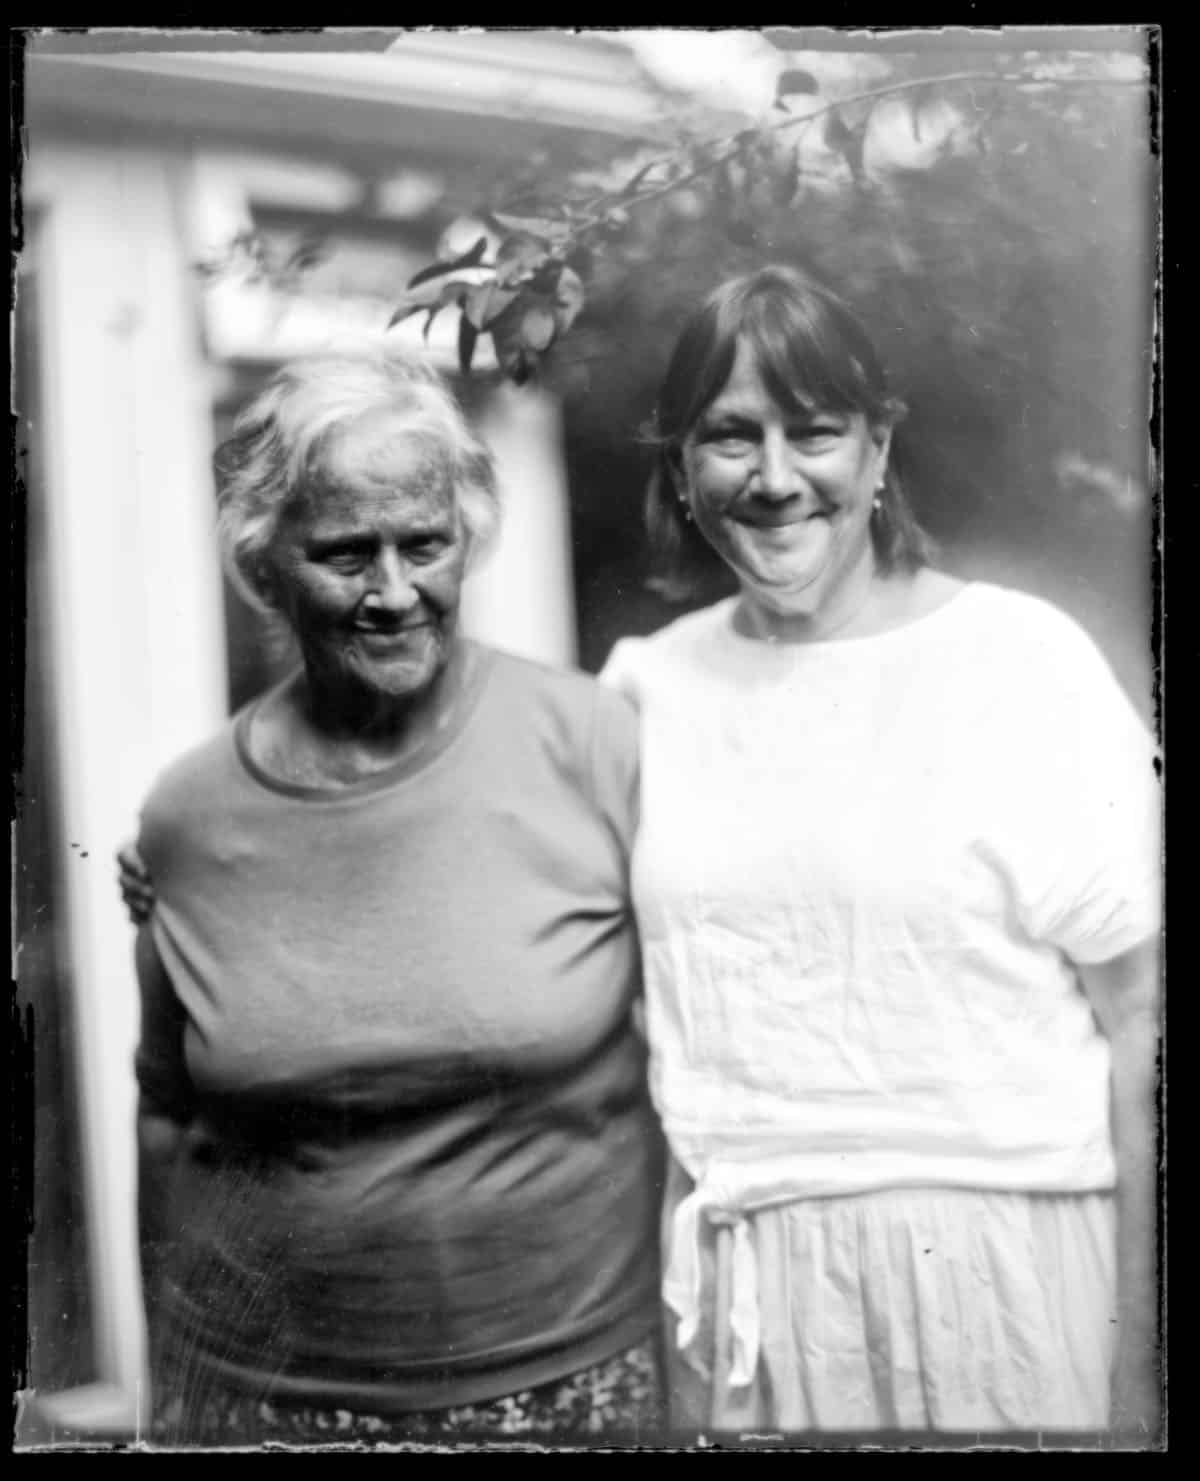
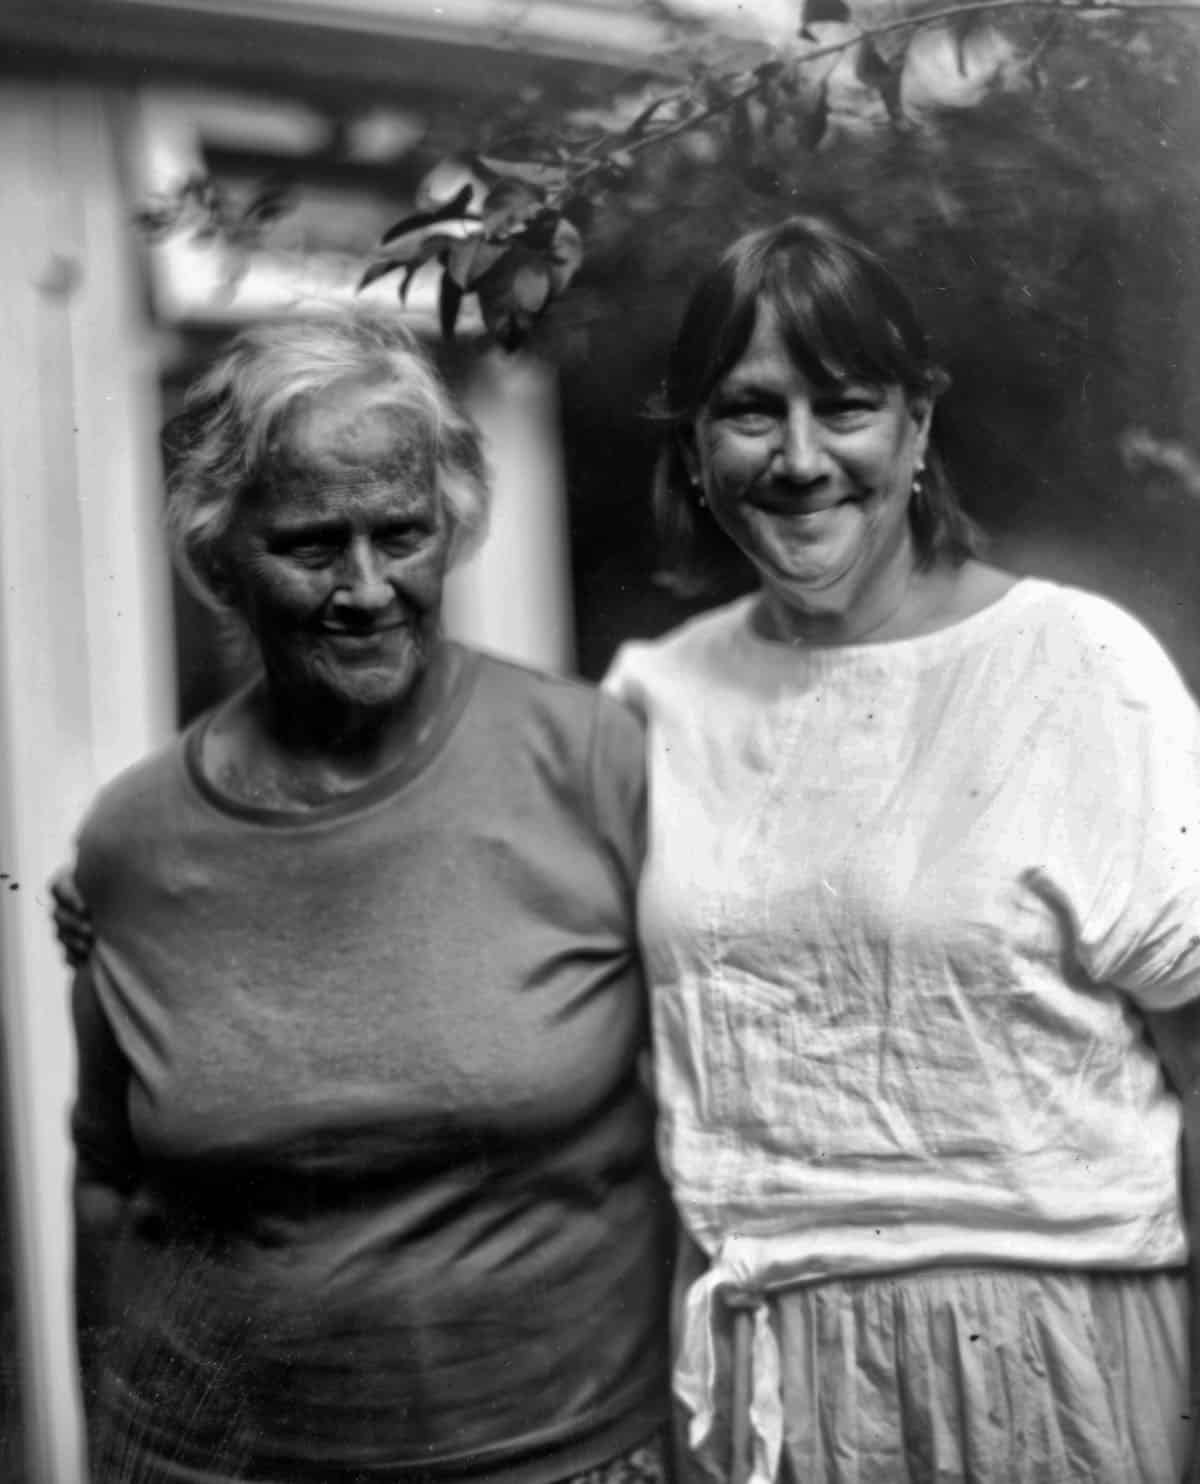
Here’s my Mum and sister outside of my Mum’s house. Probably around 3pm with a bit more shadow creeping into the picture. It’s my least favourite shot of the five in this article.
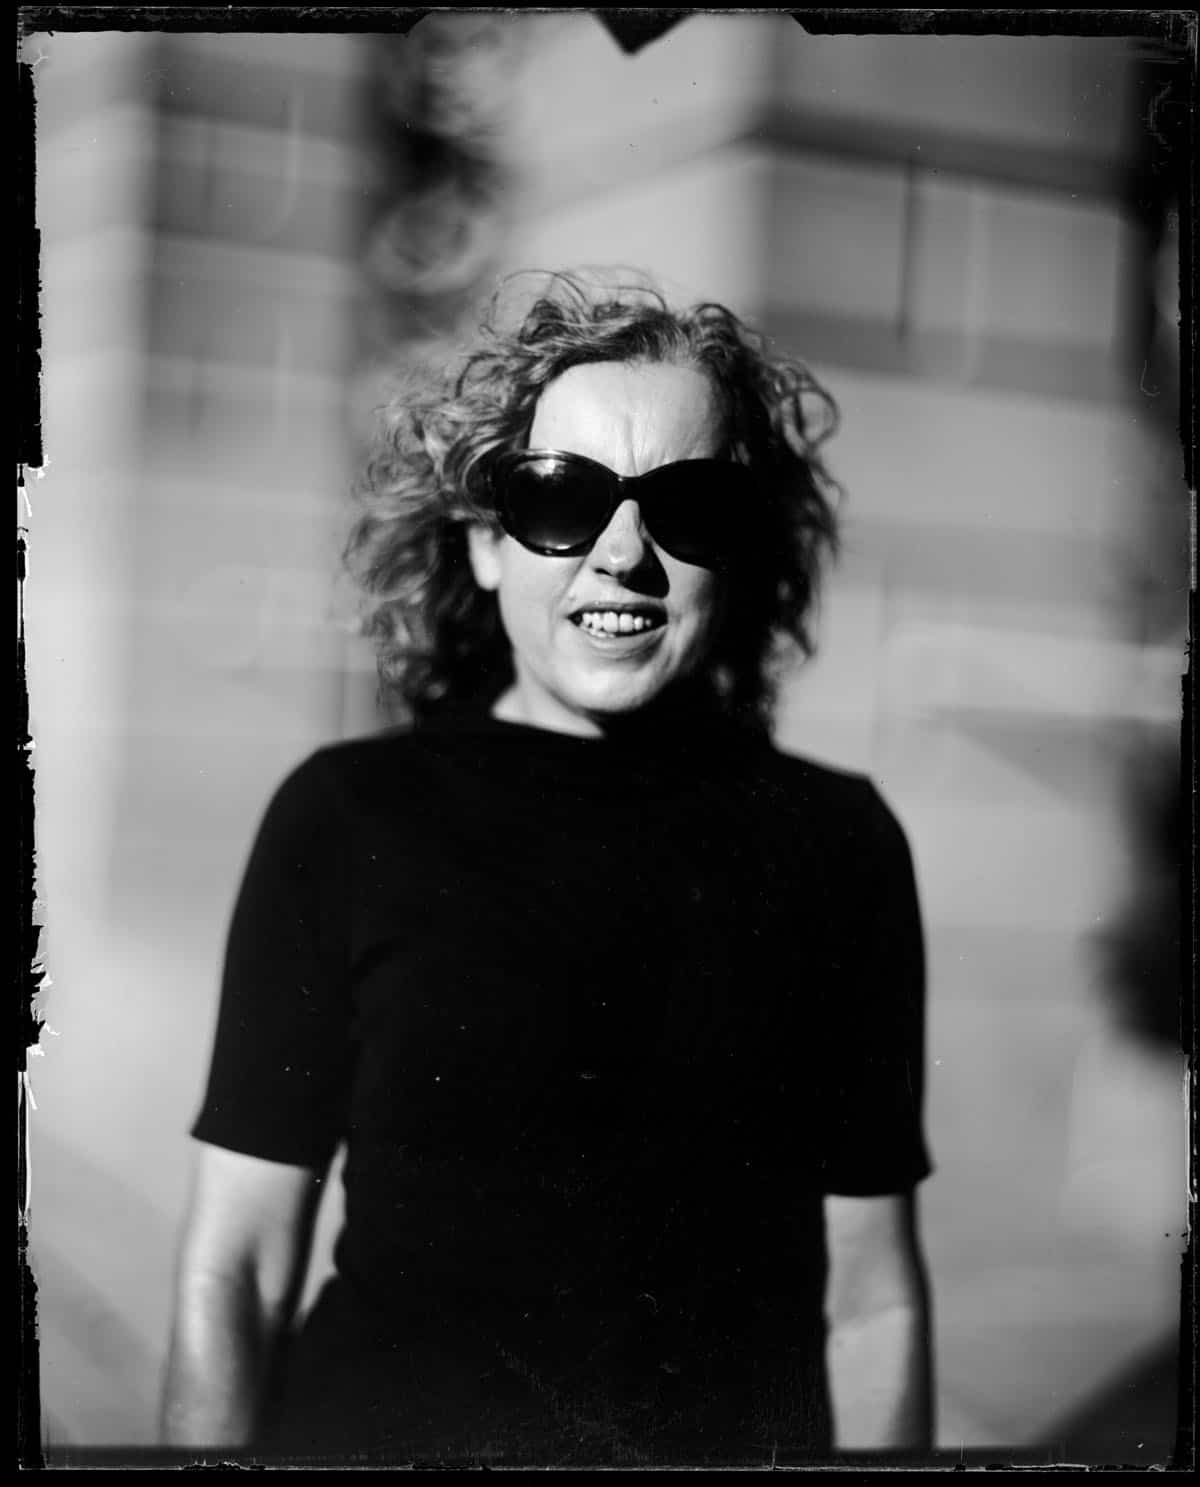
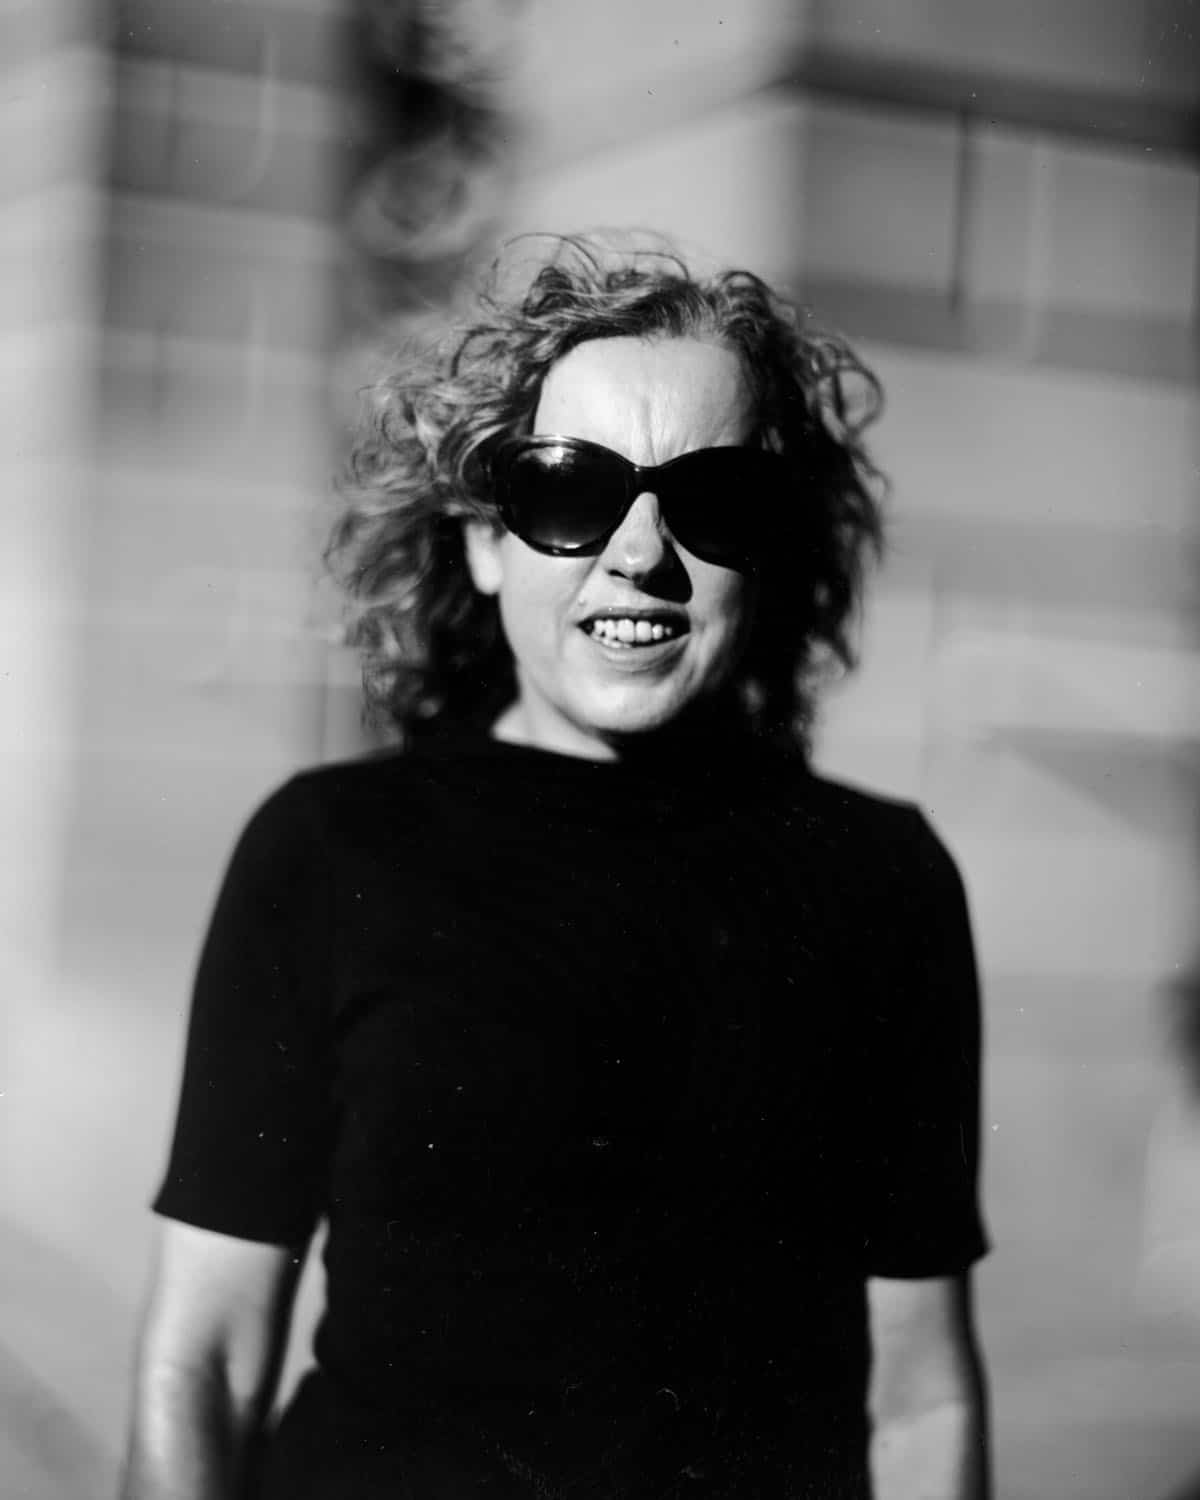
And here’s two images taken outside The Crescent Spa Hotel in Buxton at around 5pm when the sun was just going down. The first is of my wife, Nicole, in full sun and again measured at ISO3, and a CatLabs 200 color film shot in comparison, which I somehow missed focus on.
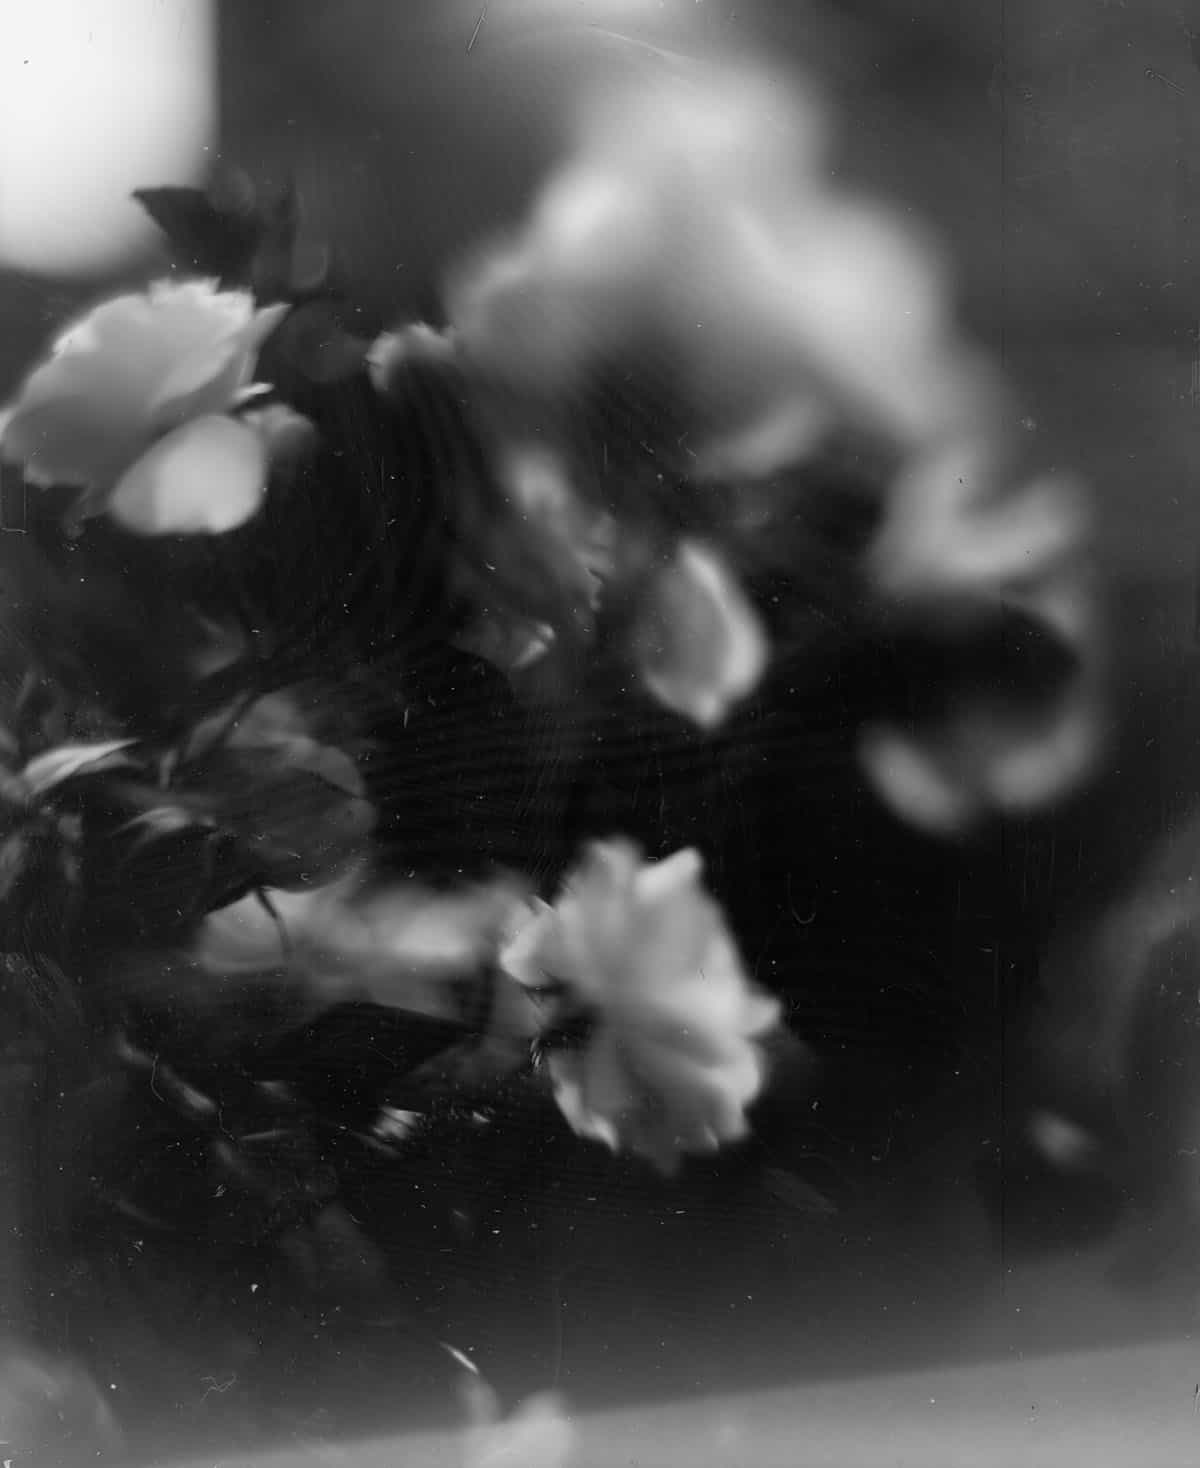
The second one outside the hotel was of the roses, and I was struggling against both the light and the fact that the wind had just picked up. I love the image – the focus is meant to be on the flower at the bottom, but I don’t mind the little movement. There is a moiré pattern on it, so I will likely rescan:
Conclusion and Next Steps
I’ve loved trying out Dry plate photography, and it’s definitely something I’ll continue to do. The negatives seem to enable me to get fantastic scans full of detail, and I love how they turned out.
I’m interested in trying them out in more inclement weather – where there is a little less sunlight – and I want to try more portraits as well as some landscape images.
Is Dry Plate then new Wet Plate? Certainly not, it’s really a different process, but I do feel like I want to explore more creative options with it. In particular by trying out positive plates, using black glass plates and black tintypes. Hopefully, for my next article, I’ll present the results.
Thank you so much, Alec! Alec is a regular contributor here at Shoot It With Film, and be sure to check out his other articles, like A Keyring Camera That’s Not Digital. Try the Baby Holga! and No Tripod? No Problem. Double Exposures with Neon, LED Screens, & Contact Sheets.
You can also check out more of his work on Instagram.
Leave your questions about dry plate photography below in the comments!

Leave a Comment
Shoot It With Film on Instagram


Blog Comments
Phoebe Fence
October 8, 2026 at 9:03 am
The ISO 3 exposure is what really puts the process into perspective. I also like that dry plates keep some of the tactile character of wet plate while removing the pressure to coat, expose and develop everything within minutes.