Written by James Baturin
Having a lot more time at home these days, I decided to explore some of the avenues of analogue photography I hadn’t had time for in the past.
One of those avenues was alternative printing processes.
There are a number of different alternative printing processes, all using different chemicals for their own unique looks, but for someone just starting out (and whose favorite color happens to be blue) learning how to make cyanotypes seemed to be a good place to start.


What is a Cyanotype?
A cyanotype is an early photography printing process that results in a cyan-blue print. It involves creating a UV light sensitive mixture from a few chemicals, and then spreading that mixture onto a piece of paper, basically making your own light sensitive photo paper. It’s also a process that does not require a darkroom for printing.
You can then use that paper to create a print by placing your negative on top of the paper and exposing it to sunlight.
If you don’t have a negative, anything that blocks the light will also create a print.
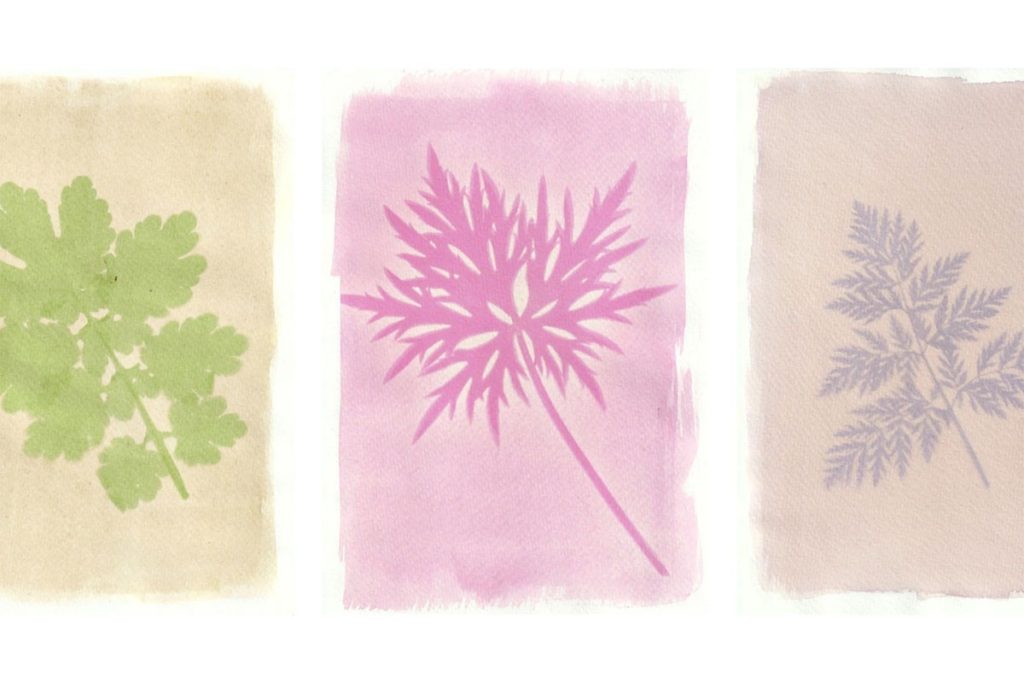
It’s common to see these made with plants and other objects to create interesting designs.
Materials for Making Cyanotype Prints
You’ll need these things to make a cyanotype print:
- UV Sensitive solution
This is made from equal parts ferric ammonium citrate and potassium ferricyanide solution. (Find at Adorama here: Ferric Ammonium Citrate and Potassium Ferricyanide)
- A medium to print on
Usually 100% cotton watercolor paper is best, but the process will work on other mediums as well, like cloth or even wood. (Find 100% cotton watercolor paper on Amazon)
- A large negative
Cyanotypes are “contact prints,” meaning your print will be the same size as the negative you use.
If you don’t shoot large format film (4×5, 8×10), then you will have to print a suitable negative onto transparency film (find at Adorama) using an inkjet printer. If you aren’t able to find a suitable negative you can also use objects like leaves and flowers to make photograms.
- A brush
Used to paint your UV sensitive solution onto your medium. (Find on Amazon)
- A contact print frame
A frame for making contact prints in the darkroom is convenient (find at Adorama), but you can also make one by clamping together a pane of glass from a picture frame and a piece of ply wood.
- A source of UV light
A UV lamp will give you more consistent results, but sunlight works just fine too!


How to Make Cyanotypes
Mixing the Solutions
Cyanotypes are created using a mix of two iron compound solutions.
To create the first, grab a scale and measure out 25g of ferric ammonium citrate and mix it in a container with 100mL of water (distilled is preferred) until it is dissolved.
In a separate container, mix 10g of potassium ferricyanide with 100mL of water to form your second solution.

On their own, these solutions will store well for a number of months if kept in a cool, dark space, but will deteriorate quickly once mixed together.
It should also be noted that while these chemicals are relatively safe, you should wear gloves and goggles while handling them, and old clothes as they will stain anything they happen to get on.
Next, mix equal parts of the first and second solutions together.
How much you choose to mix depends on how many prints you are planning to make. The full 200mL will make close to 50 prints, so use that as a guide.
Prepping the Printing Paper
Take out your paper and mark with a pencil roughly how big your print will be.
Now take your brush and paint an even layer of your solution in the area you just marked using side to side and up and down brush strokes.

Set your coated paper aside or hang for about an hour until completely dry.
While the room doesn’t need to be dark while completing these steps, remember that your solution is sensitive to UV light, so you should find a spot to mix your chemicals and dry your paper where there are no windows or sources of outside light.

Creating the Print
Now that your paper is dry, take your negative and lay it directly onto the dried solution.
Sandwich both between your glass contact frame, with the solution side of the paper and the negative facing out.
If you don’t have a darkroom contact frame, a piece of glass from a normal picture frame, a piece of ply wood and some clamps will work fine. The important thing is that the negative and your paper stay tightly sandwiched together for the duration of your exposure.
Once you have your contact frame ready, take it outside and expose it to direct sunlight.
It will quickly start to change from the yellowish color of the dried solution to dark blue, but it will still need more time in the sun.

Cyanotype Exposure Times
The length of the exposure will vary based on where you are in the world, what time of year it is, or whether there are clouds covering the sun from time to time.
Where I live in Canada, my exposure times ranged anywhere from 8 minutes to 25 minutes, depending on how much cloud cover there was.
With the sun at its peak and without any clouds at all, I suspect my exposure times would have been 8 minutes or less, with the times being even shorter in the Summer months.
If you have a contact frame with a hinged back, you have the option to open one side of the frame and check on your print during the exposure without moving the negative.
You want the exposure to look a little darker than the final print, and you may even start to see the shadow areas becoming lighter than the initial dark blue color earlier in the exposure.
With all of these variables to consider, exposure times will probably take some trial and error but it’s a rewarding process.
Related: Pinhole Film Photography
Rinsing and Drying the Print
Once the print has enough exposure, simply put it in a tray and rinse under running water for 10-12 minutes.
Any unexposed chemicals will wash away, revealing a print of deep blue. The blue shadows will darken as the print dries, as will the highlights.

Set your print aside to dry on a drying rack or clothes line, and your cyanotype is complete!

Thank you so much, James! James is a regular contributor here at Shoot It With Film, and you can check out his other articles here, including a camera review for the Hasselblad 500 C/M and tips to sharpen your film scans. You can also check out James’s work on his Instagram.
Leave your questions about creating cyanotypes below in the comments, and check out all of our experimental film photography articles here!


Blog Comments
Scott
November 15, 2020 at 7:16 am
Hello. Is there any reason you can’t use a laser printer (with compatible transparency film) for the negative?
James
November 20, 2020 at 10:09 am
Hey Scott. I don’t think there is any reason you *can’t* use a laser jet printer if it’s compatible with transparency paper. I think the main concerns when printing your digital negative are, 1) the quality of the printed image, and 2) the density of the ink. If your laser jet printer gives you a useable negative that’s all that really matters. I’ve never used one personally but let me know if you do and what the results are!
Jana
April 14, 2022 at 9:00 am
Just want to thank you for a great article. First dive into cyanotype as a art project and this helps to know where to start. I have antique negatives and would love to use them and ready to learn. Beautiful work. Cheers!
Frank Wolff
April 23, 2023 at 7:35 am
After exposing and washing does it have to be fixed or treated to prevent fading?
How long does a print last
Glenn Haggis
July 27, 2023 at 1:23 am
Lovely article and process. If you want a deeper blue add a few drops of lemon juice to a darkroom tray filled with tap water.
shootitwithfilm
July 27, 2023 at 12:54 pm
Such a great tip! Thank you, Glenn!