
Written by Jennifer Stamps
A few months ago, I shared my tips for how to make a zine, including how to go about designing one and where to print them. However, historically, zines were handmade – often without the use of computers. Just paper, pens, collages, and photocopy machines.
So, I thought it would be fun to try my hand at making my very own handmade zine…without the use of any paid software. (Note: I did use the paid version of Canva, but they offer a generous free trial you can cancel if you don’t need it in the future.)
Here are my eight tips for making a zine completely by hand. Turns out… it’s a lot of fun!

Choose the Topic of Your Handmade Zine
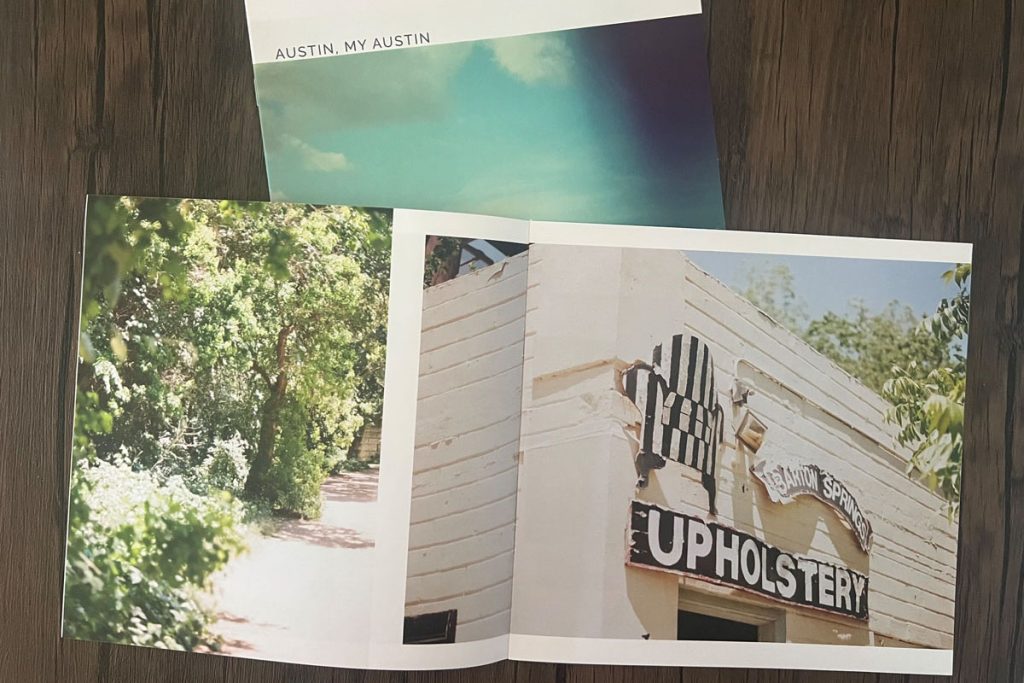
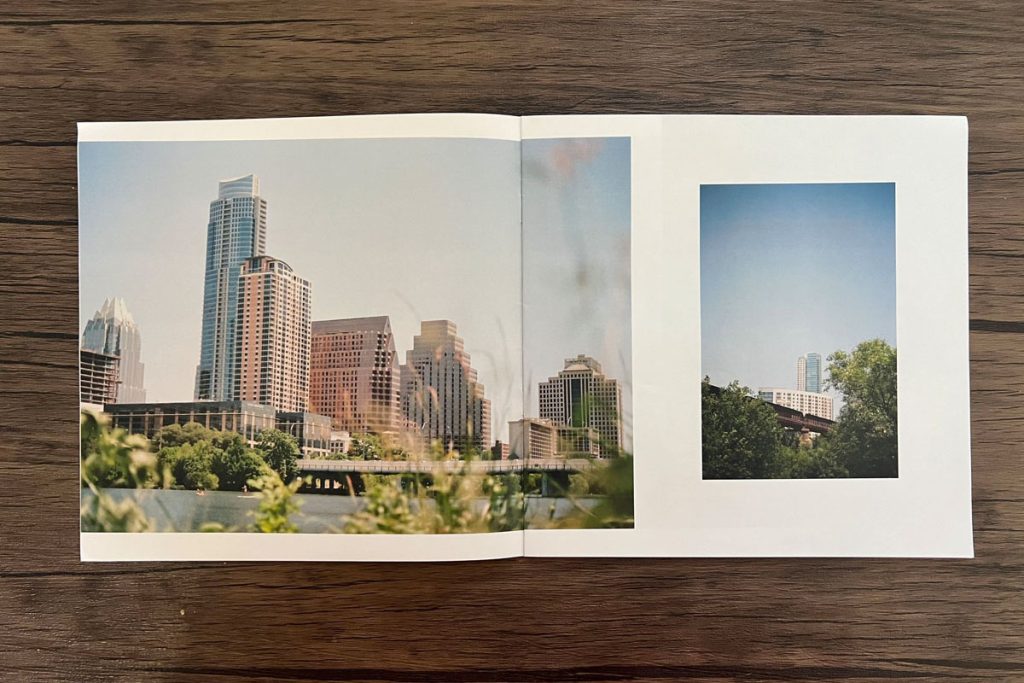
For the sake of this article, I will be referring to making a photography – specifically Polaroid – zine. But you could easily use the same steps with any format of art: painting, sketching, poetry, writing, etc.
Decide What Size the Zine Will Be
I wanted to keep it simple. So the size of the zine I used was 5.5” x 8.5” (a standard piece of paper, folded in half).
Each piece of paper I used gave me four pages. I used three pieces of paper, making my zine 12 pages.


Pick the Content for Your Zine
Once you’ve chosen your topic, choose your content. Literally pick the photos you are going to use.
Since I used Polaroids, I already had physical photos of each image I wanted to include. If you are using other formats of photography, print those photos.
To keep this simple, without the use of design software, I suggest getting prints of the images you want to use. Depending on the size of your zine pages, you’ll want to make sure your prints are the proper size.
How to Design the Zine Layout
Once you know the size of your handmade zine and which photos will go in the zine, you simply lay it out.
I took three normal printer pieces of paper, folded them in half, and then placed the Polaroids in the order that I wanted.
In this case, I used double-sided tape and placed the Polaroids on the pages. Boom – I had my mockup.
Once you’re completely finished with the layout with embellishments (see below) you should have a completely hard copy of your zine. Some people call this an Artist’s Proof.


Related: Tips for Designing a Zine
Adding Embellishments to the Zine
This is your opportunity to add anything additional to the layout. Some ideas could include: stamps, stickers, or event collage.
For my zine, I added that cool typewriter tape – remember those from the 1990s? Those were fun!
I added the location of each Polaroid to the page using different colors from the tape. I added the tape directly to the handmade zine.

How to Print Your Handmade Zine
There are two different ways you can make copies of your new handmade zine.
One: you can scan your piece and make prints at home as-needed. Or, you can take your complete copy to a place that makes copies and do just that… make copies!
Making Small Edits Using Canva
I made small edits using Canva. This is where you’d need a paid version of Canva (or you could use Photoshop). But again – this step is not necessary.
When I scanned my piece, it scanned the white paper as white/light gray – instead of transparent. So when I went to print it, it printed light gray (using A LOT of ink!). So, I went into Canva and removed the background so the paper would print transparent.


Assembling the Zine
Two of the easiest ways to assemble the zine is via staples or stitch. Staples are pretty self explanatory. But if you want to add a slightly more personal touch, you can hand stitch the zine together.
Open the zine up, poke five holes down the spine, evenly spaced apart. Take a needle and embroidery thread (sewing thread will be too thin), make sure your thread is at least three times the length of your zine.
Numbering the holes 1-5 (see photo):
- Open the zine up and place the needle and thread through #3 – leaving a few inches thread as a tale
- With the zine inside facing down, thread the needle through #2
- Flip the zine back over and thread through #1
- Flip is over again, thread the needle back through #2
- Then through #4
- Then through #5
- Then through #4 again
- Back up through #3
- And tie the two threads together
The fun part about stitching the zine together is that you can use whatever color thread you want – you can even change it from print to print!


Zine making is supposed to be fun. If at any point along the way you come up with a different idea – try it!
Have fun with your handmade zine. If you want to get your copy of my handmade zine, you can find them here.

Thank you so much, Jen! Jennifer is a regular contributor here at Shoot It With Film, and be sure to check out her other articles, like How to Create Your Own Photography Zine: Step-by-Step Guide and Organizing Your Film Negatives, Scans, and Instant Film.
You can also check out more of Jennifer’s work on her website, Instagram, and Etsy shop.
Leave your questions about making a handmade photography zine below in the comments, and you can get a copy of Jennifer’s handmade zines here.


Shoot It With Film on Instagram


Leave a Comment