
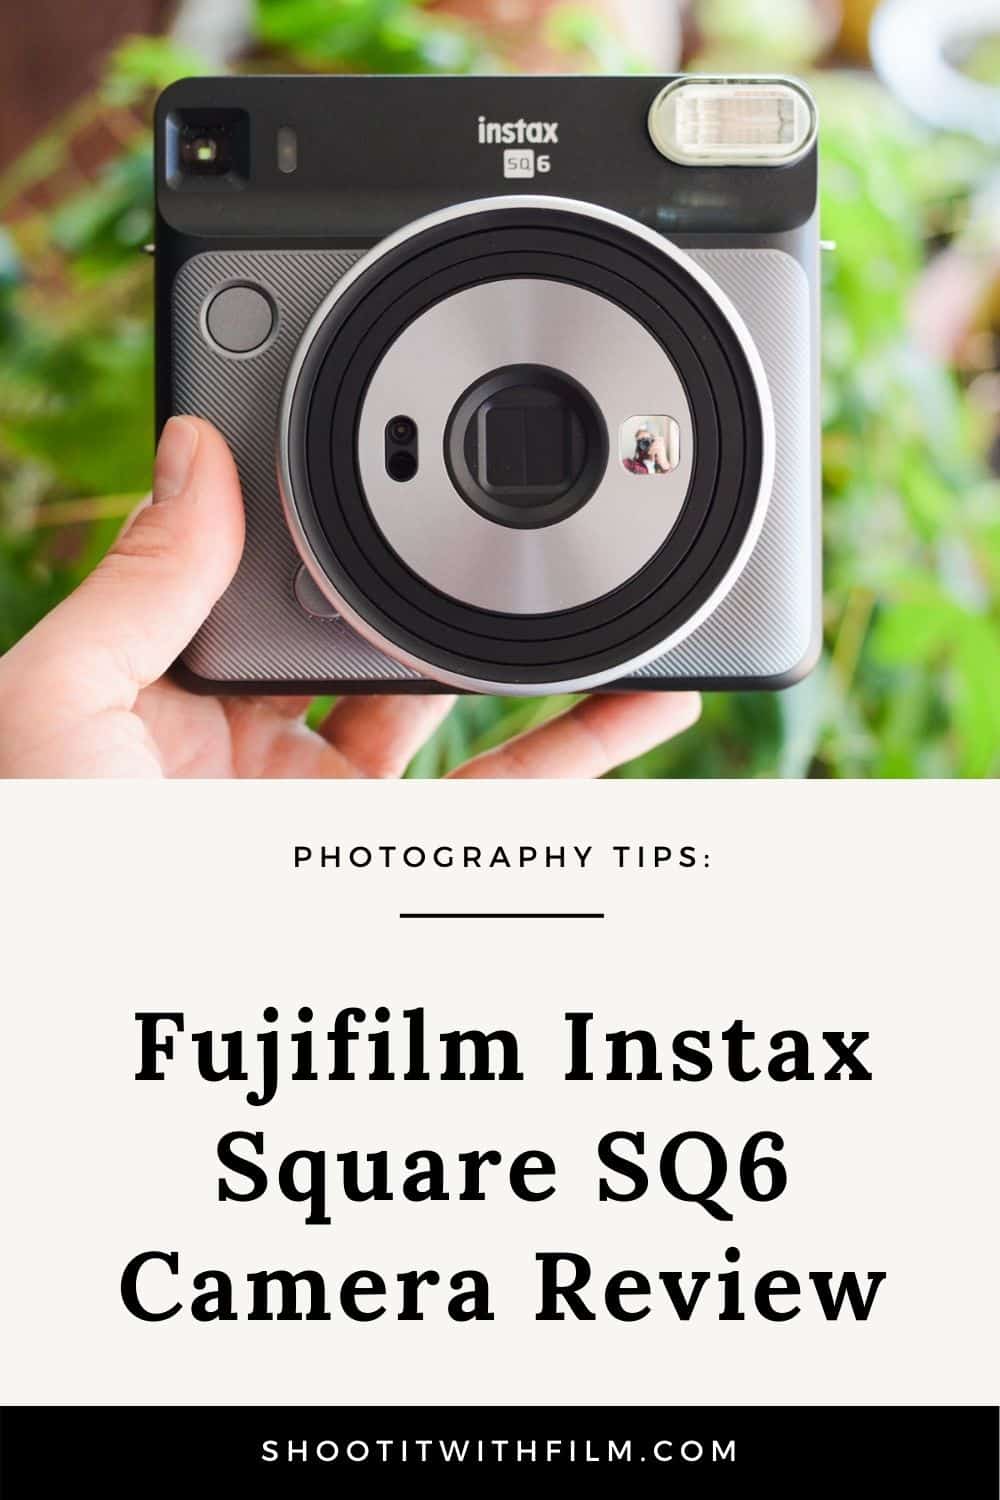
Written by James Baturin
As someone entering the world of instant film for the first time, I was both encouraged and overwhelmed by the number of cameras available right now.
So I laid out some criteria to guide my decision: I wanted a camera that had the ease and spontaneity of a point-and-shoot but also offered some variable features for creative control. I am also partial to the square format that is so iconic of the original Polaroid, so square film was a must.
In the end, the Fuji Instax SQ6 seemed to check these boxes, and, after a few months of playing around with it, here are some thoughts on Fuji’s first fully analog Instax square camera!
Find the Fujifilm Instax Square SQ6 on Amazon.


Settings and Features of the Instax Square SQ6
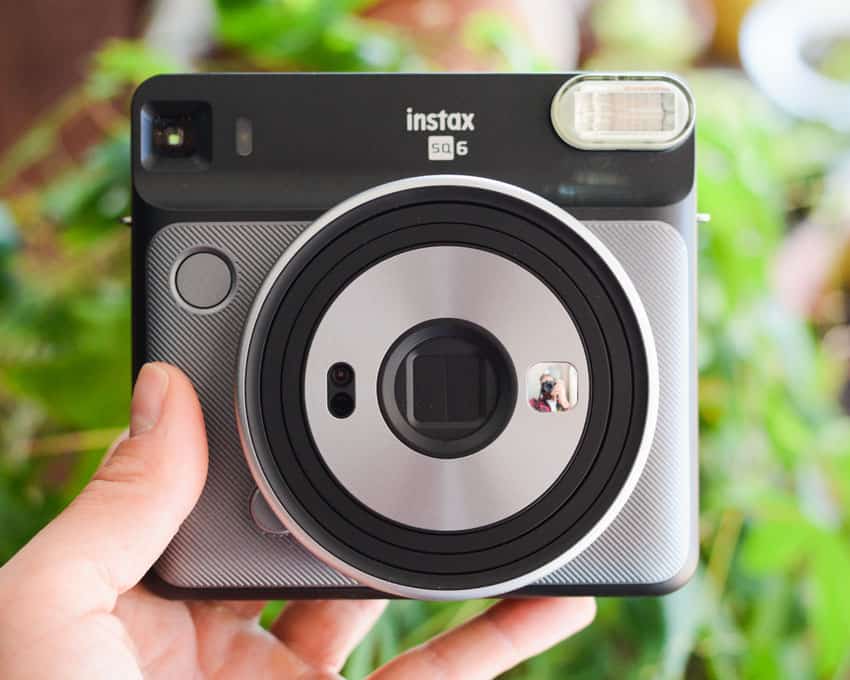
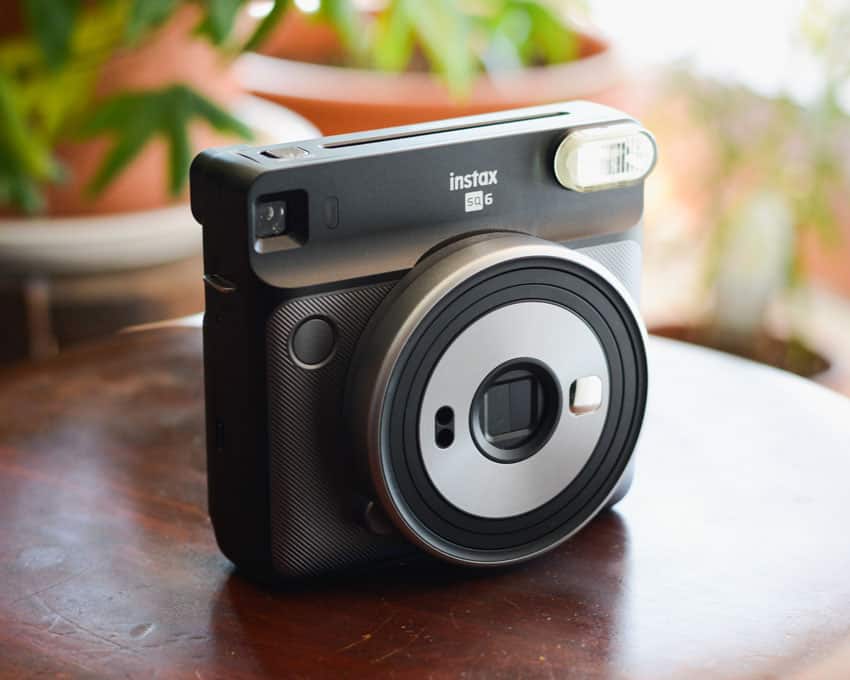
On the outside, the design of the Instax SQ6 is simple and straightforward.
Though it’s compact, it probably won’t squeeze into your pocket, but can easily slide into a small bag or purse for day trips.
It’s made of sturdy plastic and feels durable in your hands, making it ideal for travel and resilient to everyday bumps and accidental drops.

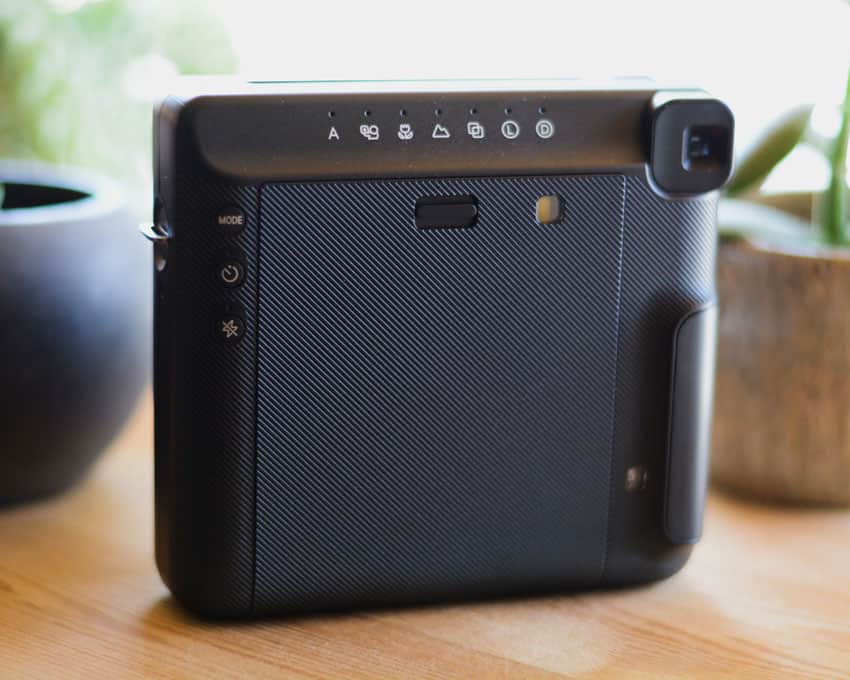
Three buttons on the rear of the SQ6 allow you to change the camera’s settings.
The first (labelled “Mode”) switches between the different shooting modes, indicated by small icons and LED lights along the top of the camera back.
In Automatic (A) the camera operates like a simple point and shoot camera, which is great if you are leaving it out for people to use at a party or a wedding.
Just pick it up, point it, and press the shutter.

Focusing Modes
Three different focusing modes (Selfie, Macro, and Landscape) on the Instax SQ6 determine the zone of focus depending on how far your subject is away.
The Selfie and Landscape modes are pretty straightforward, but I found it hard to frame shots in the Macro setting, as the viewfinder is offset from the lens.
If you are shooting a subject close up, shift the camera to the right and up a little bit to compensate.

Double Exposure Mode
The Double Exposure mode is probably my favorite feature of this camera. The ability to layer two exposures on top of one another offers some really cool opportunities to be creative.
I found it most effective if you choose a distinct subject with a bright background for your first frame (silhouettes are a great place to start!), and then a more generic, patterned or textured shot for your second frame.
It’s a really fun mode to experiment with!

Lighting Modes
The last two modes are for exposure compensation in tricky light situations.
The Lighten (L) setting is really useful if, for example, your subject is backlit (where it would underexpose the subject in Automatic mode), while the Darken (D) setting can be used if you’re worried about overexposure.
While these settings offer some range of control over your image, I do wish you were able to use the exposure compensation in tandem with the other shooting modes.
For examples, if I’m shooting in macro mode, and my subject is backlit, I’m unable to use the Lighten mode to compensate, and will have to be content with an underexposed subject.

Related: Fujifilm Instax SP-2 Printer Review
Self-Timer and Flash
The Instax SQ6 also features a 10 second self-timer, and a button to turn off the flash.
If there is one thing you remember from this article, remember to ALWAYS turn off the flash.
Unless you’re inside with no light and you’re taking selfies with your pals, there is no reason to use the flash on this camera.
It washes out the photos and you lose a lot of the natural vibrancy the film is capable of.
The flash will fire automatically if you don’t press the “flash off” button before every shot, which can result in some wasted film if you forget.
So remember to turn it off, and whenever possible use natural light and the exposure compensation modes to get the exposure you’re after.

Viewfinder
If there’s one major complaint I have about this camera, it’s the position of the viewfinder.
While it fits comfortably enough in my hand, and the shutter button is in the right place, placing the viewfinder on the right side of the camera (when most people are right eye dominant) is puzzling.
It means that you basically have to squish your face into the back of the camera in order to look through the view finder, which makes it awkward to compose an image, not to mention uncomfortable.
Film for Fuji Instax Square Cameras
The SQ6 uses the Fuji’s Instax Square film, which is available in both color and black and white.
Loading the SQ6
Out of the box the film cartridge loads easily into the back of the camera by lining up the yellow marks on the film and on the camera, and then closing the back.
Turning the camera on and pressing the shutter once expels the dark slide that was protecting the film before it was loaded, and then you’re ready to shoot!
There is also a small window on the back of the camera that shows you how many shots you have remaining.

Film Costs
Ok so I have one more complaint about the camera, and it’s the cost of film. At just under a dollar per shot in color, and a little more for black and white, the film isn’t cheap.
But, I suppose if you are choosing to shoot film, you are used to having to fork out a bit more money to invest in the hobby, so if you look at it that way the cost of film might just be another investment in the industry.

Film Size and Color Rendition
As the name suggests the image is a square, with dimensions of 2.4 x 2.4 inches.
This is significantly smaller than the original Polaroid image (3.1×3.1 inches), but it’s still large enough to produce a meaningful image.
The colors in the film are vibrant and contrasty, which is a change from the muted vintage look so iconic of the original Polaroids.
If you prefer the more vintage look, perhaps look at going with a Polaroid. But as far as consistency of exposure goes, and the true rendering of what the camera sees, I’m really happy with the performance of the Instax film.

Conclusion
All in all, the Fujifilm Instax Square SQ6 camera has been a great introduction into the world of instant film.
It has all the ease and simplicity of a point-and-shoot, with some fun creative options to satisfy the artist in me.
What the film lacks in a classic look, it makes up for in its consistency, while still retaining the iconic shape of the original instant film!

Thank you so much, James! James is a regular contributor here at Shoot It With Film, and you can check out his other articles here, including how to shoot long exposures on film and a camera review for the Hasselblad 500 C/M. You can also check out James’s work on Instagram.
Leave your questions about the Fujifilm Instax Square SQ6 below in the comments, and you can pick one up for yourself on Amazon here!
Check out more articles about instant film photography for Instax and Polaroid here!


Leave a Comment
Shoot It With Film on Instagram


Blog Comments
Robert Schellhammer
September 24, 2021 at 2:43 pm
In landscape mode, I use Roscolux gels (small swatch book $10) . A #397 = 2/3 stop – over the lens to darken & over the sensor to lighten. I use removable double-sided tape to attach. A 67mm glass polarizing filter slips nicely over the lens barrel. See my “SQ6 Workarounds” post on Rangefinder Forum for photos of my setup. Cheers.
shootitwithfilm
September 24, 2021 at 6:49 pm
Robert, such great info! Thank you so much for the tips!
Sergio mojica
February 26, 2022 at 9:04 am
Thank you very much for such a wonderful in-depth tutorial. I’ve have always been good with 35 mm black and whites but I’ve been messing up my Polaroids. Great tips and specially to turn the flash off.